January 07, 2023
Xtool tablets (Xtool D8, D9 Pro,A80/H6 Pro etc) are good at VAG MQB 2014- VDO cluster mileage correction.
Here is an example of VW Polo 2014.6. Only continental and VDO clusters are supported.
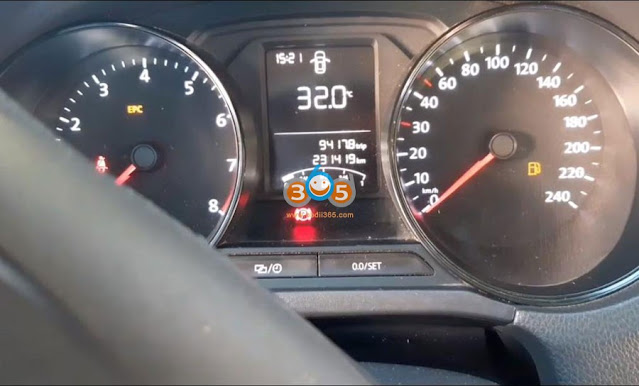
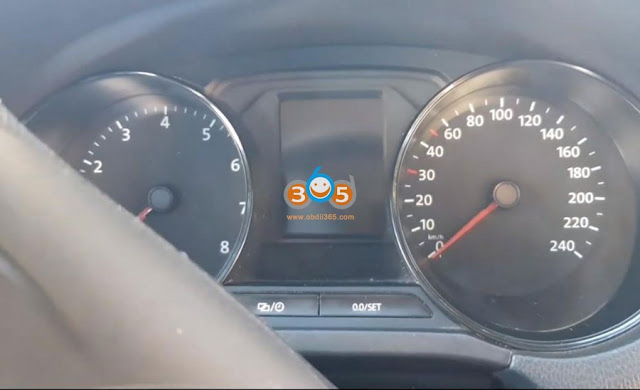
Original odometer: 231419km
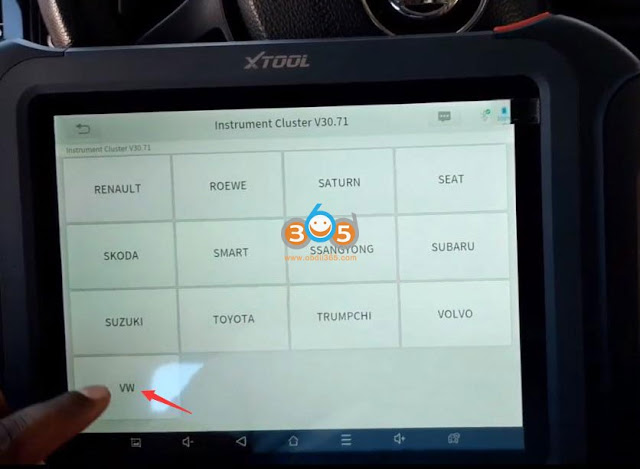
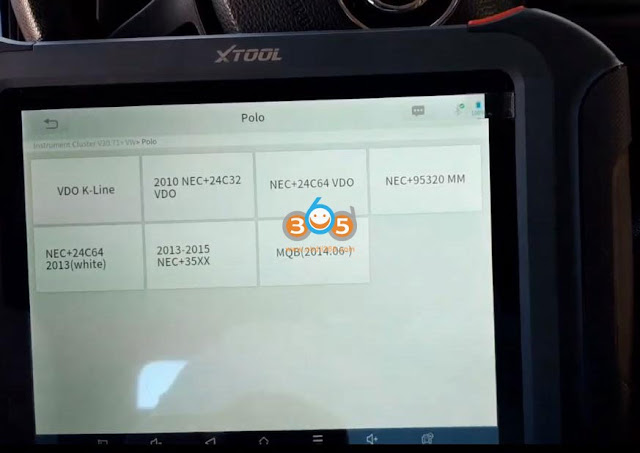
Select Special Function->Instrument Cluster->VW->Polo->MQB(2014.06-)
Turn on ignition switch, but don’t start engine.
It read VIN.
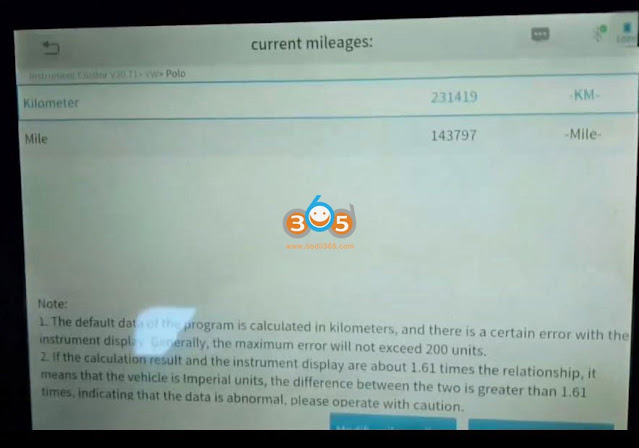
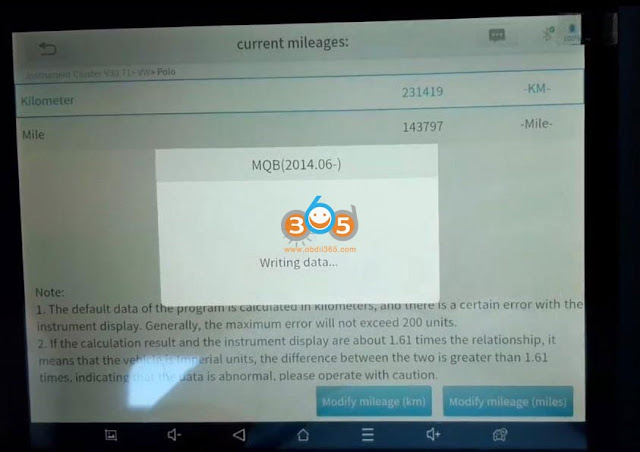
It read mileage. It is the same as it is on the cluster.
Press Modify mileage
Input mileage you desired, i.e 63000 km
Put smart key close to the sensing area, click OK to continue
The instrument cluster will turn black. It is normal.
Writing mileage in process
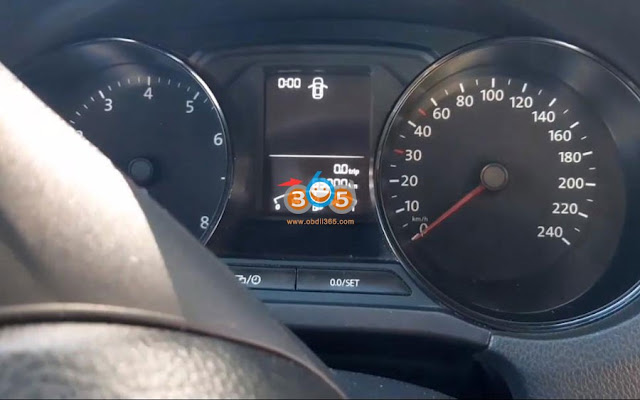
Mileage correction is done.
Check new mileage.
Posted by: jean at
08:29 AM
| No Comments
| Add Comment
Post contains 114 words, total size 12 kb.
January 06, 2023
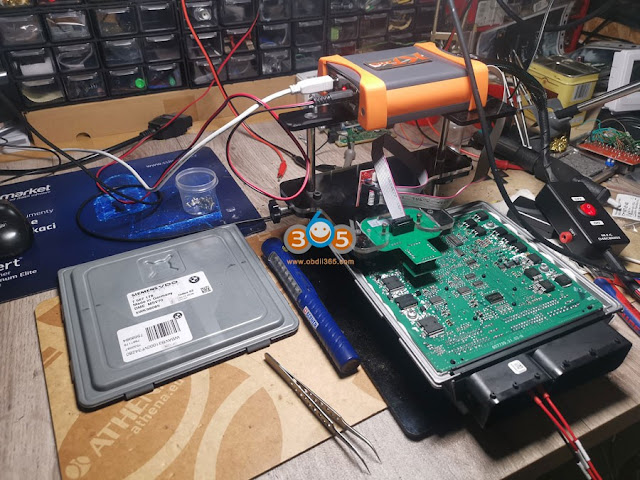
BMW MSV70 was killed by Kess v2 clone and low battery. ButKT200has no problem repairing this ecu.
Ktaghas no help because crc is now bad and ktag don’t save orig file with ecu configuration.
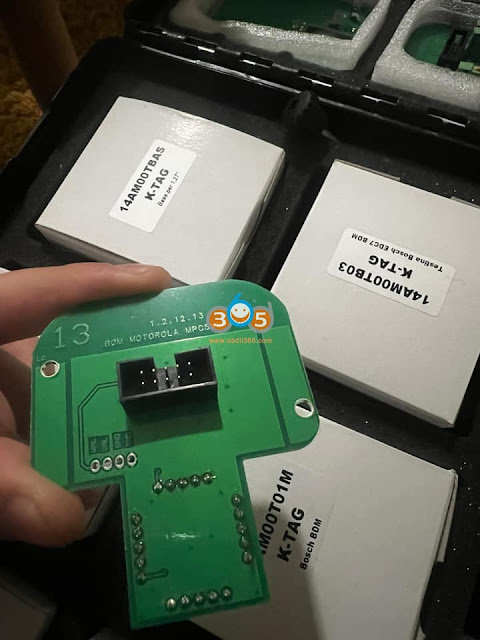
The msv adapter used here is the same adapter as the ones from ktag.
Foxflashwill release these BDM adapters soon. No clue with KT200.
You can also purchase from 3rd parties, must be Dfox compatible.
BDM Adapters – The tool cannot use generic adapters such as the cheap Ktag type. It can only use Adapters that are designed for the following Ori products – Dfox, EVC BDM100, FG_TECH, AMT-BDM, Ori. Ktag other types will damage your ecu/equipment.
How to Read/Write BMW Siemens MSV70 with KT200/Foxflash via BDM mode?
Kit to use:
– Multifunction cable
– Siemens/Marelli adapter
– Grey flat cable
– Connectors dip/sip
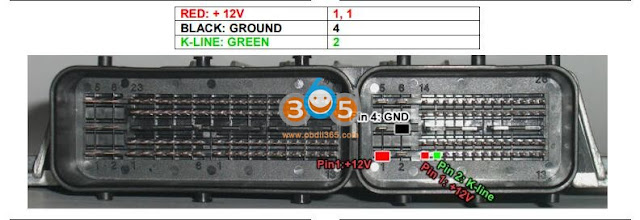
Connect multifunction cable as follows:
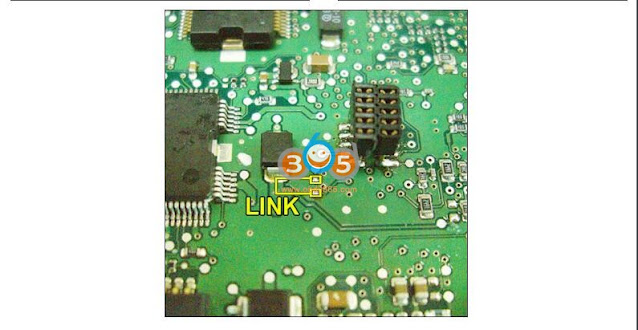
Solder the dip/sip connectors on the pcb and do a link:
Insert Siemens/Marelli adapter (or msv adpater) as in photo:
To read and write use the following driver:
→ BDM/ JTAG MODE
→ BDM MPC
→ MPC55x/56x
Posted by: jean at
07:51 AM
| No Comments
| Add Comment
Post contains 189 words, total size 5 kb.
January 05, 2023
Just want to do this simple writeup and let everyone know I had great success with this method.
Instead of programming / reset a new set into the R8, clone the TPMS sensors to fool the car it still using the original TPMS sensors
1.Buy a AUTEL MAXI PAD($49.99)
2.Buy Autel MX-Sensor Dual Frequency (315MHz + 433MHz) Screw-in OE-Level Universal Programmable TPMS Sensors for Tire Pressure
3. Install and Open the Autel MaxiTPMS Pad Software. Go to AUDI Make and Select R8 specific
to your year.
Overall cost was under $200.
Posted by: jean at
07:12 AM
| No Comments
| Add Comment
Post contains 202 words, total size 3 kb.
January 04, 2023
Vident ismart800 pro OBDII diagnostic scanner is a perfect replacement for Autel MK808 and MX808. Here is the instruction to register and update ismart800 pro.
Ismart800 pro registration is different from iLink or other Vident series scanners. A username can only be bound to one serial number.
How to Register and UpdateVident iSmart800 Pro?
1.Connect the iSmart with internet.
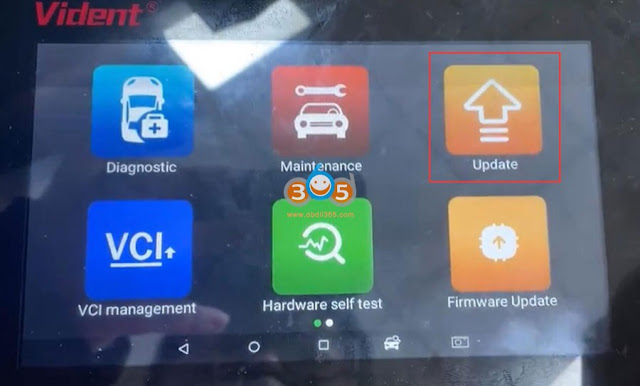
2.Tap Update on the home screen of the diagnostic application. Wait till the following screen displays.
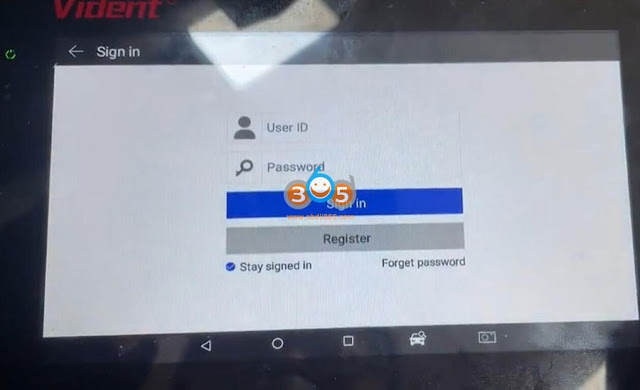
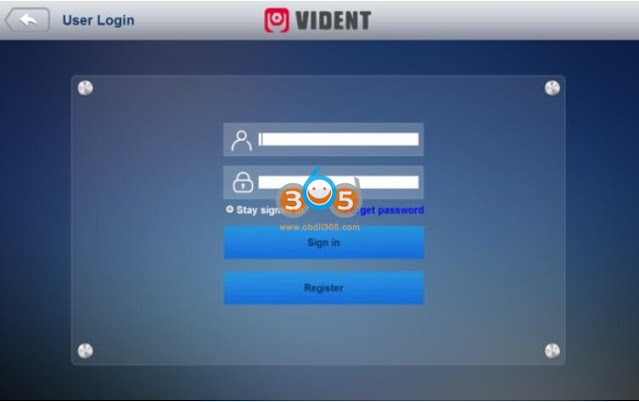
3.iSmart will ask to sigin in or register device. If don’t have an account, pressRegister
4. Fill out the registration information and tap Register to submit
5. When registration is finished, the initial logging screen would display. Click Log In and input your IDand Password.
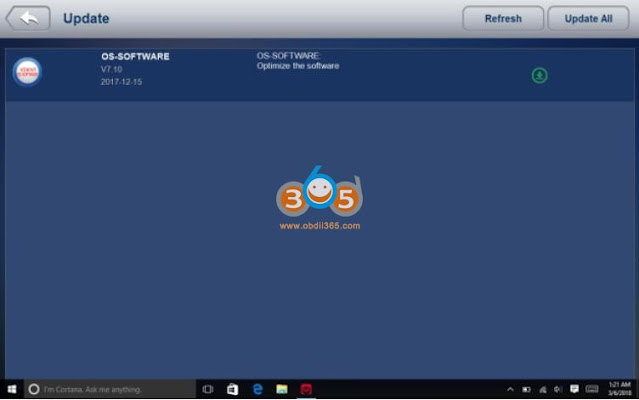
6. All available updates would display. Tap update all or Tap the download iconto install updates.
7. When update done, the diagnostic software would restart automatically.
NOTE:
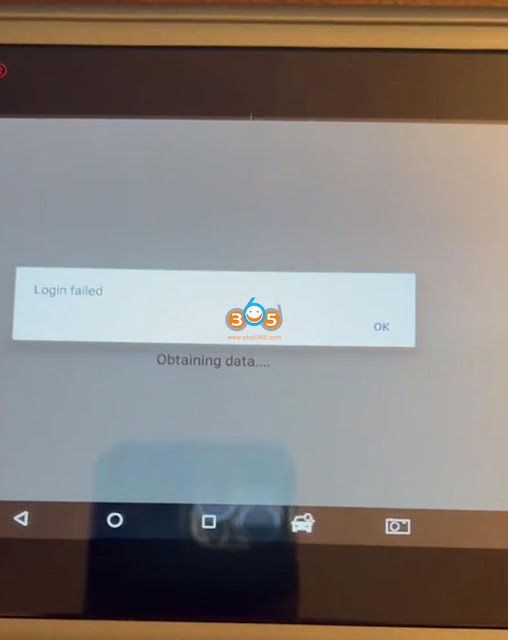
Users cannot use iauto/ilink account to loginismart800 pro, otherwise will fail to login.
If fail to login with existing ilink/iauto user name, you have to reset ismart to factory setting, then register again.
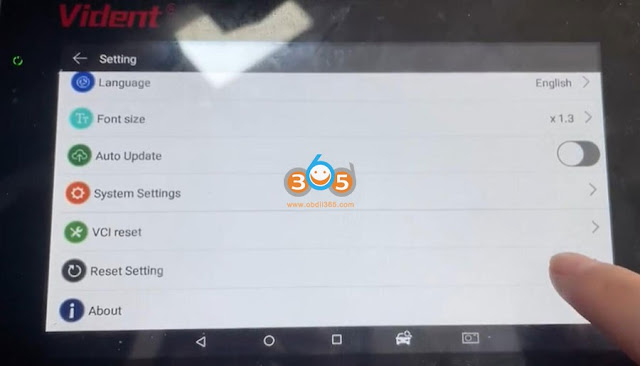
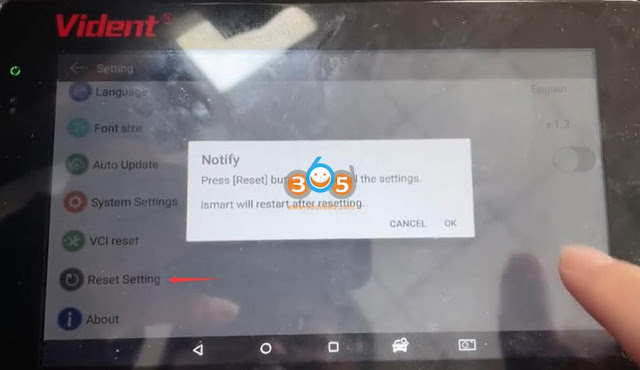
Selecting Reset Setting option lets you to reset your scan tool to factory defaults. This option will also clear the workshop information.
To reset your scan tool to factory defaults:
1.Select Setting from the Home screen of the diagnostic application.
2.Select Reset Setting option.
3.Tap the Reset button. The scan tool reboots automatically and the reset is completed.
After reset all settings. Select Update function in the diagnostic application. Then Register and update ismart 800 pro scanner as above.
Vident ismart800 pro user manual
Posted by: jean at
07:11 AM
| No Comments
| Add Comment
Post contains 271 words, total size 11 kb.
January 03, 2023
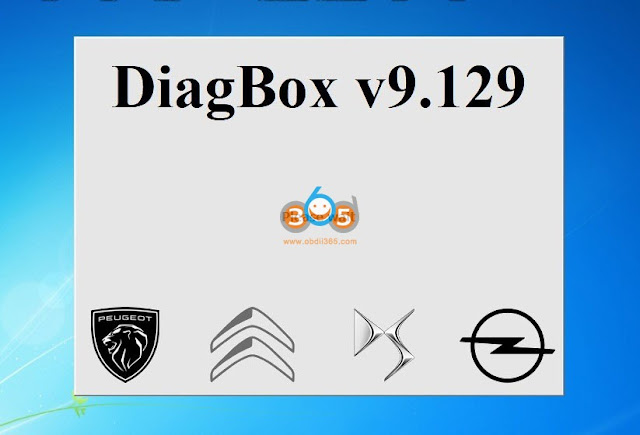
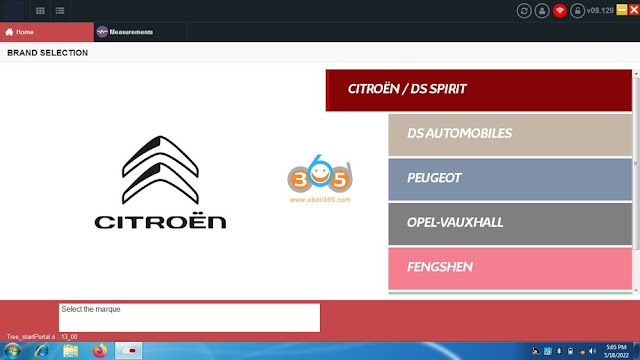
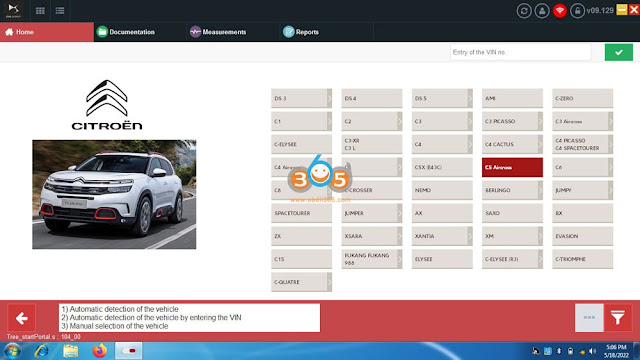
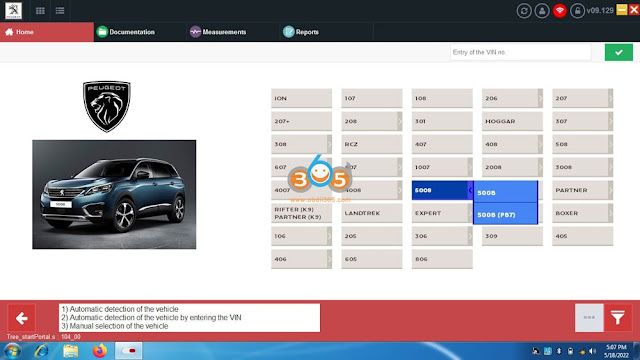
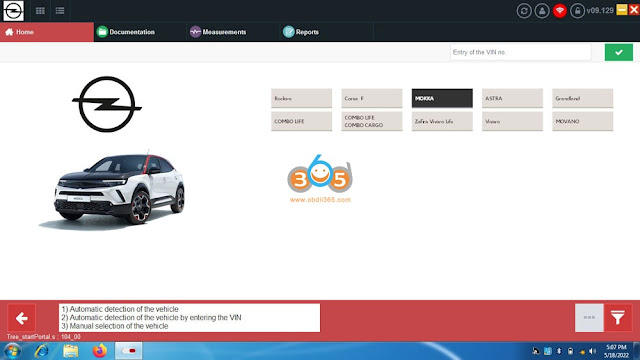
[10/2022 release] Peugeot Citroen DS diagnostic software Diagbox v9.129 and v9.143 software downloaded free.
Software:Diagbox v9.129 and v9.143
All in one installer:DiagBox_v9.129.exe /DiagBox_v9.143.exe .
Released Date: 10/2022, 11/2022
Whats new:
– SERMI (Secure functions that need authorization code OK)
– DTC car history – OK
– about offline télecoding still just for cars till 2016 model. (The telecoding of options is still not possible offline and thereforeon any unofficial version outside the PSA network for vehicles after 2015[except in exceptional cases: dpf, rge, adblue, keys, VIN code, …])
-allows the diagnosis of all PSA vehicles until this date and Opel 2022 modules built by PSA
VCI:
– you need FULL CHIP XS EVOLUTION VCI SERIAL 921815Clexia3Peugeot Citroen PP2000 Diagbox clone or Original to work. Don’t buy if you have LITE version 963830B or 921815B serial or it will not work…no support for lite version will be given for this release.
Link to buy one recommended VCI choose FULL CHIP
https://www.obdii365.com/wholesale/lexia-3-diagnostic-pp2000-for-citroen-peugeot.html
Software Download:
Supported functions:
-Lists error codes, displays all saved and pending error codes.
-The program supports printing reports or copying to the clipboard.
-Clears error codes.
-Offline tv coding (Bsi, abs & calculator).
-Auto-scan
-Display of live data like engine speed, engine speed, etc.
-Tests the actuators.
PC Config Minimum and Hardware :
– Windows 7 / 8 / 10 / 11 , in 32 or 64 bits. WORKS BEST ON WINDOWS 10 X64
– Intel/AMD Dual Core 2ghz and more
– 4GB of RAM and more
– 20GB of hard disk space (SSD recommended)
Installation:
– Native install, no VMware
– Disable Windows defender [recommended]
-All older versions ofDiagboxmust be uninstalled before the new installation. (Delete folder c:/awroot and c:/app, then useDiagboxcleaner which we can provide you with on request.)
– Download and launch the fileDiagBox_v9.129.exe /DiagBox_v9.129.exe as administrator and follow the instructions on the screen.
Be patient when nothing happens, some steps can be long.
– LaunchDiagboxas admin to avoid errors.
Activation:Yes
Activate by keygen.
License: 1 per Machine
Some experts provide activation per PC at 10 euro.
After install software, send ID to them to get a license file.
run as administrator.Expert 1:
Paypal: nicodragpay@gmail.com
Skype nicu_cuc
Expert 2:
johntheripper701@gmail.com
Don’t make activation requests to us.
If need a working Diagbox version without activation, checkdiagbox v7.83.
Posted by: jean at
09:17 AM
| No Comments
| Add Comment
Post contains 381 words, total size 9 kb.
32 queries taking 0.0967 seconds, 175 records returned.
Powered by Minx 1.1.6c-pink.


