


February 29, 2024
What’s the difference between Xtool KS-01 and AnyToyo SK1 emulators for Toyota/Lexus?

To program Toyota/Lexus car keys through Xtool scanners, you must use emulators.Xtool produces two emulators KS1 and AnyToyo SK1.The table shows how these emulators differ.
| Key | Xtool KS-01 | XtoolAnyToyo SK1 |
|---|---|---|
| 94/D4 | √ | X |
| 98 | √ | X |
| 39 | √ | X |
| 88/A8 | 2013-2017 | 2017+ |
| A9 | 2013-2017 | 2017+ |
| 4A | X | √ |
X- not supported
√ supported
The manufacturer may make changes to the compatibility policy.
Posted by: jean at
07:49 AM
| No Comments
| Add Comment
Post contains 82 words, total size 2 kb.
February 28, 2024
How to RecoverLaunch CRP919E BTdiagnostic scanner screen pattern lock if forgotten?
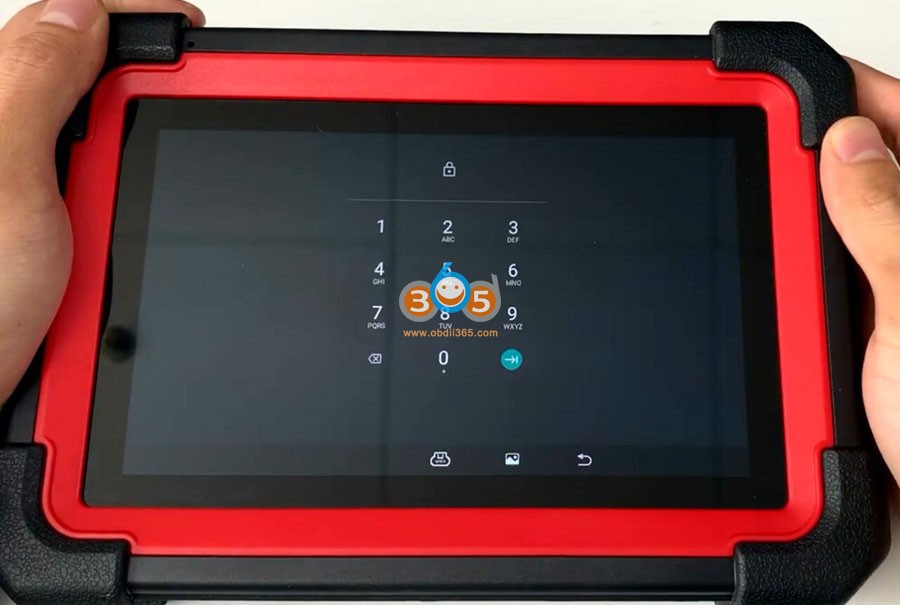
Same solution toLaunch CRP919X BT/CRP919series Android 10 diagnostic scanners.
Enter recover mode as following:
Long press power button for 3-5 seconds and power off the device
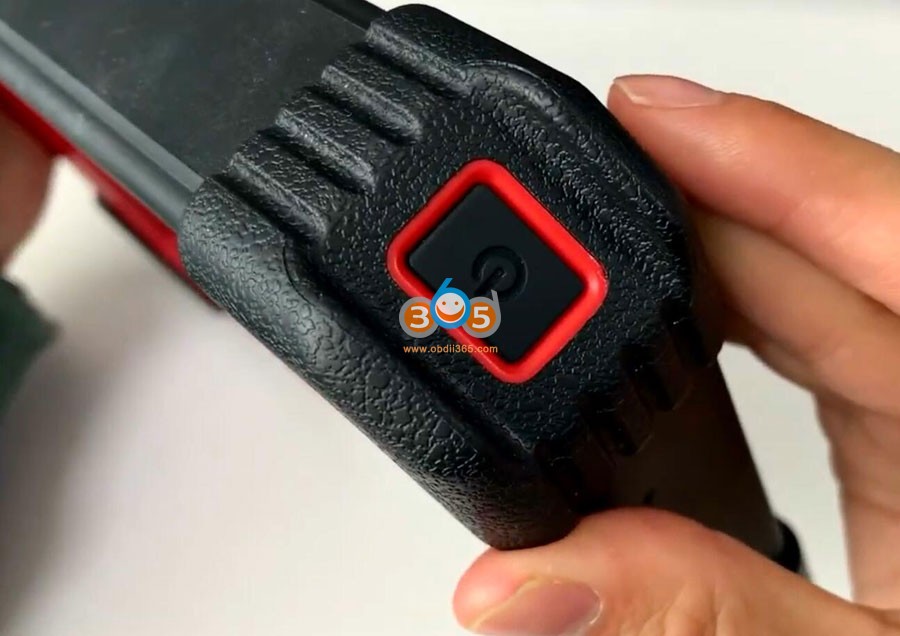

Power on CRP919 device again
When you see this LAUNCH start page, press the power button 5 times quickly
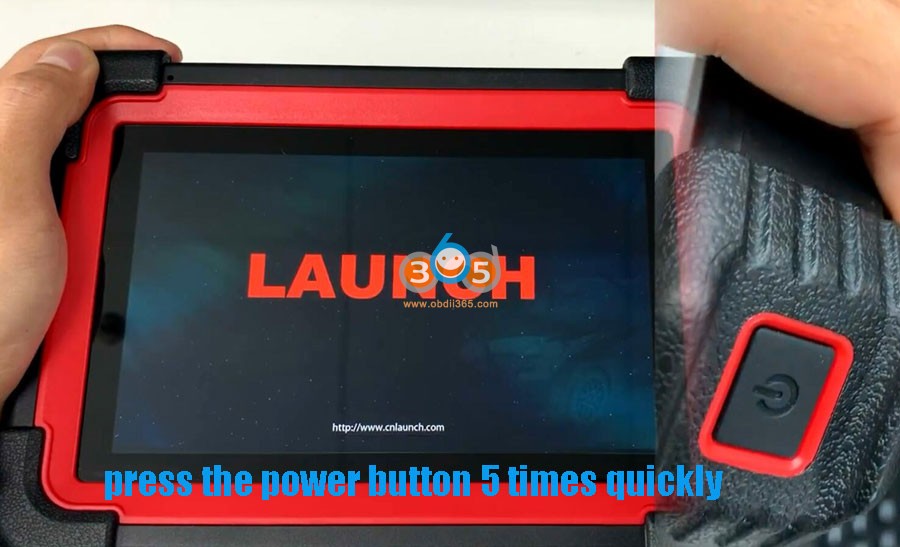
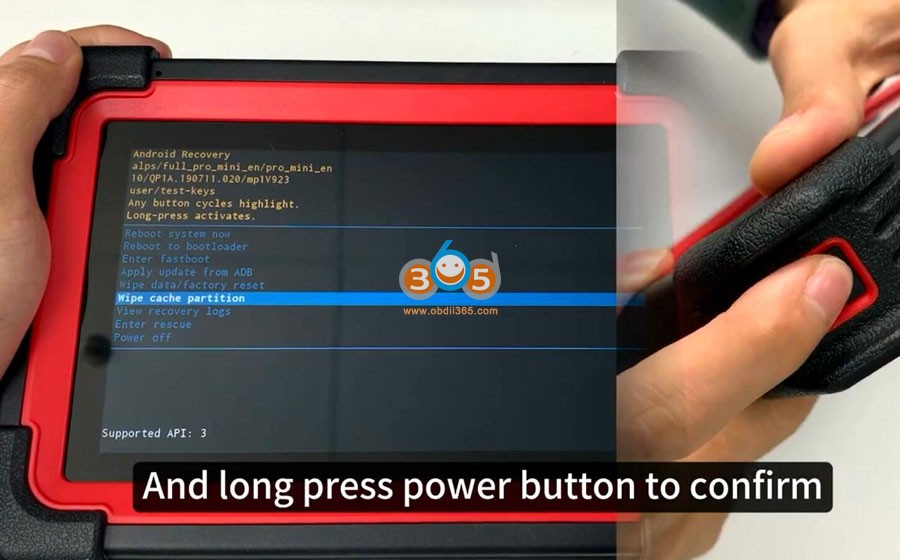
The CRP919 scanner will enter recovery page.
Long press the power button and selectwipe cache partitionfirst
Long press power button to confirm
Press Yes
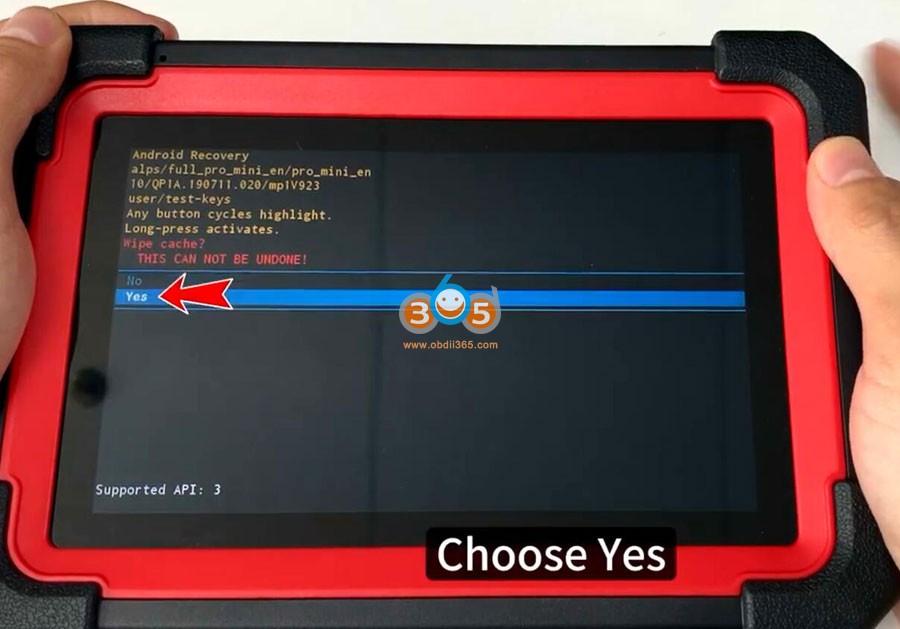
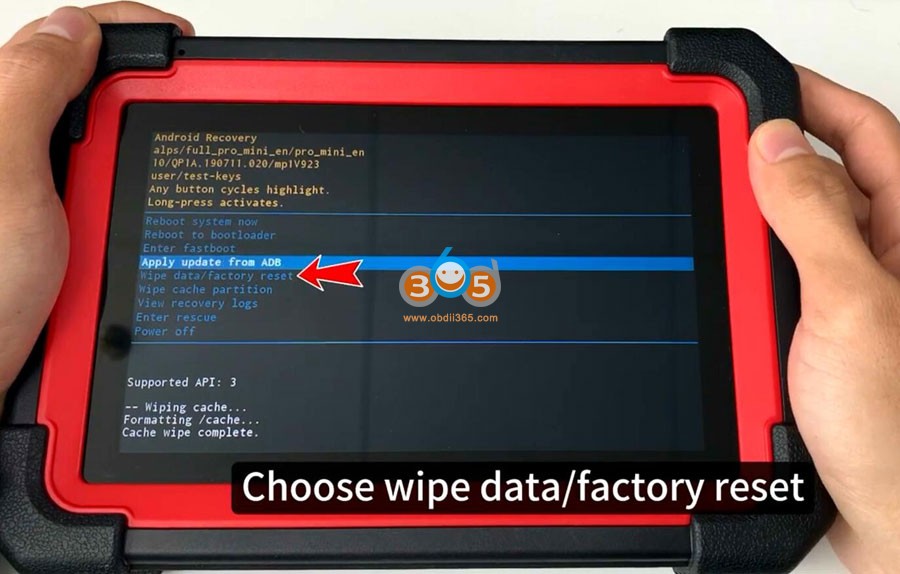
Choose wipe data/factory reset
Choose Factory data reset
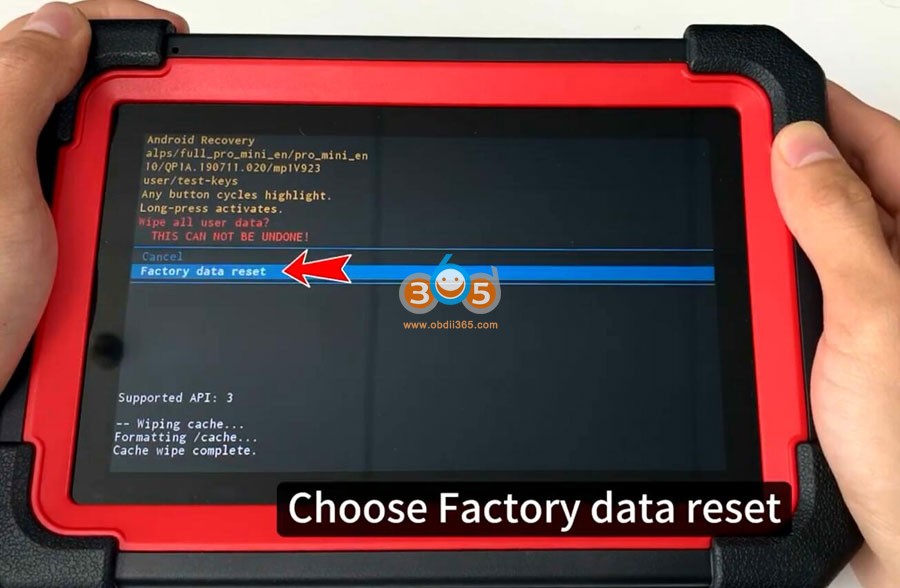
SelectReboot systemnow
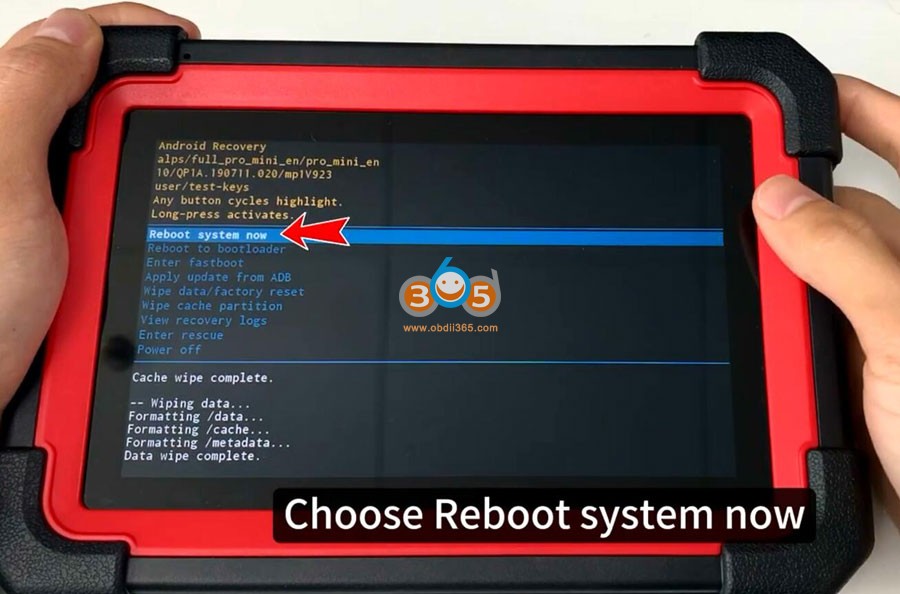
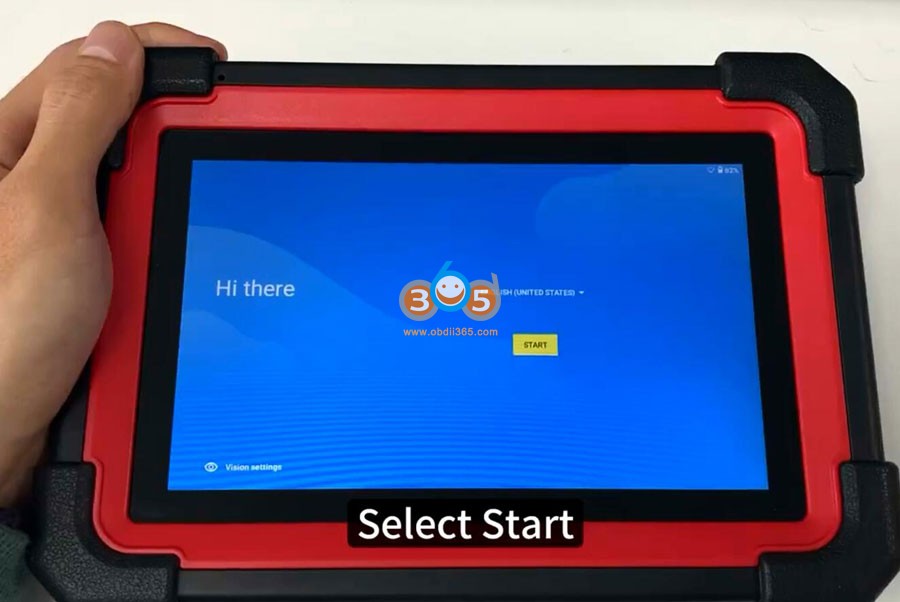
Reboot system and select Start
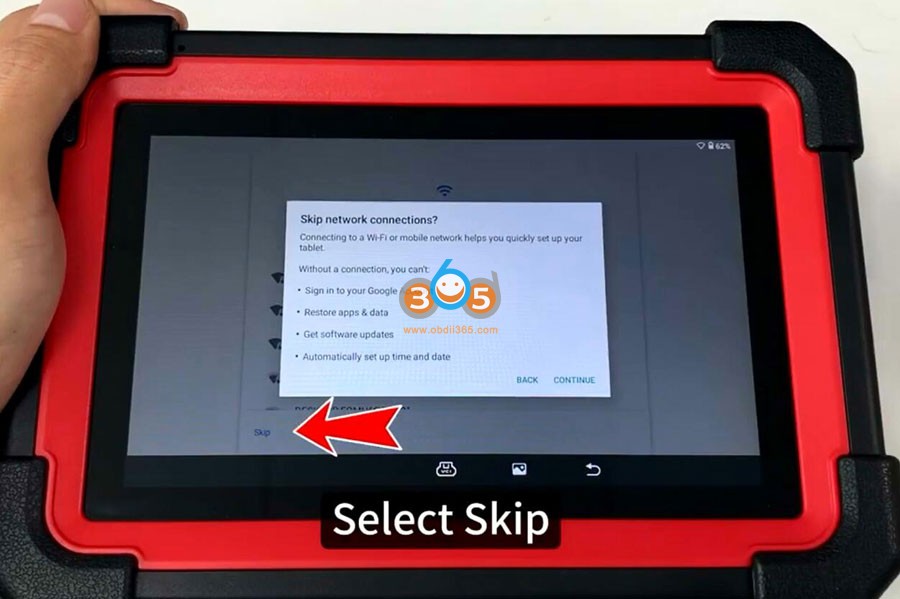
Skip network connection
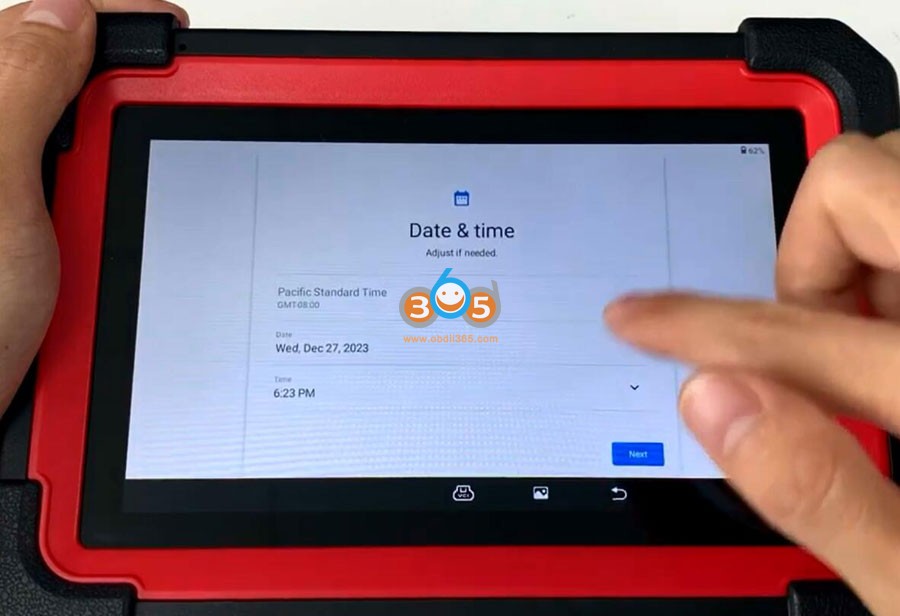
Select your time zone
Accept Google service agreement
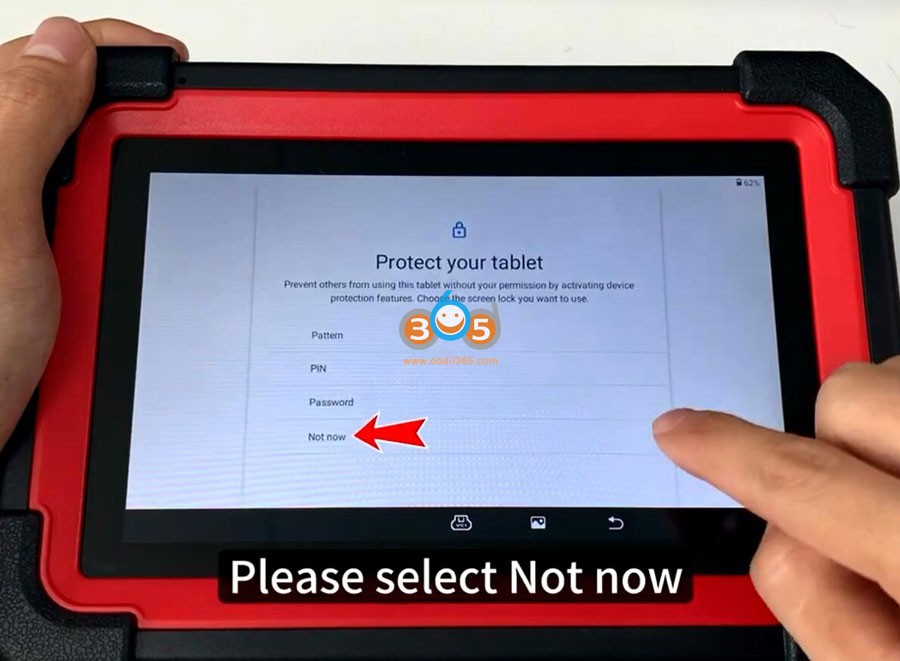
Select Not to set tablet pattern PIN and password now, press Skip anyway
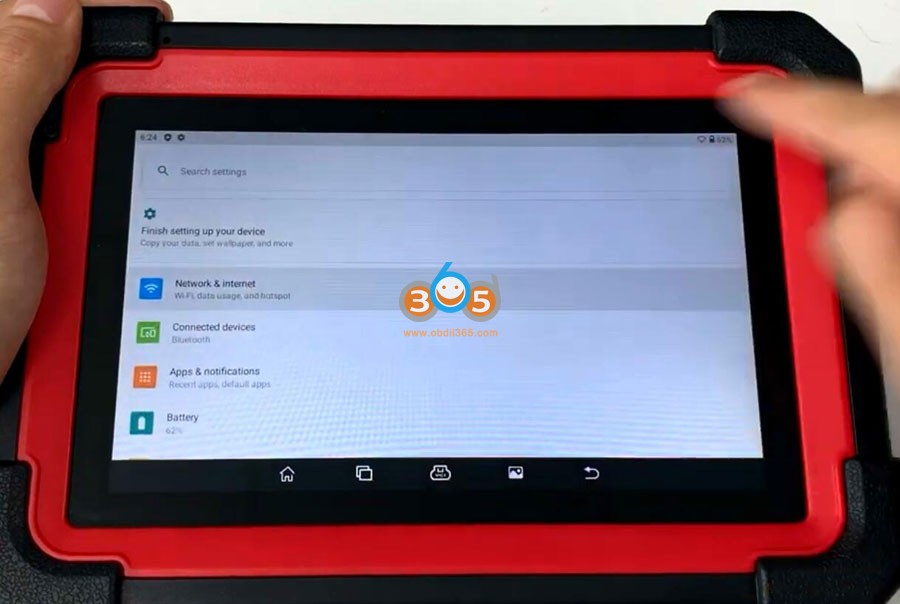
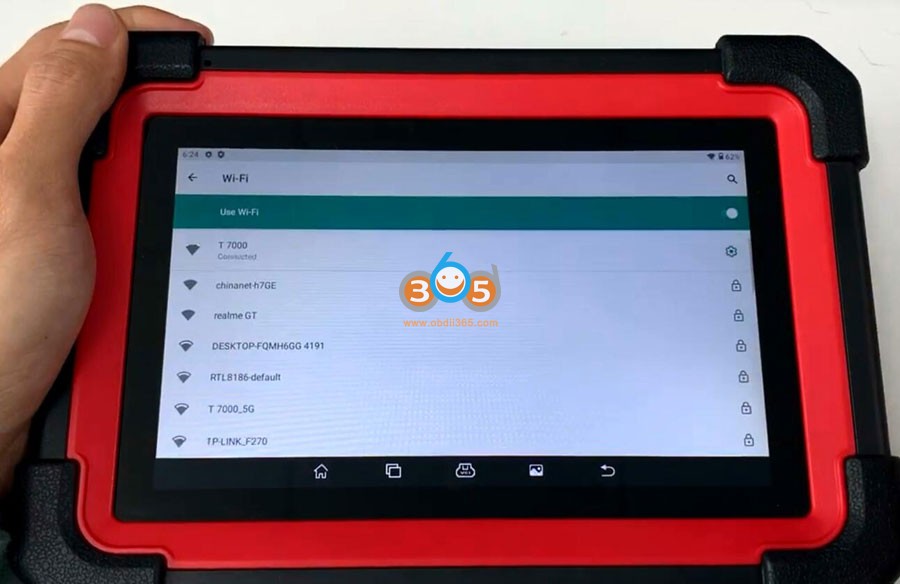
Go to Setting->Network & Internet
Connect your WiFi

Go back to Home menu
pull up menu and you will see this menu
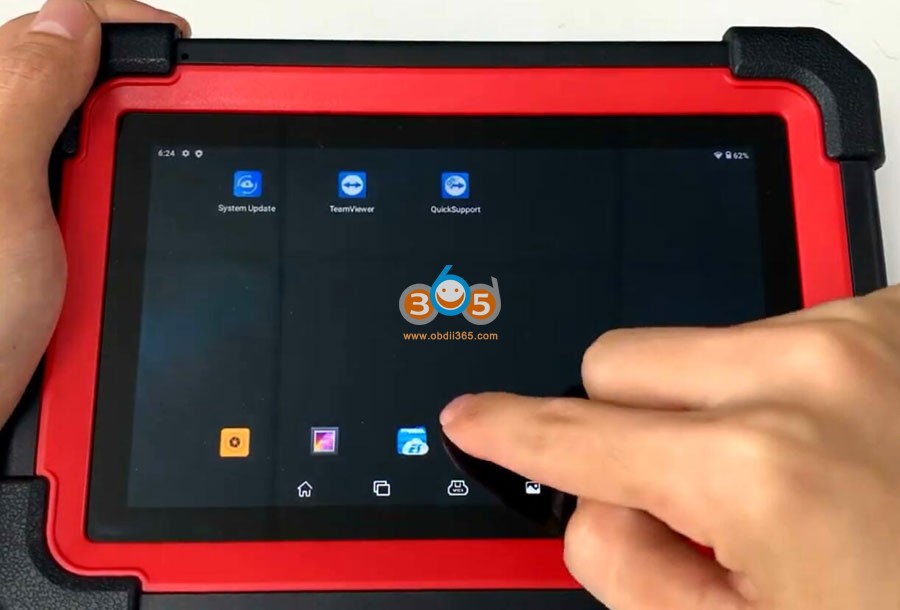
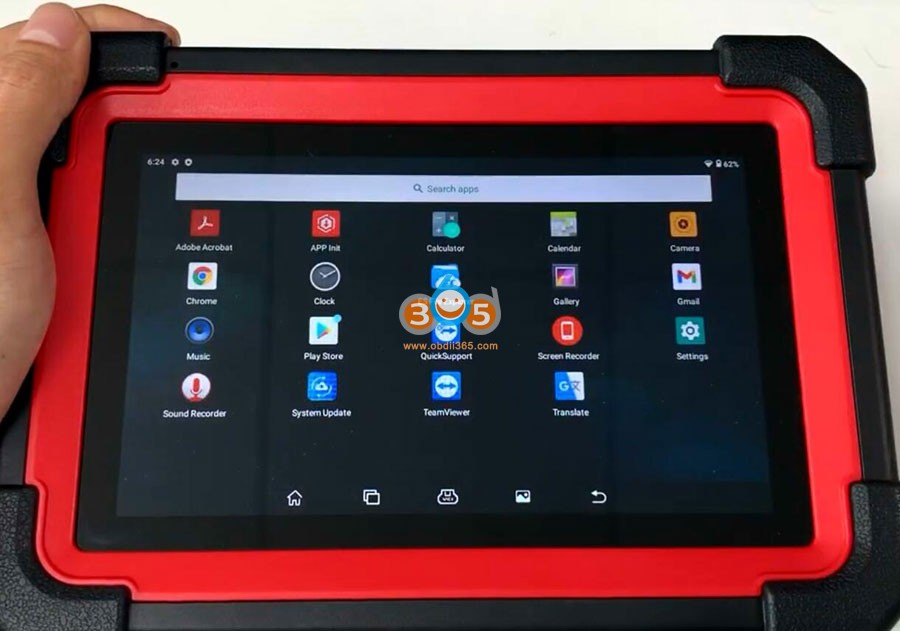
SelectAPP Init
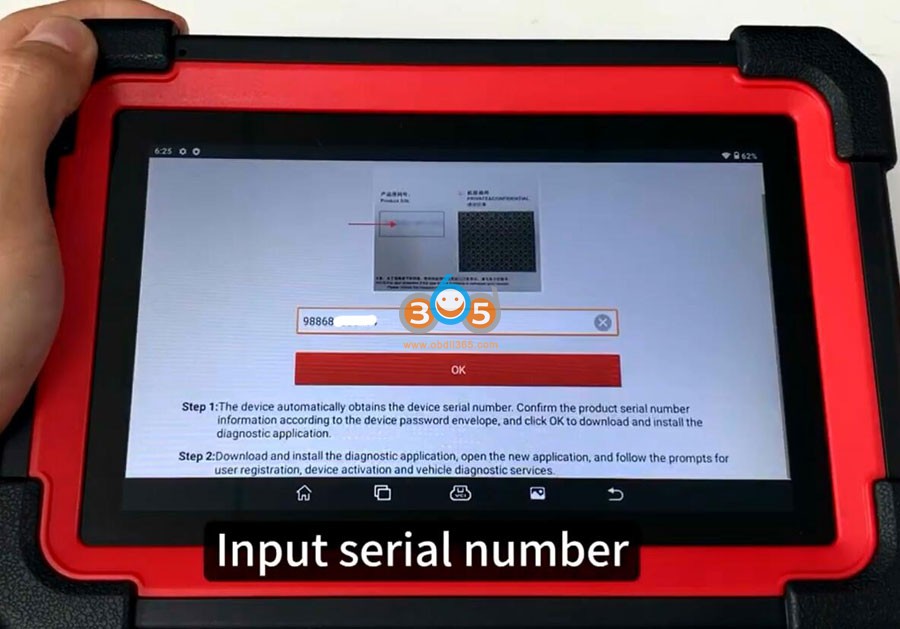
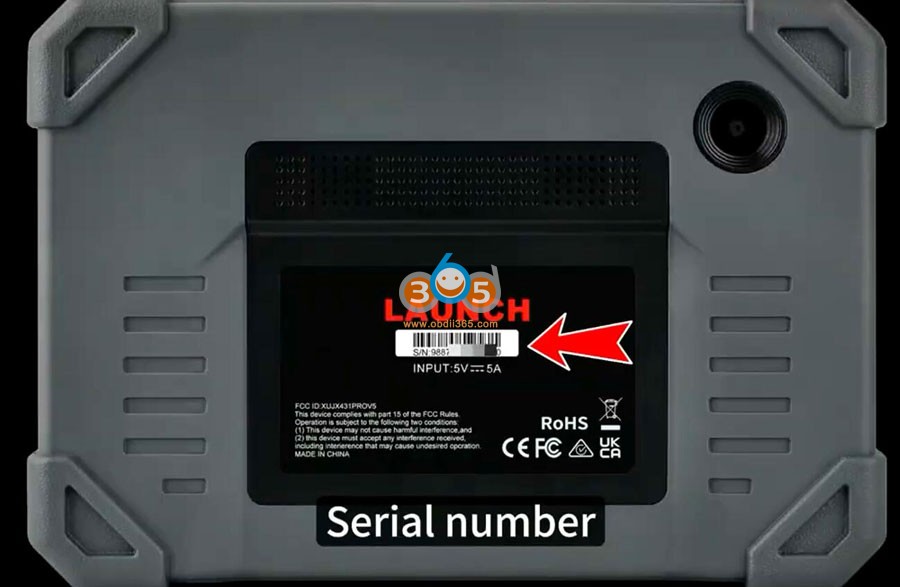
Enter serial number to access
Serial number can be found on the back of the machine
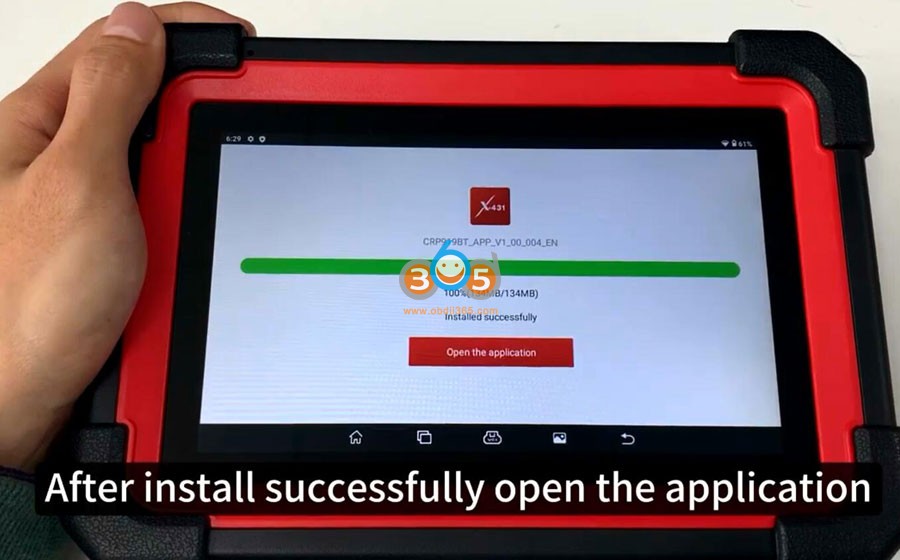
Start downloading CRP919 APP, don’t disconnect
After install App successfully, open the application
Allow CRP919 to make and manage phone calls
Allow to access device location all the time
Allow to access photos, media and files on your device
Allow to record audio
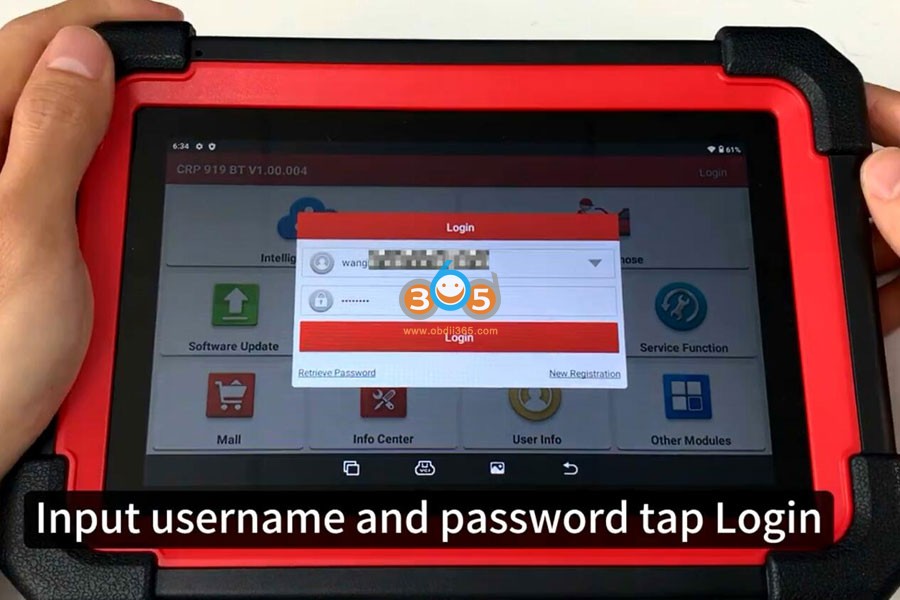
Now you can login yourLaunch CRP919scanner with user name and password
Select Update and update software
Posted by: jean at
07:19 AM
| No Comments
| Add Comment
Post contains 225 words, total size 5 kb.
February 27, 2024
Question 1:Can I use Autel VCI j2534 doip interface like the Maxiflash Elite with JLR Topix Cloud or need JLR SDD doip?
Question 2:Autel J2534 has anyone used with jlr pathfinder I have it working with sdd but know pathfinder need doip so not sure if it will work?
Here is the clue.
The J2534 thats comes with it will allow you to connect to the OEM software to do the programming.
If you are using an Autel J2534 device then first download and install Maxi PC Suite on your laptop. After that you need to register your device in that and then you will be able to connect JLR using Autel J2534.
If your J2534 does not have a DoIP protocol, it won’t be able to handle Pathfinder information.
DoIP stands for diagnostics over IP or diagnostics over internet protocol.
One of our clients has a J2534 that came with the IM608, but does not have DoIP protocol, and it wouldn’t work on 2019 Land rover.
Just wasn’t communicating with the car. His IM608 JVCI did not have the right protocol did not meet with the landrover specs.
Which Autel J2534 comes with DoIP protocol?
Autel VCMI that comes withMSUltra
Autel JVCI+ that comes withIM608 II
New Autel MaxiFlash VCI that comes withElite II pro,
.jpg)
If comes with JLR SDD, Autel J2534 works fine with JLR SDD. All good.Even programmed ECM completely several times and coded immo functions.
Just tested today.
I had got installed Maxi Suit. Installed JLR SDD 163, restarted and open software until asks for automatic vin detection. Plugged j2534 Autel on usb port, wait 30 seconds. Click on autovin detection and j2534 and interface was detected ok (software sends an error about ignition voltage, obviously because interface was not plugged on a car). Looks like all works perfectly.
If you need a cheaper alternative that works perfectly with JLR Topix Cloud,VNCI JLR DoIPis the best one to go.
Posted by: jean at
07:44 AM
| No Comments
| Add Comment
Post contains 342 words, total size 4 kb.
February 26, 2024
Problem:
2011 toyota Rav4 push to start. Fcc should be HYQ14AEM I’m usingXhorse XM38generated key usually works like a charm. The key was new and reprogrammable.Autel Im508says success learning but reads 0 keys dash did come on with 1 beep in process instead of 2.

Possible solutions:
1. Check the signal strength. If its 6 set to 0. I had this issue with a prado and fixed it with signal strength changed to 0
2. Take the board out of the case and it should give you 2 beeps had same problem other day with a Lexus.
Sometimes I’ve had in the past if the wrong xhorse profile was used you need to program in a non toyota smart key profile to the key (I usually choose a random mazda one) then reprogram the correct toyota profile and try program to the vehicle again.
When the wrong profile is used or it fails it stores some data that doesn’t change when changing to another toyota profile. By programming in a completely different type of vehicle key/transponder type it can then clear that data.
I think this may be a common problem I can’t remember how I found this solution, it’s worked for me many times in the past.
I also do the manual reset procedure on the xm38 remote but I don’t think that really does anything. (Remove battery. Hold down lock button and reinstall battery, light will stay solid let go of lock, program in new profile)
And as others said definitely haveXM38board out of case while programming to vehicle.
3. Use original key, always works.
Posted by: jean at
06:43 AM
| No Comments
| Add Comment
Post contains 279 words, total size 3 kb.
February 23, 2024
Problem:
Recently, JLR Pathfinder Topix was updated and they also updated the drivers for the original JLR DOIP VCI to version R2_4_22_62.
With the new version of Topix it also requires updated drivers for the VCI.
One of obdii365.com’s customers reported that after updatingVNCI JLR DoIPVCI driver, the JLR VNCI did not work with the latest Topix Cloud. It used to work fine with JLR Topix for online programming (seereview).
Error not connect VCI. Start update driver, it throws another error the connection between the PC and the VCI has broken.
Image attached:


Solution:
JLR VCI driver version needs to match the firmware version in VNCI device manager.
Download VNCI JLRDevice Manager update tool(to update firmware).
Update device manager software andVNCI JLRfirmware to the latest version.

Update software and firmware in VNCI update tool. Then update JLR VCI driver. It should be fine.
User feedback:
It works after upgrading firmware to 1.0.0.7.
Works fine with Pathfinder and latest version of Topix.
Posted by: jean at
07:30 AM
| No Comments
| Add Comment
Post contains 171 words, total size 6 kb.
February 22, 2024
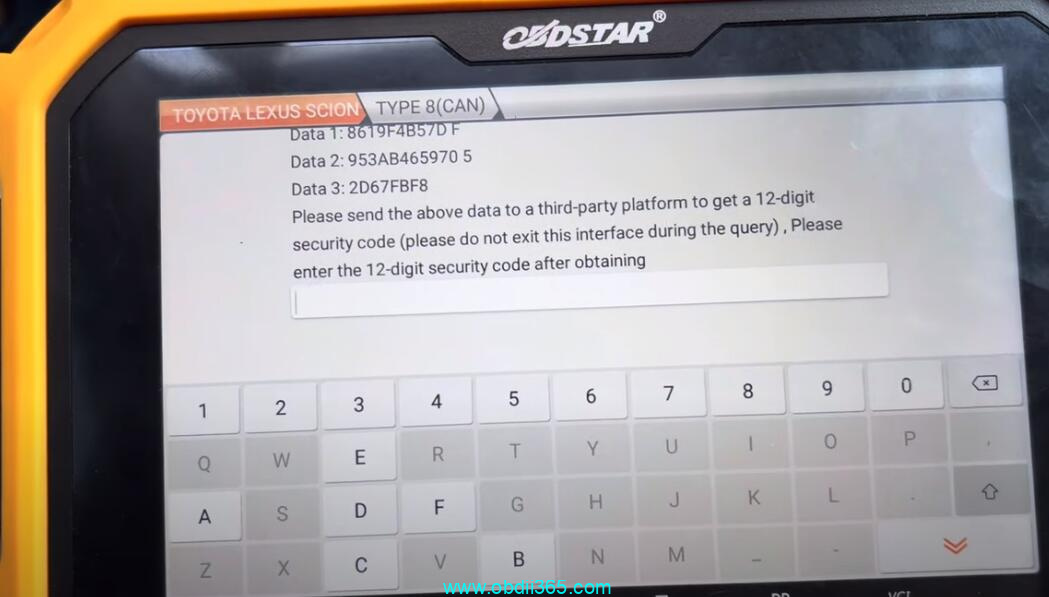
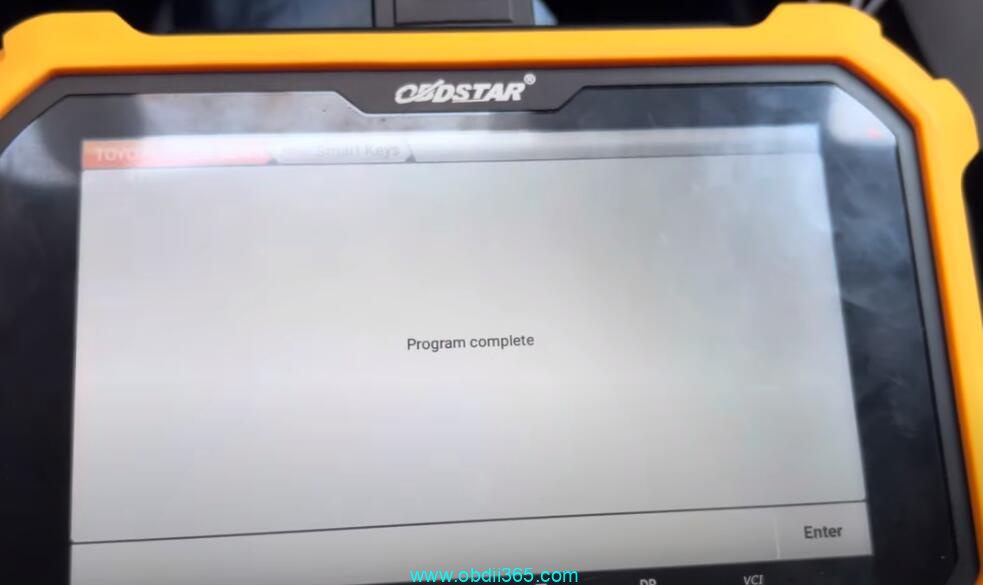
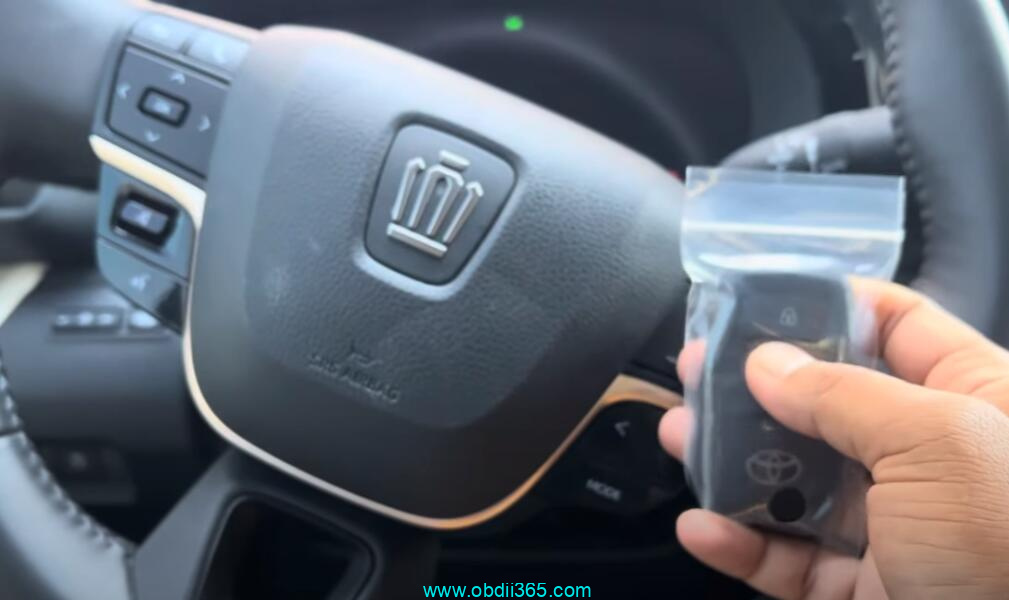
How-to: add 2024 Toyota Crown spare smart key usingOBDSTAR X300 DP Plusand 12-digit security code.


Select Toyota/Lexus->Manual Select system->Proximity->Type 8 (CAN)
Read key information


Select Add Smart Keys, function requires network connection
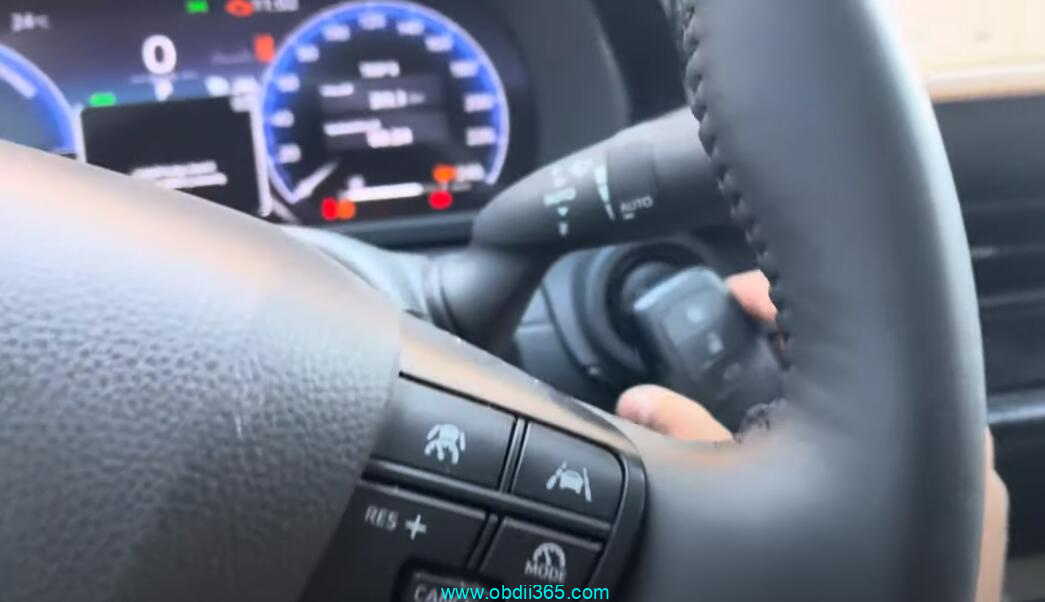
Turn on the ignition switch
OBDSTAR x300 dp plusasks if immo data has been saved.
If you don’t have a bypass cable you cannot read immo data and you will need need pincode. Now mostly no need pincode because we can get baypass the code.
Here we don’t read immo data.
Press ESC


OBDSTAR will ask 12 digit pin to access

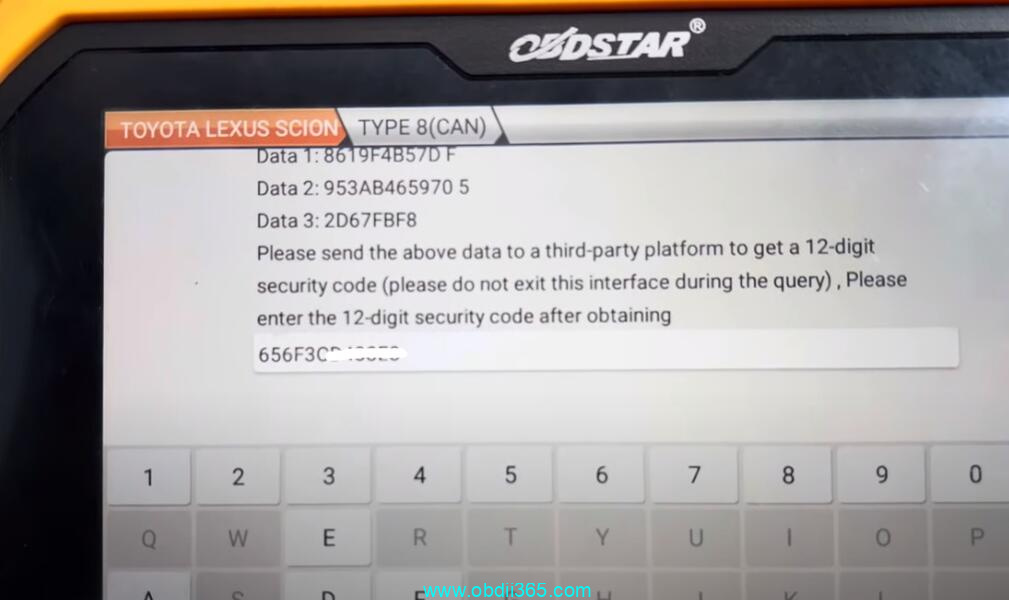
Send data 1-2-3 to 3rd party to get 12-digit pin code
Enter security code

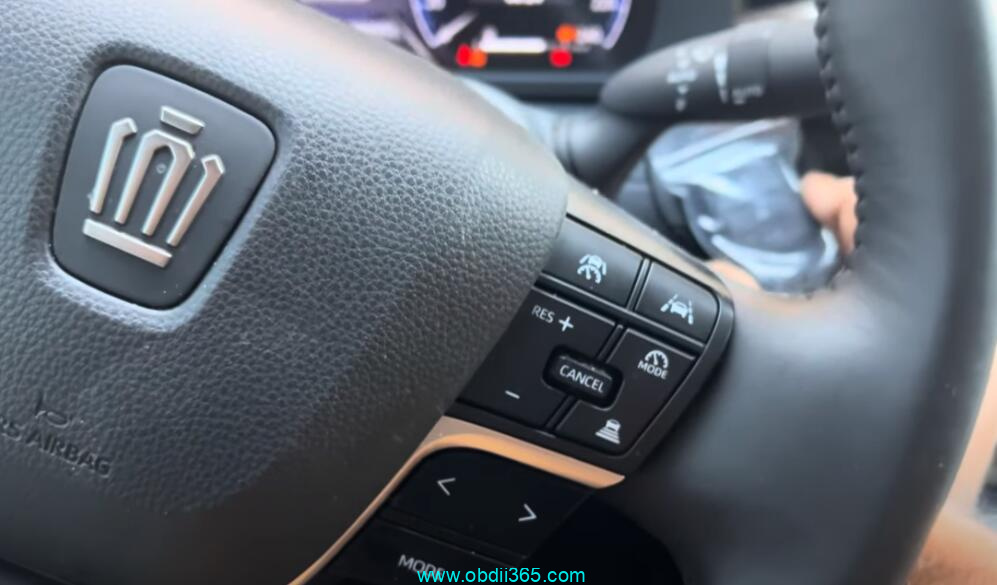
Put a working key to Start button
Put a new key to Start button


Posted by: jean at
08:52 AM
| No Comments
| Add Comment
Post contains 137 words, total size 15 kb.
February 21, 2024
Australian MQ Triton Proximity. Customer took for a swim. Add Xhorse Prox key viaAutel KM100using theMQB style Prox.
Pathway: Mitsubishi/Automatic Selection/L200 ~ Strada/Smart Key/2015+Water logged key in programming slot in the centre console, pincode for this model / region = 0707 (Km100 didn’t require)
Insert the Xhorse key backwards (flip key release button doesn’t allow you to insert normally)
Wait 30sec & done.


Posted by: jean at
06:45 AM
| No Comments
| Add Comment
Post contains 72 words, total size 2 kb.
February 18, 2024
Chevrolet Silverado 2022 lost all keys. Successfully programmed a new key withOBDSTAR X300 DP Plus.
Good to use jumper cable for healthy (12v) battery support.
Just obd programming withOBDSTAR CAN FD adapter.
GM server is down. For add or all keys lost both need third party pin code calculation.


Posted by: jean at
06:34 AM
| No Comments
| Add Comment
Post contains 59 words, total size 6 kb.
February 17, 2024
Problem:
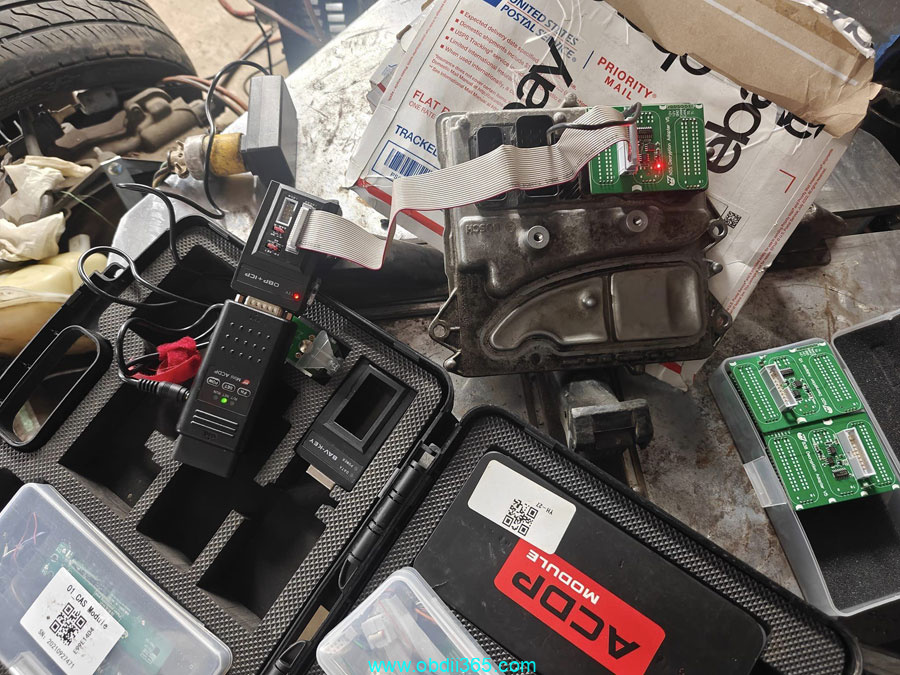
Anyone have issues reading a mevd17.2 N55 DME?Yanhua Mini Acdpcould not connect to either DME but my other tools could.

Solution:
You need to move green jumper and, will read easily
Happens with N55 a lot.
this one marked in red. Move JUMPER.
Try again after moving jumper.

ACDP also makes a fly out harness with wires and pins you should try that.

you should be able to it does the same as the circuit board. The circuit board only have traces that go direct to the pins to save the hassle of using the harness but you should be able to use the harness too.
OBDSTAR DC706andMP001will also read this DME without issue.

http://www.key-programmer.org/2024/02/17/yanhua-mini-acdp-failed-to-read-bmw-mevd17-2-dme/
Posted by: jean at
07:05 AM
| No Comments
| Add Comment
Post contains 130 words, total size 5 kb.
February 02, 2024
Problem:
One of our customers was trying to read and write GMC Bosch T93 TCM withOBDSTAR DC706 and P003 adapterbut had no luck.
Image attached:


There are Global A and Global B platforms in T93 Transmission Control Module.
DC706now only supports Global A T93 before year 2020.
Read and write INT eeprom/flash for -2020 Cadillac, Chevrolet and GMC Bosch T93 SPC5888.
If failed to read ad Global A T93 TCM, provide device serial number, vehicle model, year and operation date to obdstar engineer to check data log.
It cannot read and write 2020- T93 Global B.
For Global B T93 need HPTuner.
Posted by: jean at
07:35 AM
| No Comments
| Add Comment
Post contains 111 words, total size 4 kb.
32 queries taking 0.1292 seconds, 210 records returned.
Powered by Minx 1.1.6c-pink.

