


May 31, 2021
Problem:
I bought aVCM2 china clone, it works with ids 101.01 in VMware 10 with XP SP3.
But, although it connects well to ids and VCI Manager (V101.01), it can’t detect or connect to my ford mondeo PCM.

Finally Fixed!
Well,managed to downgrade the firmware using ids V86 (version 2.1.1.5) and now the VCM2 can connect to the car.
For the first time I listen the relay clicking.
VIN and the characteristics of the car was readby ids V86.
The clone vcm2 is working well with ids V86.
It is sufficient to me, it covers my 2011 mondeo.
A bonus is that thisVCM2also work with forscan, nice!
A new problem: unable to do Modules programming
But It wasunable to do Modules programming(I want to setup the SASM module, the mondeo pull to the right although it visit some 10 or more 4 wheel alignment shops, it has almost 2º to the right when steering wheel is centred).
How to do?
The padlock symbol means you do not currently have full communication with vehicle yet it doesn’t mean blacklistedYou need to activate module programming with extender software which lasts for just 120 days but can be renewed as often as you wish
Please downloaded "Ford Extending Programming.rar file, it is used to solve †errorselectionnotavailableafterenteringmoduleprogrammingâ€
https://mega.nz/file/gREkDChZ#7Yo8_ks39I0Wr6-k8nspZauR6qMqvdfcqeHlR60GMxc

Hope it helps!
Posted by: jean at
06:54 AM
| No Comments
| Add Comment
Post contains 232 words, total size 3 kb.
May 28, 2021
As titled, Can we dial with Chrysler (Dodge Jeep) 2020 2021 models with the Microod2 China clone wiTECH 1.0 (17.04.27)? Here are some clues.
There are 2 Micrpod II clone interfaces available:
SP271-C1without WiFi. This one with wiTech 1.0 supports Chrysler till 2017/some 2018.No possibleto support Chrysler 2020 or newer.
SP271-C2withWiFi module.
It has the possibility of doing latest Chrysler bychanging the serial numberto work withwiTech 2.0. wiTech 2.0 requires MOPARS 2017 secure micropod II VSP-31560 or above.
We don’t provide Serial Number service nor tutorial. You are at your own risk.
Tips:
If you have clone with serial number change 000000 will not work because the serial number is lower then recommendation per witech2 must havenew Micropod2 number starting 31xxxx must higher able can using witech 2 diag application.
You can use witech1 17.04.027 but you need pay some set up this version pass FCA check up when you launch witech1 application ..BUT you can’t log in dealer connect if you have log in techauthority ID not dealer connect tech ID & dealer codes.
Some FAQs:
Q: will be possible to work online?
A: Yes, tested by many.Online subscription to TechAuthority works with both USB and WIFI MicroPod 2.
No difference if the Micropod 2 is clone or genuine, both of them work perfectly for diagnostics and programming, online or offline, with TechAuthority account.
Q: Does wiTech 2.0 still have a DRB III emulator?
A: The DRB 3 Emulator is no longer included with the wiTECH software, it was removed a few years ago.
You can download DRB3 from third-party resources and test with micropod2 clones. Security is unknown.
or go forwiTech VCI Podwhich has DRBIII emulator included in default.
Q: Does the scanner MicroPOD II witech 2.0 also read the old Chrysler??
A: No, the Micropod 2 with WiTech 2.0 software will only work on most CAN compliant vehicles 2007 and newer, and some Chryslers back to 2004.
For vehicles not covered by WiTech software you will need a DRB III or DRB III emulator.
Q: How to work online micropod2 through witech 17.04.27?
A:
-First you need to get a TechAuthority subscription, directly from TechAuthority or from AEtools (You can order a 3-day subscription).
-Then open the Witech program and when the Micropod 2 is detected click the "Next†button at the right bottom in the screen.
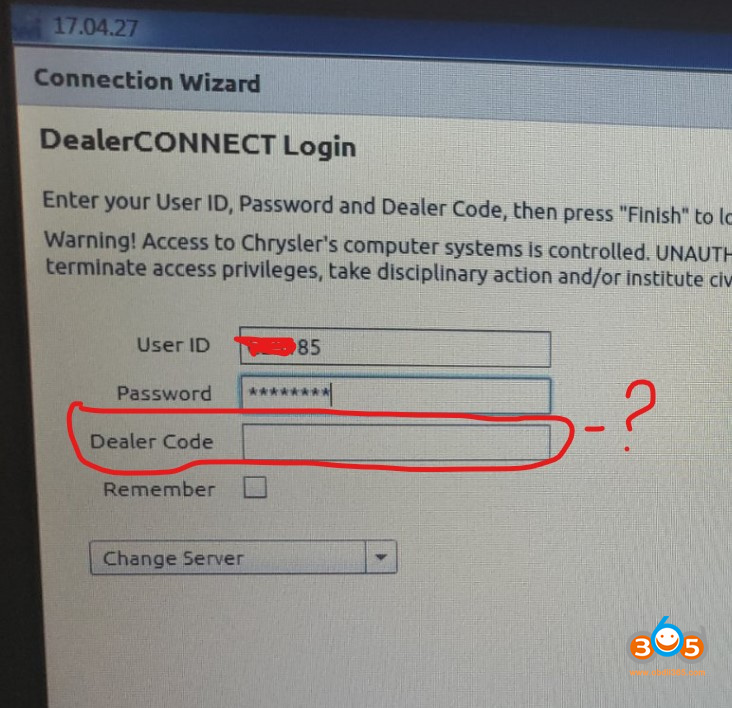
-In the next screen you have to enter your license credentials but the first option is only for dealers: username, password and dealer code.
-To use the TechAuthority account you need to click in the tab "change server†and select "Techauthorityâ€, then you only need your username and passsword, not dealer code needed because TechAuthority access is intended for aftermarket or independent workshops.
With TechAuthority access we can use all functions in Witech 17.04.27 for diagnostics, calibrations and programming. We can Update or reprogram the PCM, TCM, TIPM… also we can program a new key or make "Restore vehicle optionsâ€, "Reset Ecu†and many other calibrations like "Learn ETCâ€, "proxy alignmentâ€â€¦, also we can install a new module and make a full flash or configuration. All of this is only possible for vehicles until 2017, for vehicles from 2018+ we need to use Witech 2.0.
FYI: There is a hardware bypass solution for the SGW that uses the chrysler 12 + 8 cable, i.eAutelorLaunch X431with AutoAuth access.
http://blog.obdii365.com/2021/05/28/does-witech-micropod2-clone-work-on-chrysler-2020-2021/
Posted by: jean at
09:08 AM
| No Comments
| Add Comment
Post contains 605 words, total size 5 kb.
May 27, 2021
Yanhua tech released new module 18 for Mercedes Benz DME and ISM reflash without soldering in May 2021.

This is a PECU cable inYanhua Mini ACDP module 18.
Which Benz car models can work with?
- Support Mercedes-Benz CR3.XX/CR4.XX/CR5/CR6/CR60.XX/CRD.11/CRD2.XX/ME 2.8/ME17.7/ME9.7/MED17.7.X/SIM266/SIM271DE2.0/SIM271KE2.0/SIM4LE/SIM4LKE/ etc.DME refresh

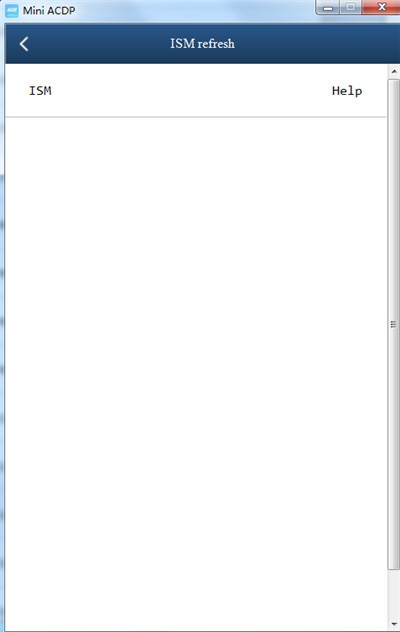
- Support Mercedes-Benz ISM refresh
How to Reflash DME/ISM withYanhua ACDP?
1.Connection diagram
Reflash Mercedes-Benz DME:
Connect ACDP, PECU line and DME as shown in the figure

Mercedes-Benz 271 DME connection diagram:

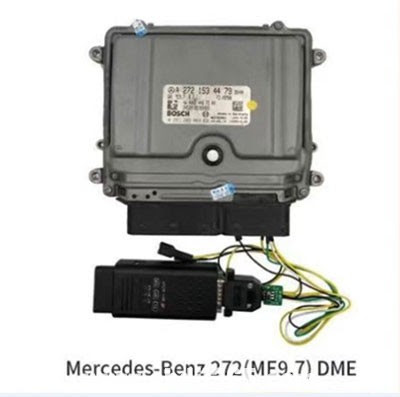
Mercedes-Benz 272 (ME9.7) DME connection diagram:
Reflash Mercedes-Benz ISM:
Connect ACDP, PECU line and ISM as shown in the figure


2.Operate on Mini ACDP APP
Make sure the connection diagram is proper, and then go to run Mini ACDP APP.
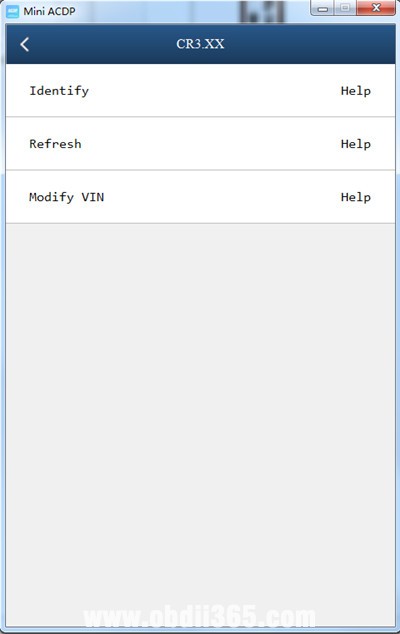
Tap "Benzâ€-> "DME refresh†or "ISM refreshâ€-> select the corresponding DME model you desire

*For Mercedes DME Clone, requiresModule 15, For gearbox clone/reflash, requiresModule 16.
Click "Identify†to see if the DME is communicating
Then click "Refresh†to refresh the IMMO info
Note:Don’t cut the power or pull out the device during the operation.
If you want to modify VIN, select "modify VIN†option to operate directly.

Posted by: jean at
09:09 AM
| No Comments
| Add Comment
Post contains 190 words, total size 8 kb.
May 25, 2021
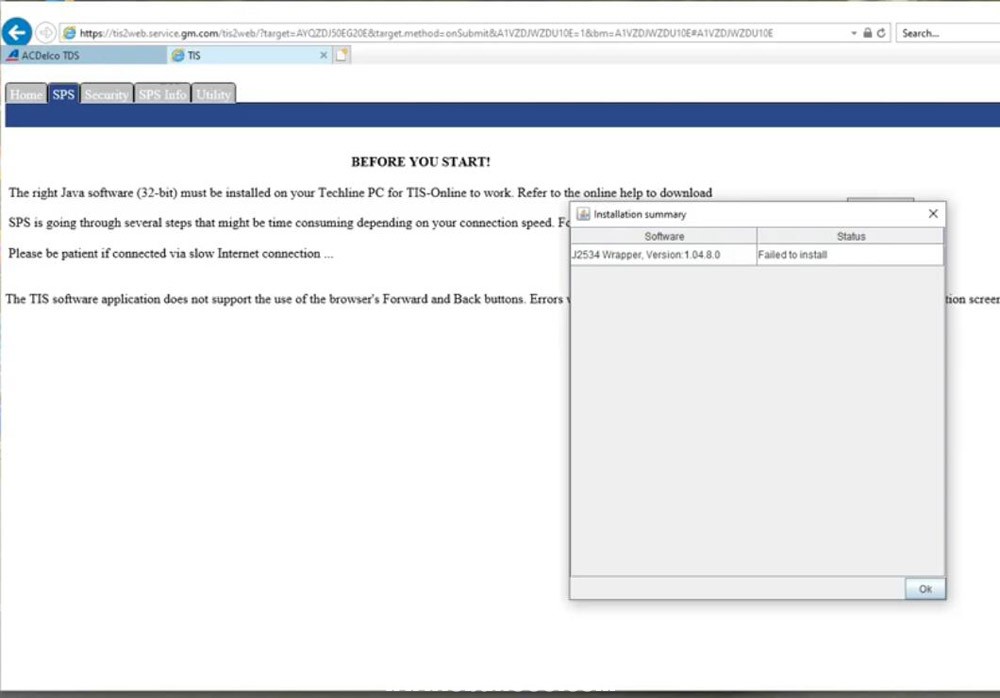
Some may have j2534 wrapper driver installation error when performing GM SPS programming byGM MDI/MDI2/VXDIAG VCX NANO GM. Here is an official workaround from GM and it’s super easy.
The solution was tested with Internet Explorer, Firefox and Chrome on Windows 7 and Windows 10 systems though GM would rather you use IE on Win10.
GM released a new version (1.04.8.0) version of the J2534 wrapper and they force your hand into installing it, even if you have the old version. However, the installer isn’t asking for UAC permission.

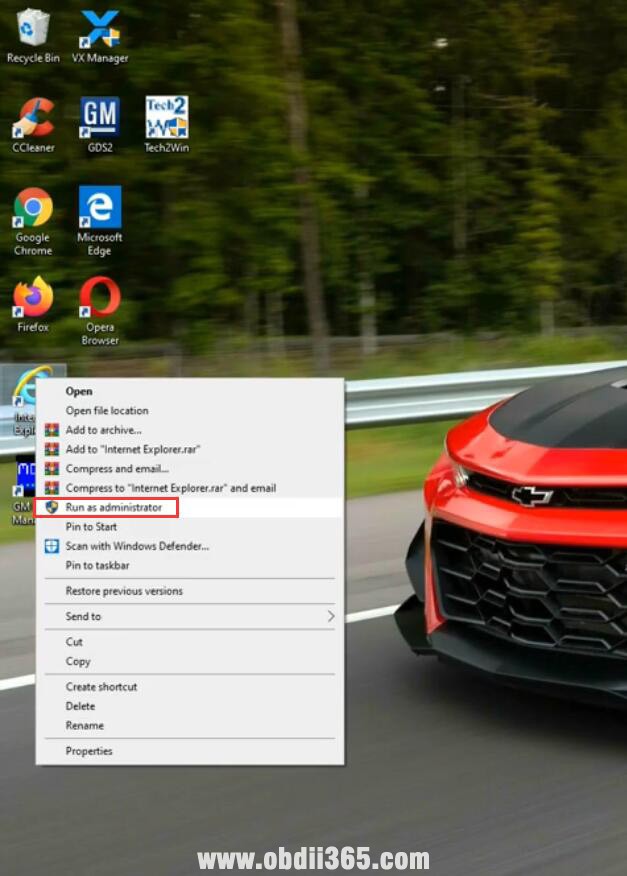
Run IE as administer
Press Yes if Windows ask to allow app to make changes to the device
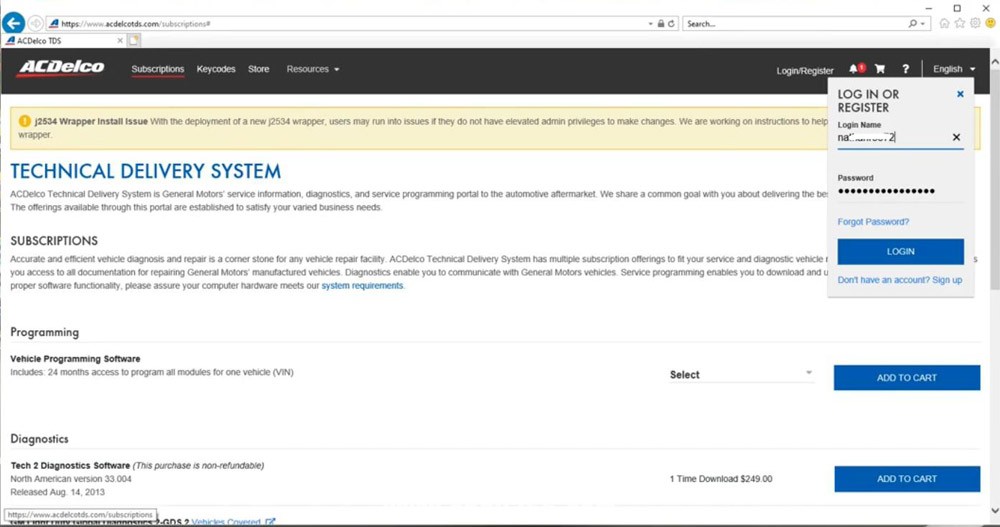
Login to your ACDelco TDS account
Go to SPS programming
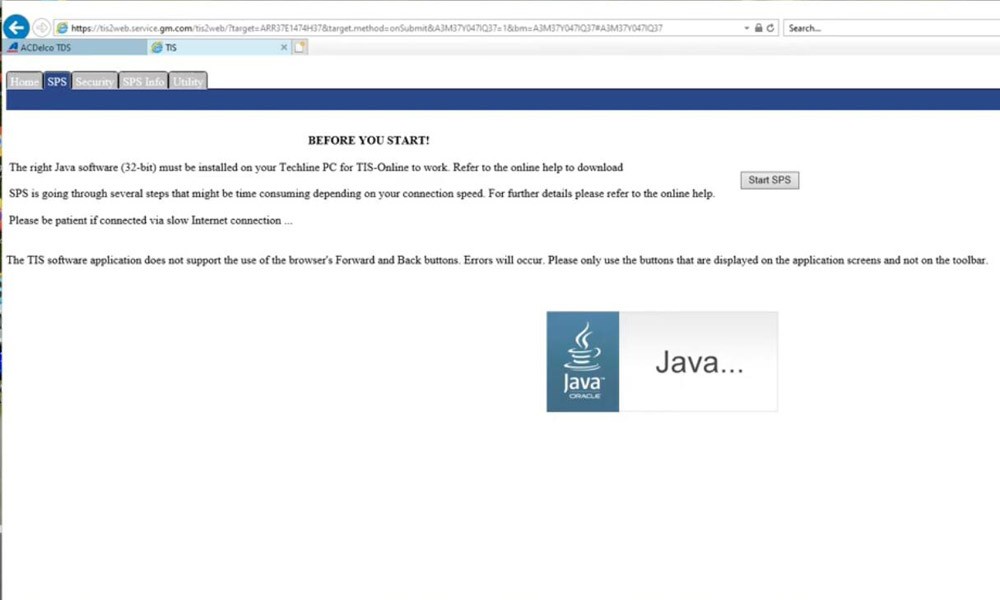
Start SPS
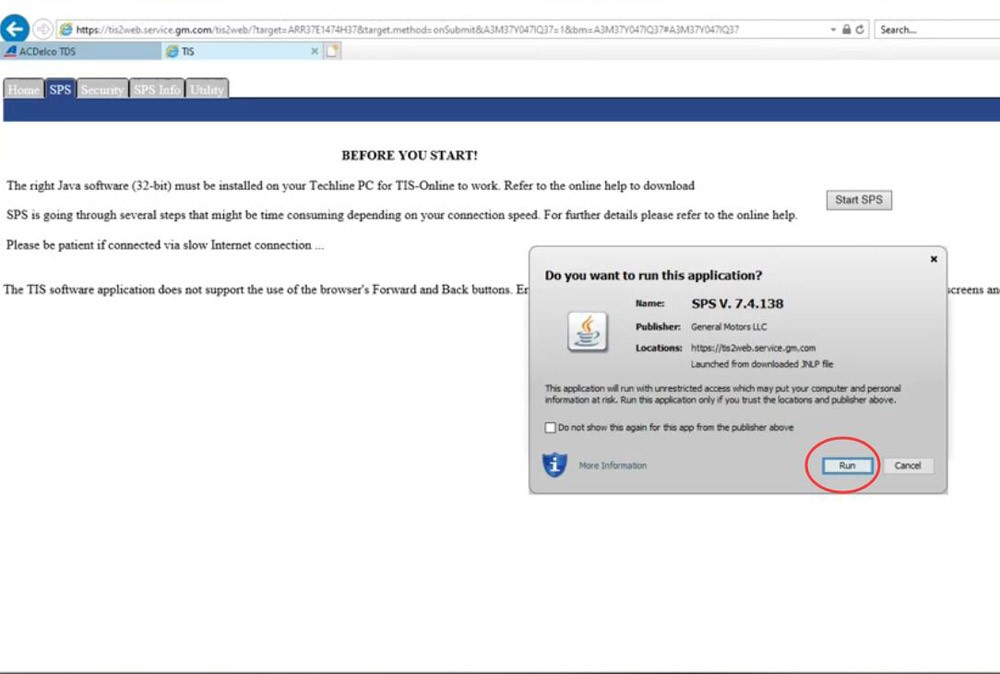
Run SPS application
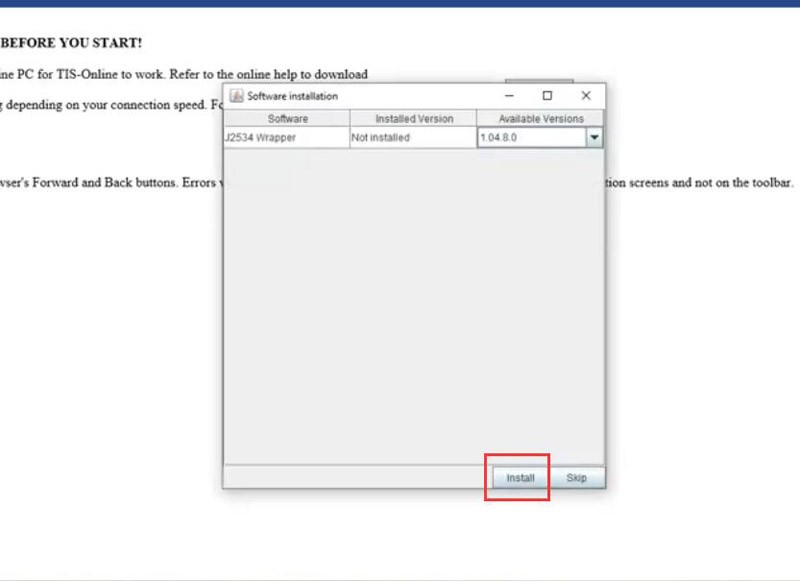
Install j2534 wrapper
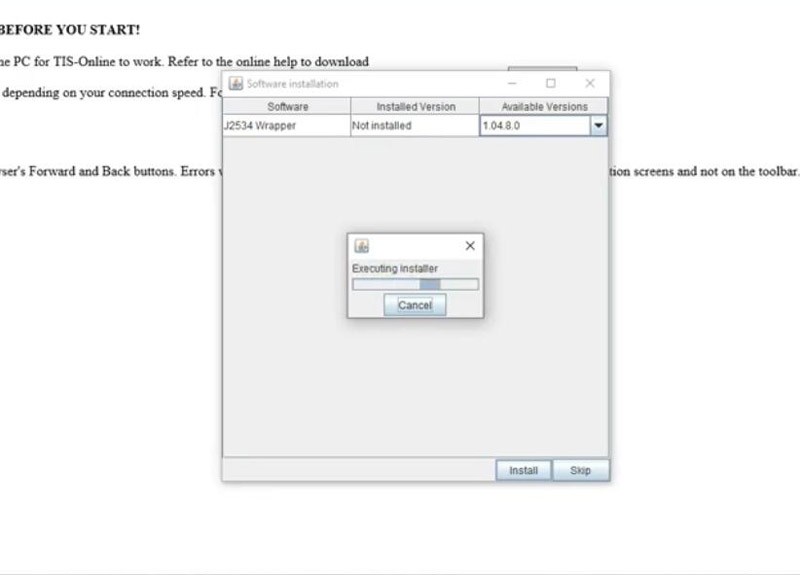

j2534 wrapper driver install successfully

Connect device, Select J2534 device and start SPS programming.
Example:
Buick SPS Online Programming using vxdiag vcx nano gm:
Posted by: jean at
09:22 AM
| No Comments
| Add Comment
Post contains 157 words, total size 7 kb.
May 24, 2021
Lots of people need ICOM because they have no more desire for various cables. Here is a DIYBMW ICOM Next clonemodification guide to solve errors made by the manufacturer affect the connection with machines of different years and models.
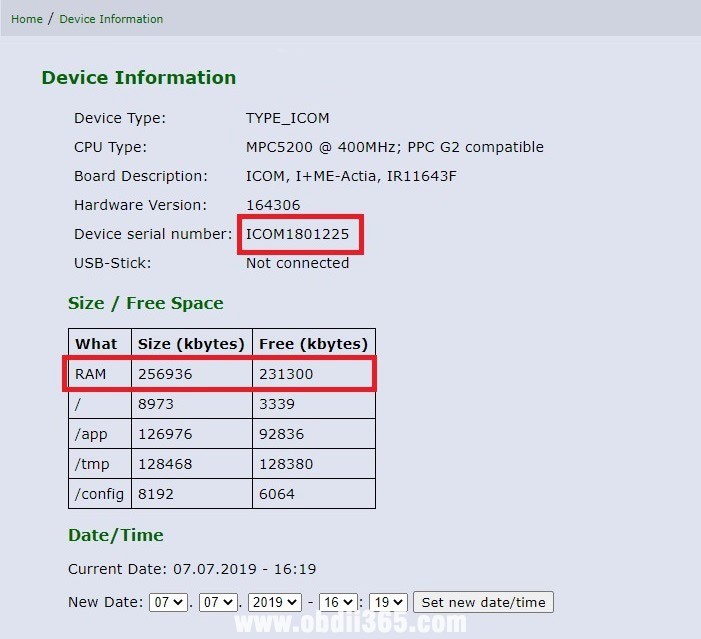
ICOM sees only one 128MB memory bank, and it should be 256MB. After fixing all the errors, you can check the work with cars and motorcycles of different years and models. Diagnostics of coding and programming were checked, no errors were detected.
Disclaimer: Thanks Ferrum for all the information. We are not holding responsibility for the damage.
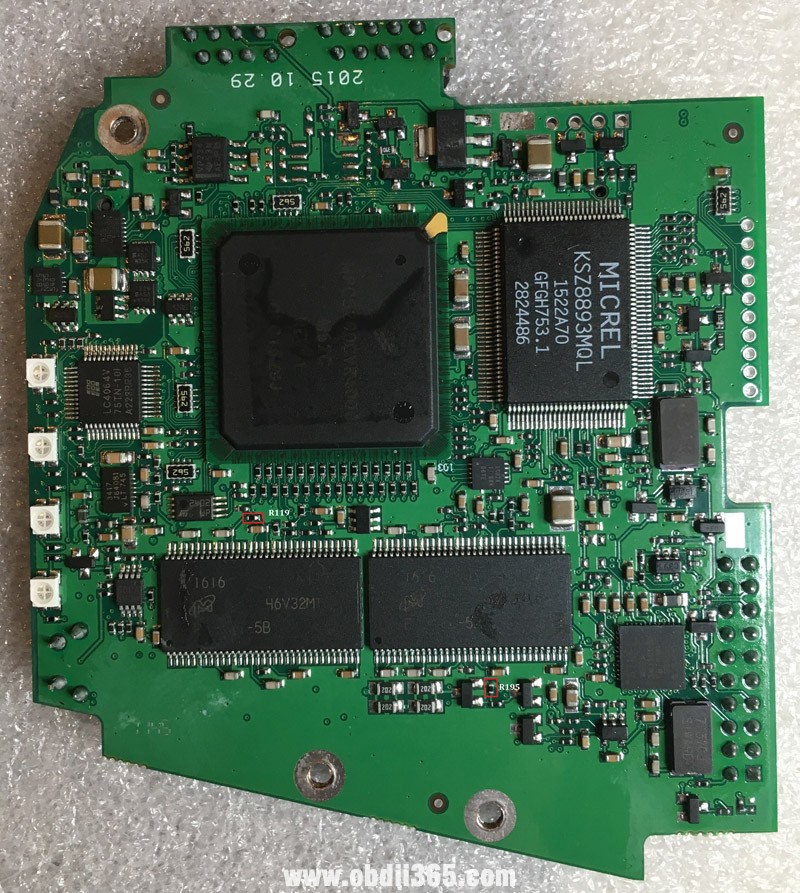
All manufacturer errors NEW ICOM NEXT China clone
swap
R292<->R293
R155<->R156
R178<->R179
solder
R15 52ом
replace
R119 1к
R280 R285 R195 38к
Y4 active 33000 3.3v
*(33.333 must be replaced by 33,000. Antennas need to be glued from the outside to the side plates)


There are ICOM2 clones with the same manufacturing errors. You can understand this by the amount of memory or if R195 = 0kom
Such a board has exactly the same errors. R119 is installed 10kom instead of 1kom. This disables one memory bank.
Test and feedback:
Reset switch works, resistors replaced, serial changed. Icom now sees 256 memories, managed to updateICOM Nextto version 03.15.04. Now icom starts up faster.


Posted by: jean at
07:01 AM
| No Comments
| Add Comment
Post contains 219 words, total size 6 kb.
May 19, 2021
How-to: Renault Duster 2010-2013 all keys lost transponder key programming byXtool X100 Pad2orX100 PAD3(PAD Elite) via eeprom.
Step 1: Read Pin Code
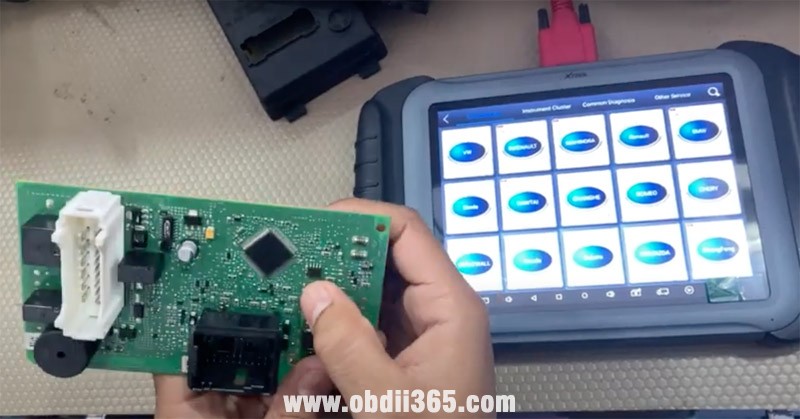
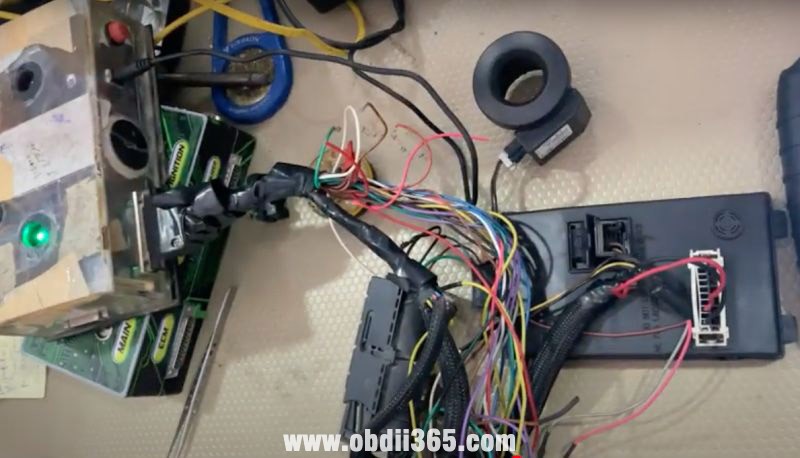
Remove Renault Duster BCM module and disassemble the module
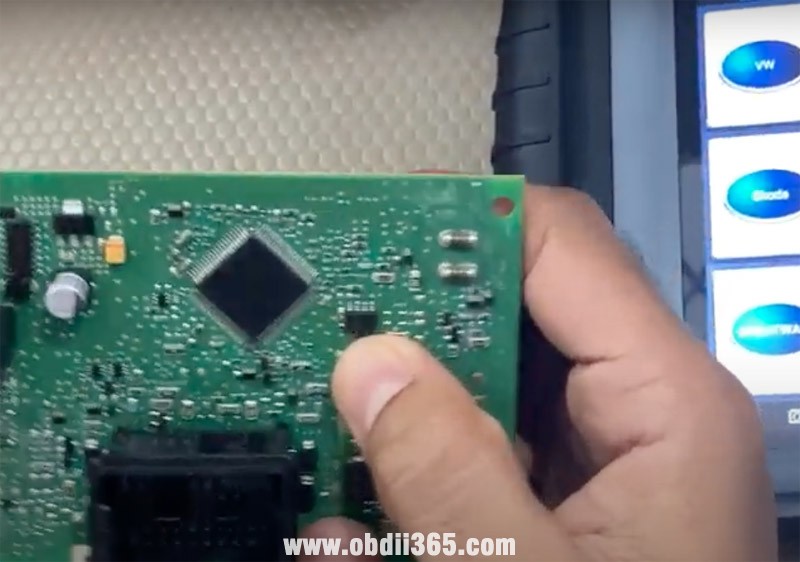
Locate chip ic 95040
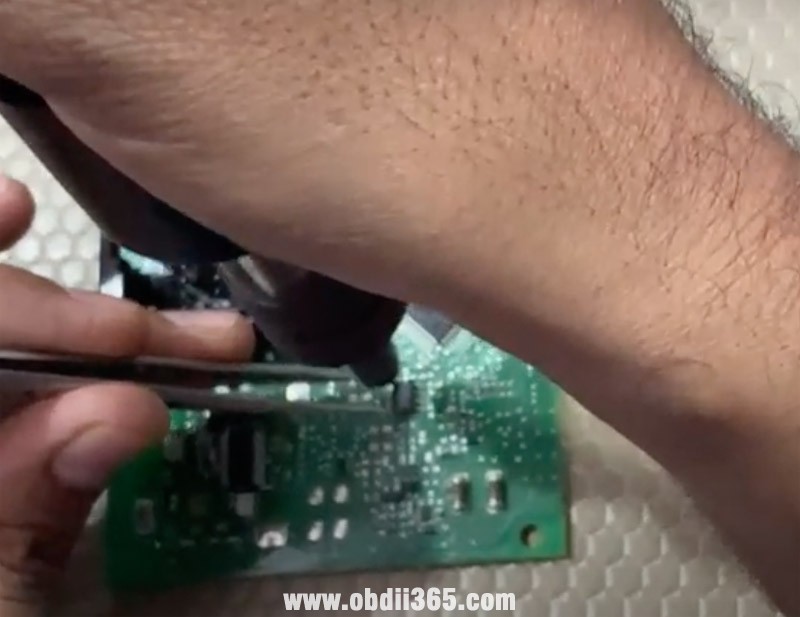

Desolder the Eeprom chip into xtool adapter
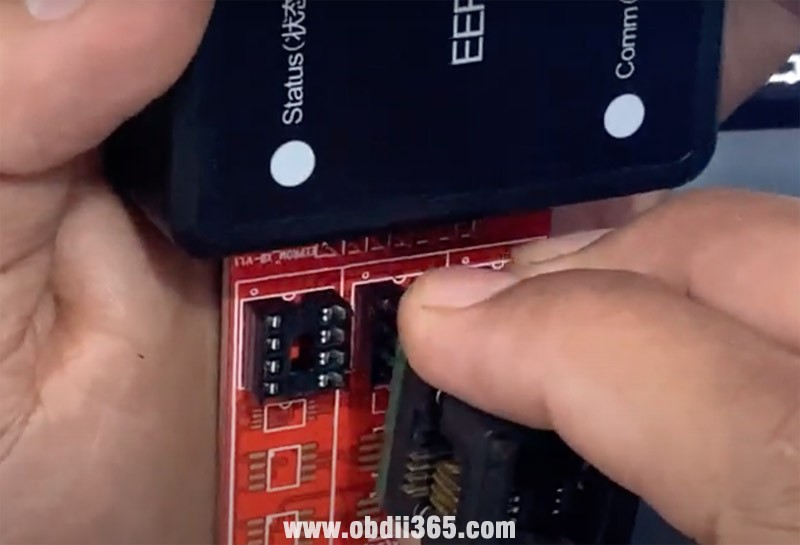
Connect the adapter with xtool Eeprom adapter (25XXX)
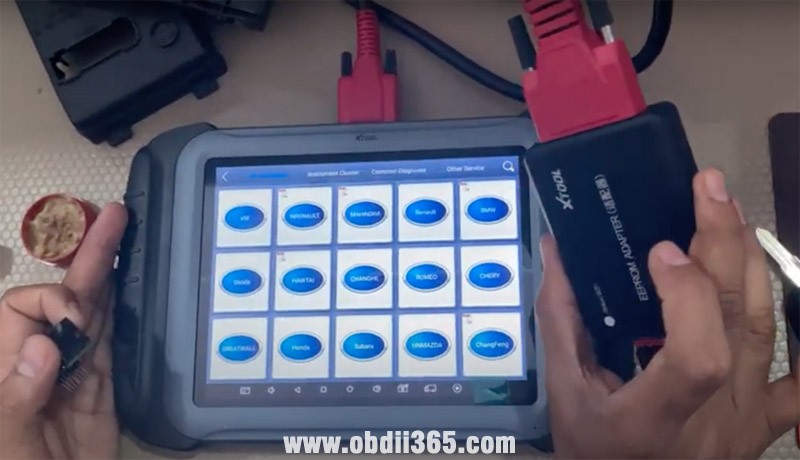

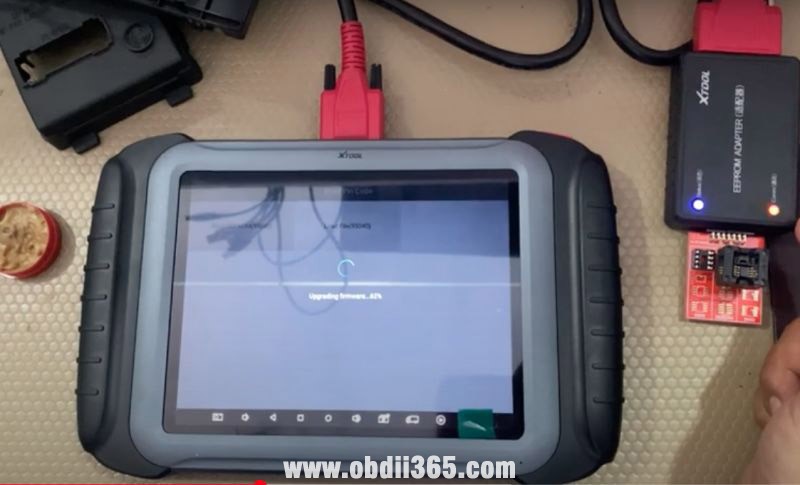
Then connect Eeprom adapter withxtool x100 pad3
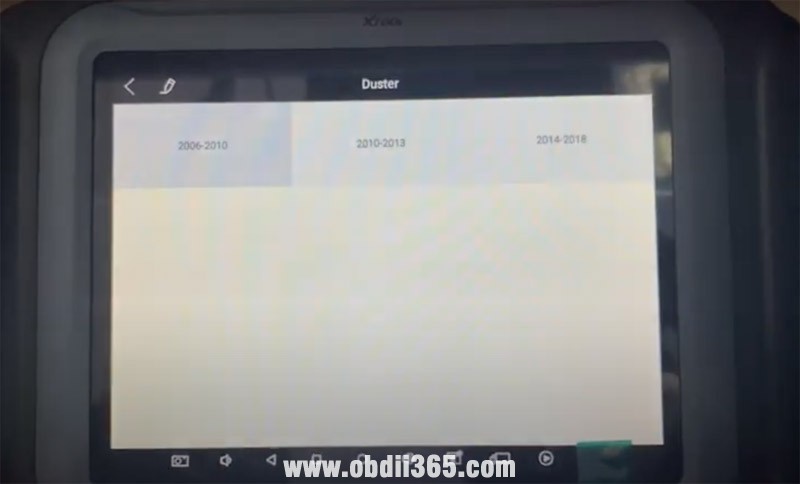
In x100 pad, select Renault ->Immobilizer->Duster->2010-2013->Read pin code->Read Eeprom (95040)

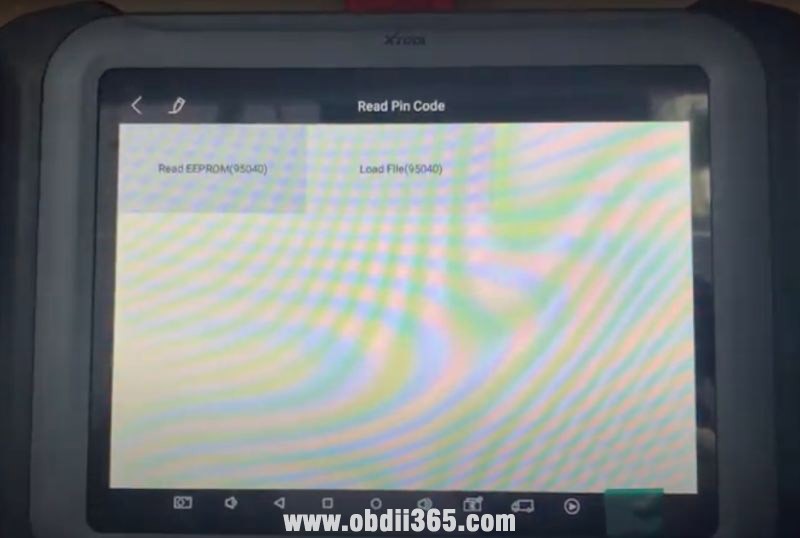
Eeprom adapter communication indicator flashes
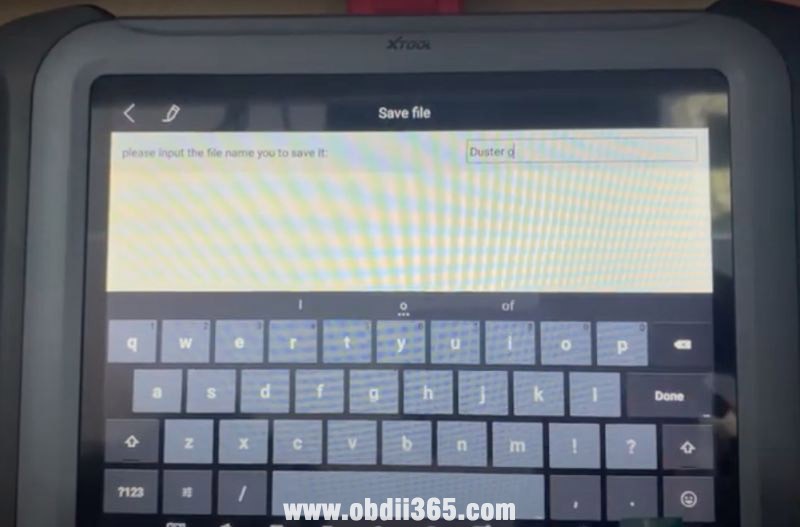
Read data success, save data
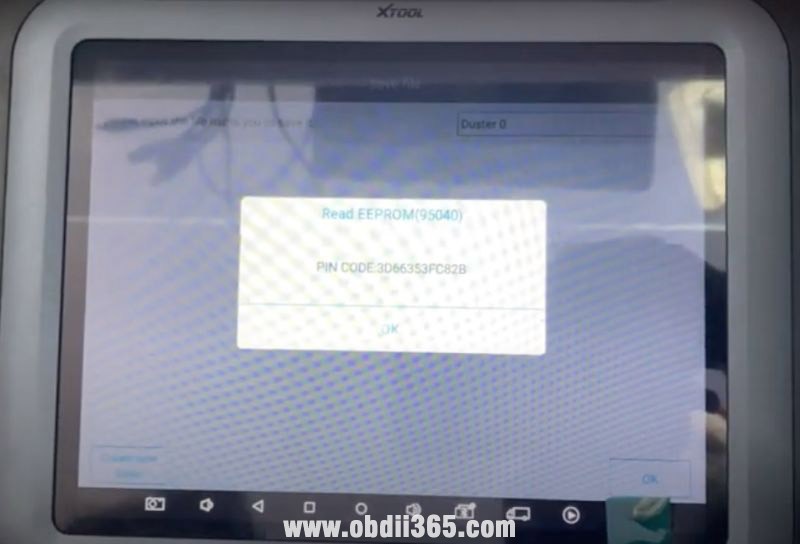
Calculate pin code success
Take a screenshot of the Pin Code.
Step 2: Program Key
Solder the eeprom chip back to BCM board and install BCM module

Feed with power supply and ignition equipments
Select Renault ->immobilizer->Duster->2010-2013->Program key
Switch ignition off, remove the key from the ignition switch
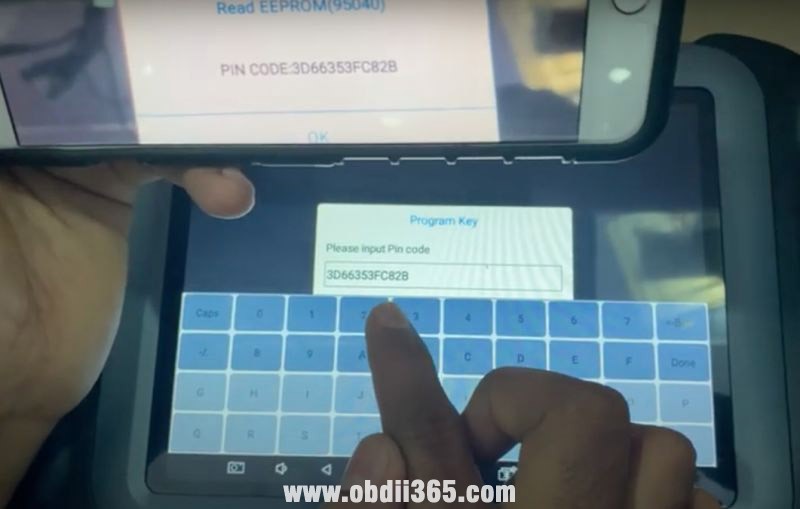
xtool will ask to input pin code to access
Manual enter pin code in step 1 and confirm
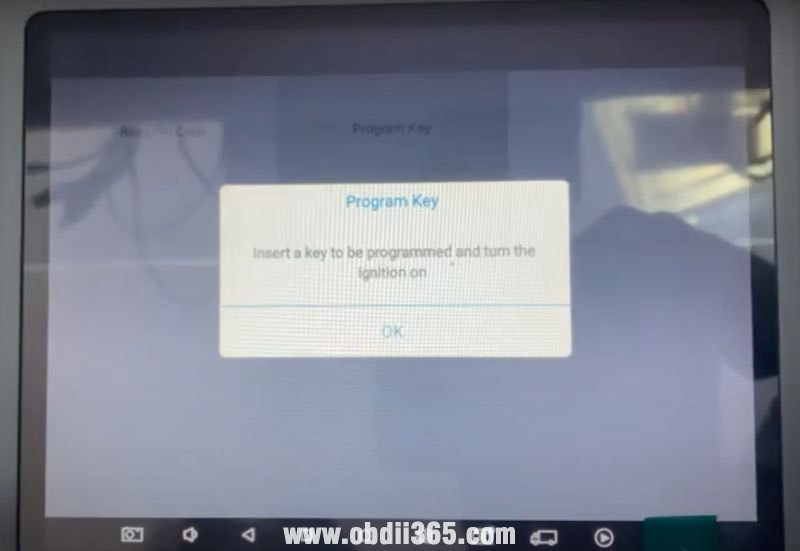
Insert a key to be programmed and turn the ignition on
Wait for 10 seconds
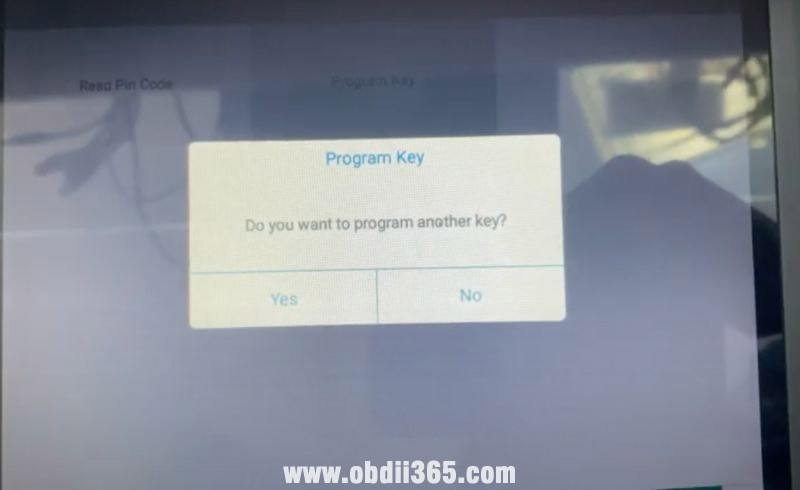
Program key success, select not to program another key
Turn the ignition switch off
Wait for 10 seconds

Program key finished.
Test the new key.
Done.
Posted by: jean at
06:51 AM
| No Comments
| Add Comment
Post contains 197 words, total size 12 kb.
May 18, 2021
I ordered aDOIP MB SD C4 PLUS with software xentry 2021.3and was able to use this hard drive for 2 hours then it crashes. I was told me to change Bios to ACHI . That did nothing.

obdii365.comengineer replied:
Please refer to the following operation steps to fix your system.
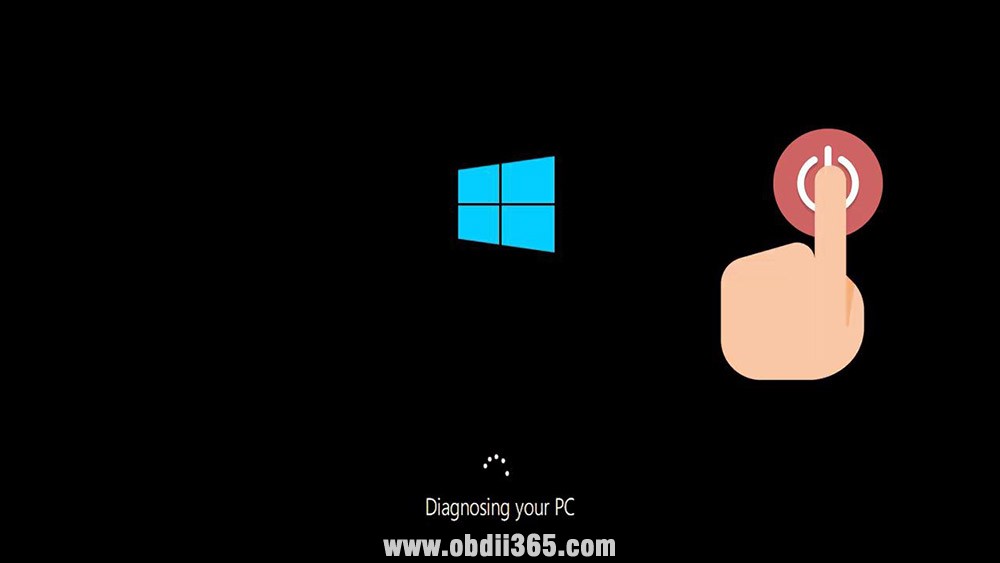
Firststart your PCandpress the power buttonwhile it tries to load the windows to force it to shutdown, do this three times in a row to get the automatic repair screen.
You could also disconnect it from the outlet, click on advanced options.

Click on troubleshoot.
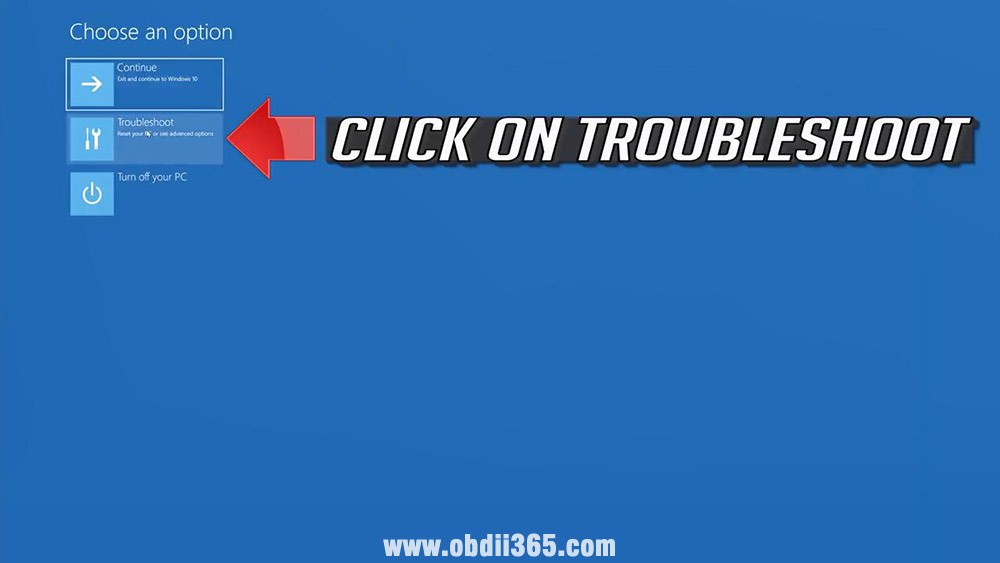
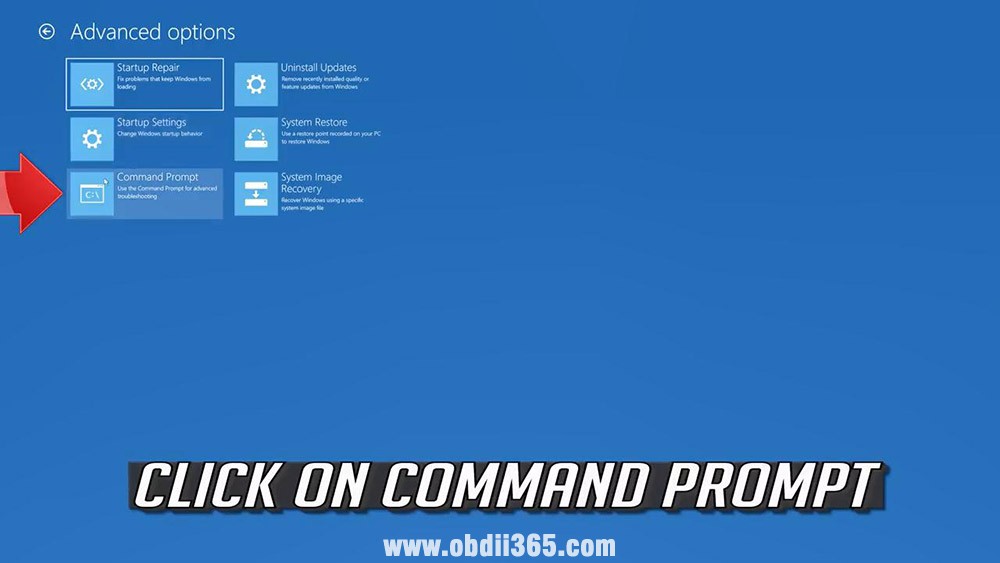
Click on advanced options.

Click on command prompt.
Type in your password, and if you don’t have one just press continue.
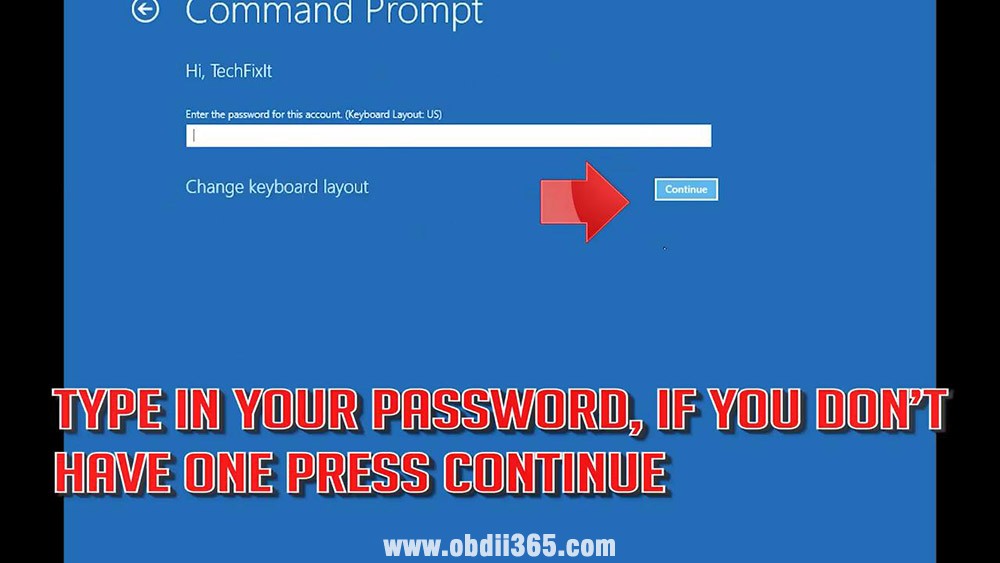
Now type BOOTREC / FIXMBR and then press enter.
Type BOOTREC / FIXBOOT and then press enter.
If you get access denied, type the following command and then try again.
Type: BOOTREC / FIXBOOT and then press enter.
Type: BCDEDIT /EXPORT C:\ BCDBACKUP and then press enter.
Type: ATTRIB C:\BOOT\BCD -H -R -S and then press enter.
Type: REN C:\BOOT\BCD BCD.OLD and then press enter.
Type: BOOTREC / REBUILDBCD and then press enter..
Type: Y and then press enter.
Type Exit and then press enter


Press continue to restart.

Using tips:
Alright, if not lucky to repair by following the above method, you can find a USB flash drive to make the system boot, if you have a USB flash drive, contact at obdii365.com engineer who can make a USB flash drive for you remotely by teamviewer, then you follow the above operation to repair your system.
After I make a USB flash drive for you, you can insert the USB flash drive into the computer that cannot start, and then enter the PE system to repair it.
Alright, this is how to repair the windows system forDOIP MB SD C4 PLUS with SSD software 2021.3.
Posted by: jean at
08:27 AM
| No Comments
| Add Comment
Post contains 324 words, total size 8 kb.
May 14, 2021
The software for "TESLA†of the LAUNCH X431 PAD series (PAD VII,PAD V, PAD II, X431 Throttle etc) has been completed and distribution has started.

Click the "Mall†icon on the top screen.
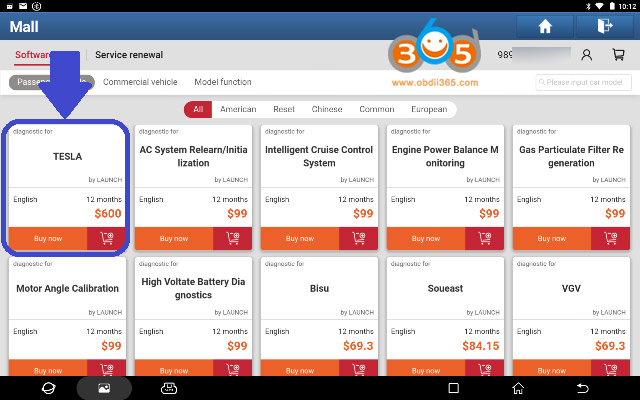
You can purchase the "TESLA†software separately in "Mall†by card payment.
You can update for one year.
It is an optional software because it cost a lot to develop.
The most expensive software you can buy at the Mall is $600.
Other optional software is available in "Mallâ€, i.e commercial vehicle software, Motor angle calibration, Gas particulate filter regeneration, engine power balance monitoring, AC system relearn etc
There is a list of compatible models of "TESLA†software:
Tesla Model S and Model X
2016-2020
Model S 2014 2015 2016 2017 2018 2019 2020
Model X 2016 2017 2018 2019 2020
Accessible systems
BDY
THC
TPMS
PARK2
SDM by BOSH
TAS
BMS
ESP
https://www.obdii365.com/wholesale/brand-launch-x431/
Posted by: jean at
07:33 AM
| No Comments
| Add Comment
Post contains 155 words, total size 2 kb.
May 13, 2021
Yesterday I got myGODIAG V600 BMW scannertogether with the HDD software (ISTA+ 4.2![]() . The question is why can’t I be connected to the internet. If this software can’t have this connection because it will break haw can I update this software?
. The question is why can’t I be connected to the internet. If this software can’t have this connection because it will break haw can I update this software?
One more thing, if I have to register your tool and I can’t turn on internet how do I do it. Your HDD has window 7 an my laptop also had windows7 I think it shouldn’t be a problem. Please help me. Thank You

Finally, it is working, and I can connect v600 with this bmw software to test. Big thanks toobdii365.comengineer who open teamviewer remotely to help me.
He assisted me all before I go ahead to connect to the car including activating the software that I do not need to activate again.
Here are two tips that I share with you:
- For the product key on the paper (shown as below), This is the registration password of v600, not the activation of bmw software.


- Do not need the VMware network.
- obdii365.com engineer concludes one sheet of Godiag-v600 user manual including login, upgrade, join the wireless network, configure AP hotspots, license, account management etc.
https://www.obdii365.com/upload/pro/21032216164790473495.pdf
Have fun!
Posted by: jean at
05:52 AM
| No Comments
| Add Comment
Post contains 208 words, total size 3 kb.
May 12, 2021
Autel MaxiIM IM608won’t do BMW Mini with EWS3. Tried all different ways, from reading it with another tool using the eeprom data etc. But it does have the function to code a new remote using the barcode. IM608 coded the remote through diagnostic but won’t program chip.
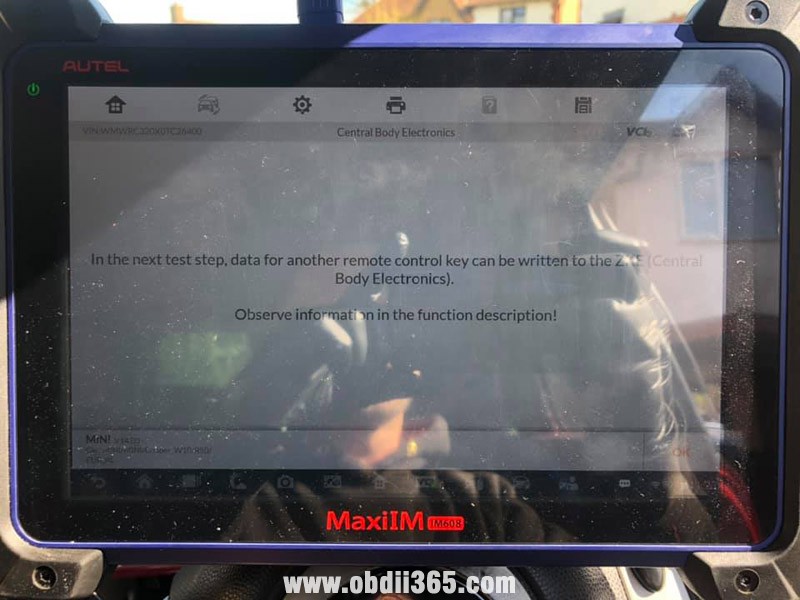
Barcode programming is under Immo orDiagnosticsMenu. This whole post is about registering the RKE to the Electric Body Control (its not about the chip).
Go to Diagnostic – service – body – central body – then you’ll see the function (ZKE Central Body Electronics BC1 Redesign). You can test the key was well to make sure it’s sensing a signal.

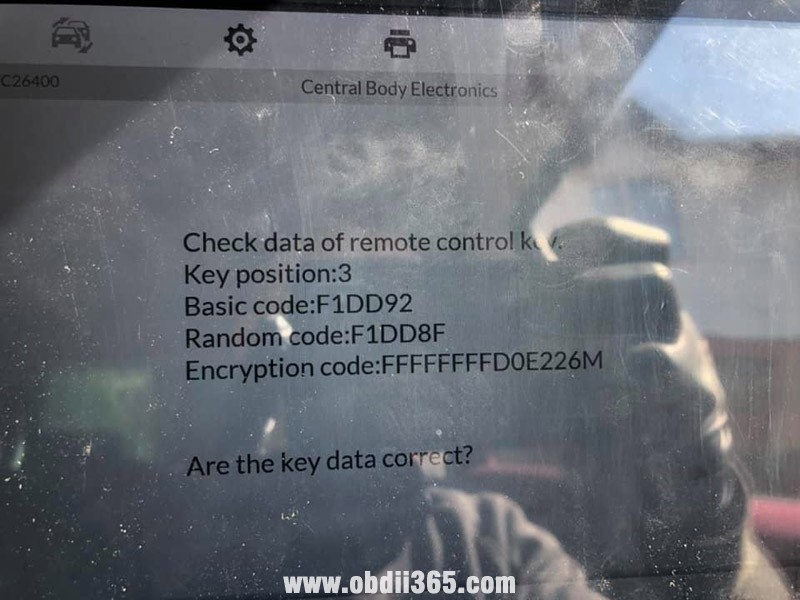
Need to enter both lines of barcode but remove certain numbers/letters from the beginning and end. This barcode, it’s on the two-button remote.
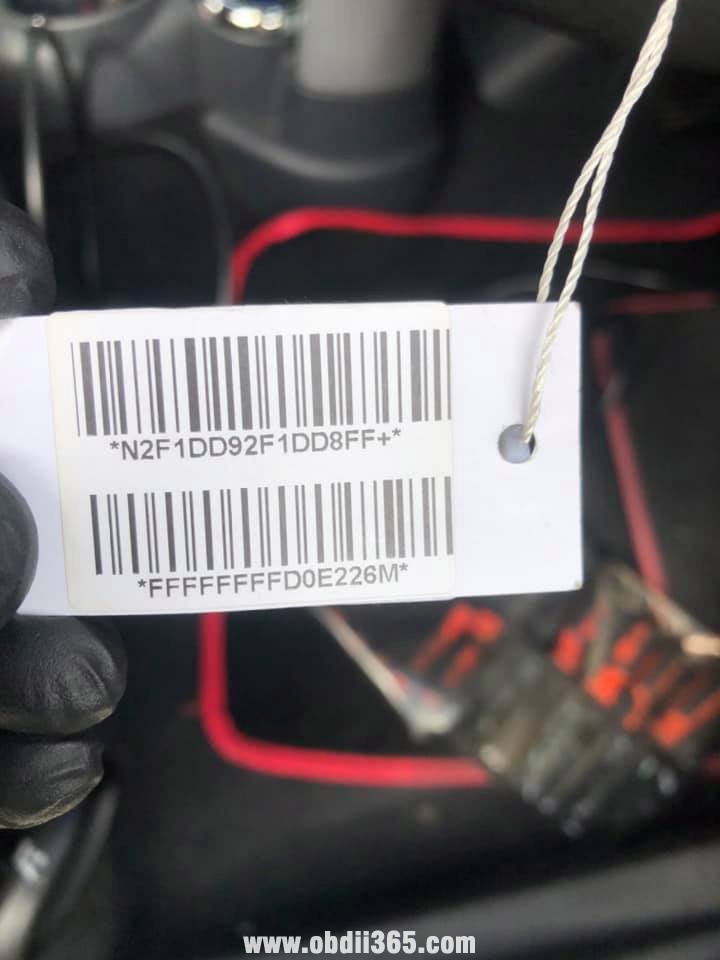
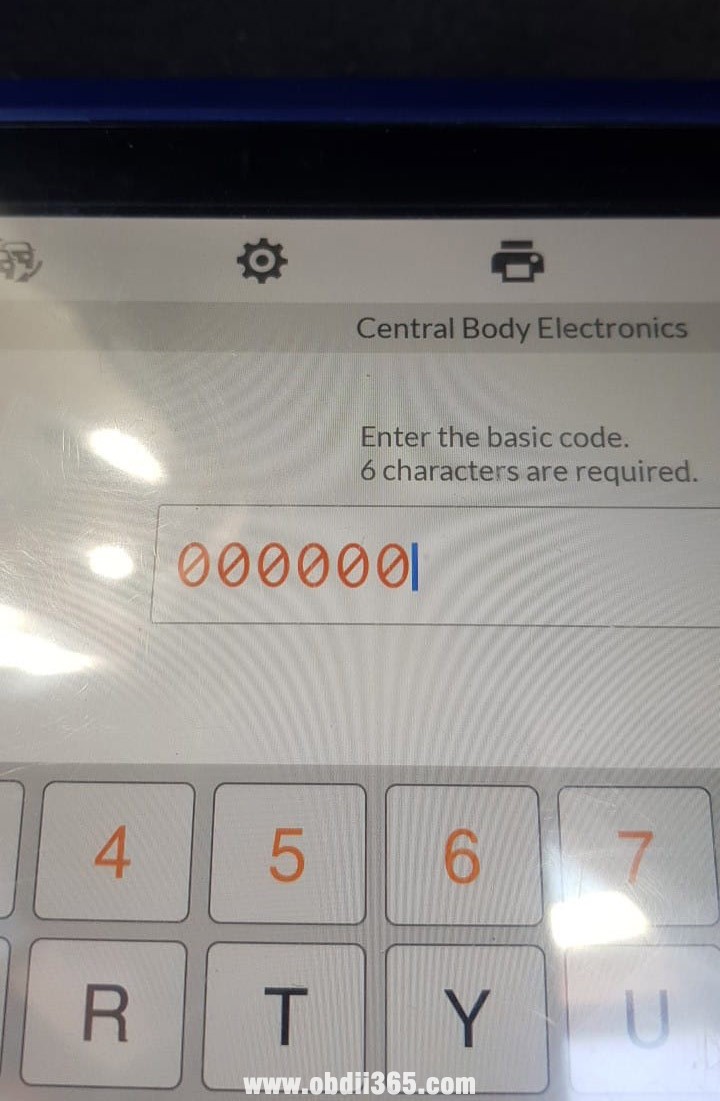
you need to enter parts from the first line and parts from the second line. Need calculate the barcode into the separate parts.
FYI: If chip key, nothing beats theAK90for EWS key.
Posted by: jean at
06:11 AM
| No Comments
| Add Comment
Post contains 238 words, total size 5 kb.
32 queries taking 0.1799 seconds, 210 records returned.
Powered by Minx 1.1.6c-pink.

