


November 11, 2021
2008 BMW X5 idrive with CAS3++all keys lost.Autel IM608says no support for reading ISNfor ME9.2. I need long ISN to write to CAS3. What is everyone else using for this DME?
Suggestion:
CAS3 could be done via obd2, Cas 3 ++ Istap it best to pull eeprom bin file and make key with DME ISN. It can’t do 64 attempts if it’s got ME9.2 N62 engine ECU, this CAS3 is encrypted. These V8 models can have encrypted CAS3+ asking for 32-digit ISN to decrypt, but DME only uses 4-digit ISN.
AutoHex II,Yanhua Mini ACDP,Ktagboot mode, BDM100, CGpro,MPPSetc.Even then it’s just gonna give you 4 digit ISN, You’ll have to send it to someone with AutoHex and have them convert it to 32 digit ISN! ME9.2 sucks!!
Read ME9.2 ECU with ECU programmers and send dump to someone with autohex to help extract long ISN from flash or read it with autohex/ACDP.

Yanhua ACDP
Yanhua ACDP will read both 4-digit and 32-digit ISN code for old/new ME9.2 DMEs
Here is the operation guide to read ME9+ ISN with ACDP.


Posted by: jean at
08:33 AM
| No Comments
| Add Comment
Post contains 321 words, total size 7 kb.
November 10, 2021
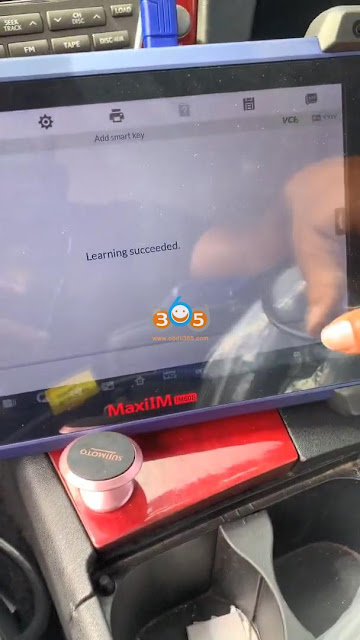
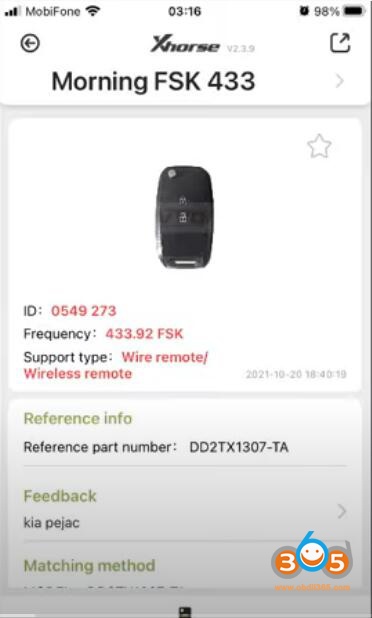
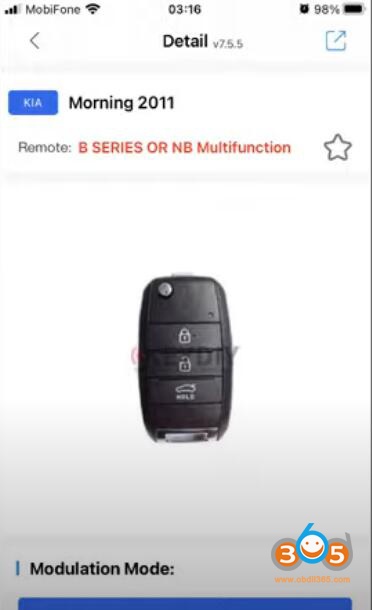
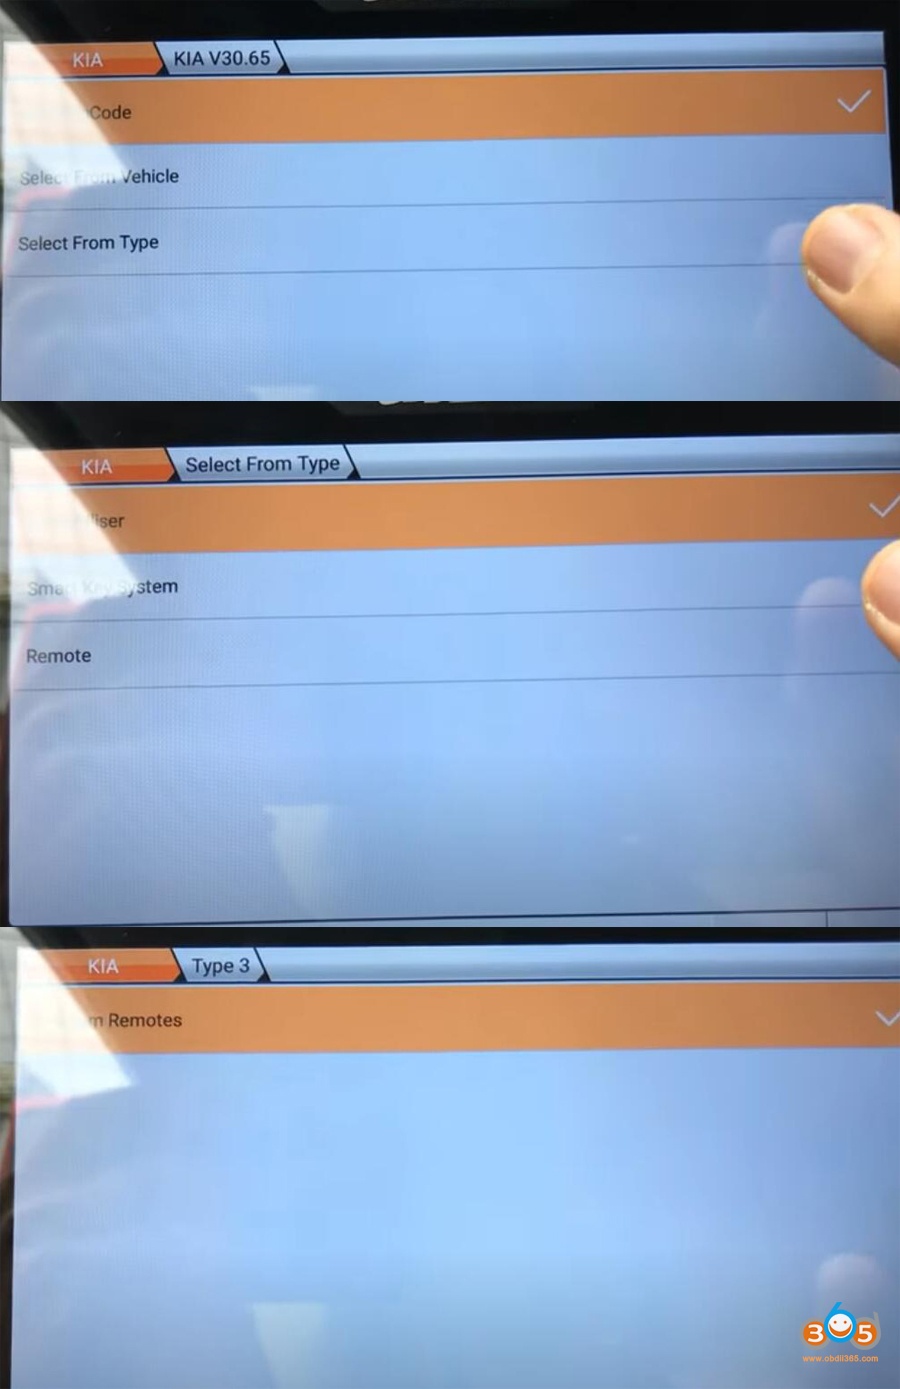
Here is the guide to program Kia Soluto 2020 2021 remote key withobdstar x300 dp plus. You can generate remote with either vvdi mini key tool or keydiy under Morning option, then program remote control with obdstar.


We generate remote with keydiy remote

You go to Kia, latest software version- Select from type- Remote system- 16-PIN -Type 3- Program Remotes
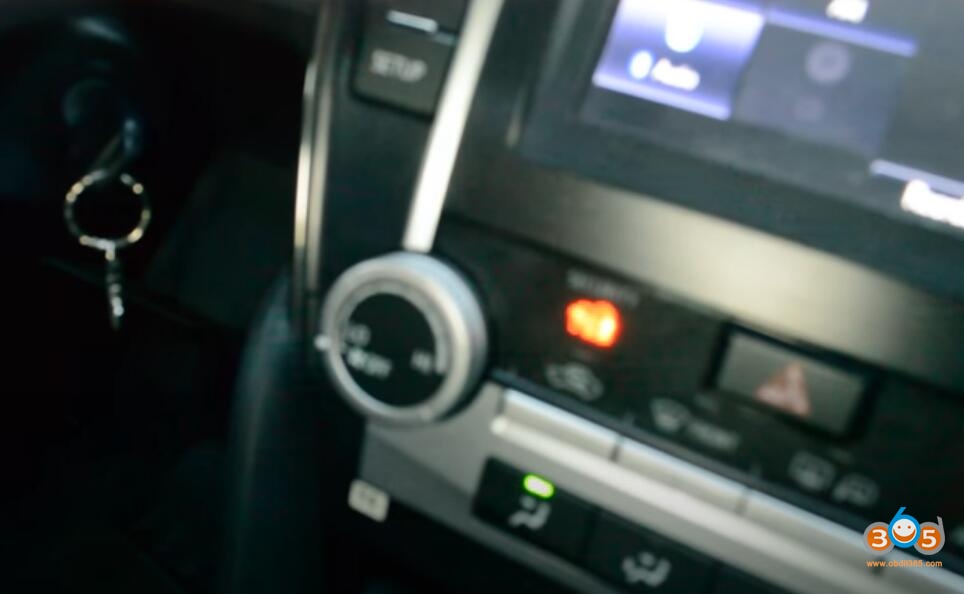
Turn on ignition switch
turn on ignition switch, then switch ignition off and remove key

Program remote, press LOCK or UNLOCK for more than 1 sec

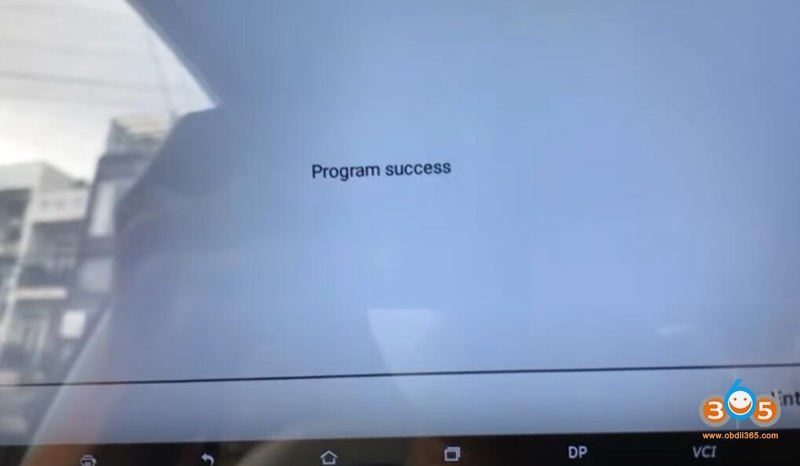
program success
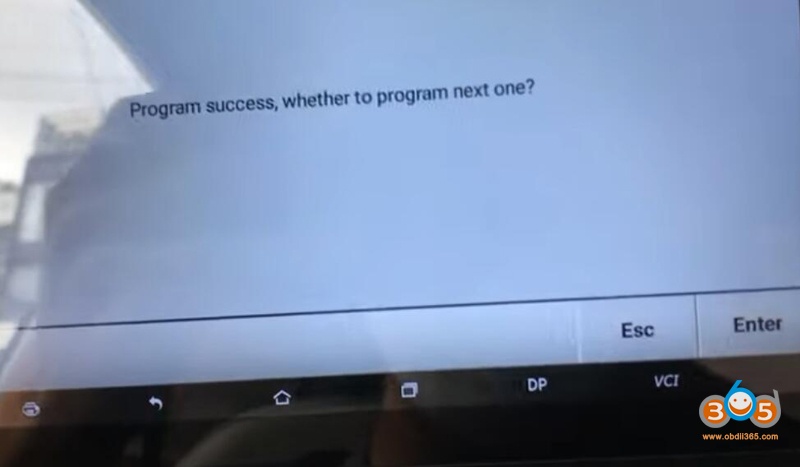
program next remote


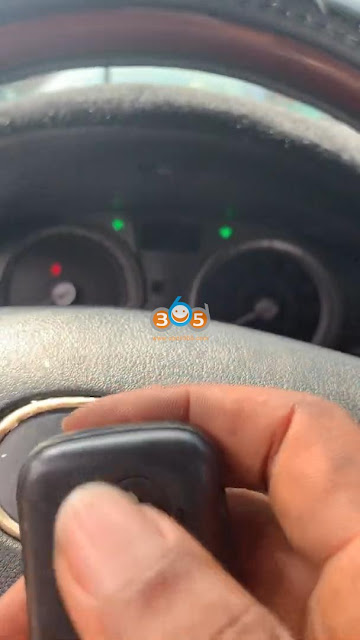
Test both keys, car starts, remote control works.
http://www.key-programmer.org/2021/11/10/program-kia-soluto-2020-2021-remote-key-by-obdstar-x300-dp-plus/
Posted by: jean at
08:30 AM
| No Comments
| Add Comment
Post contains 112 words, total size 6 kb.
November 09, 2021
Launch X431 X-PROG3released mega-update in IMMO Program V10.06- adding Siemens engine ecu support in the new version.
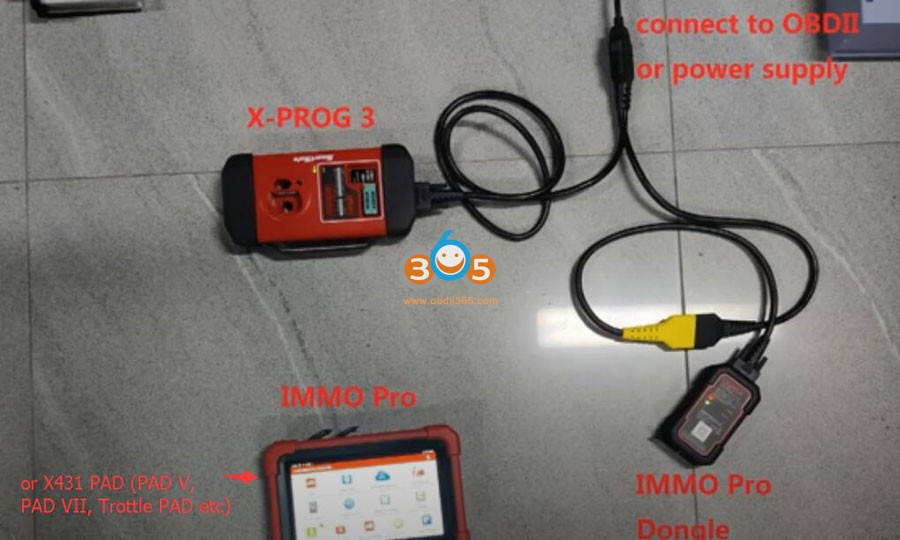
Here is a demo guide on reading, writing, backup and restoring bosch and siemens engine ecu eeprom/flash data by Launch X431 Pad (Immo Pro Pad,PAD V,PAD VII, Trottle PAD etc) and X-PROG3 (GIII).

Engine ECU example: Bosch VW MED17.5.25

Run Diagnostic App enter Immo Prog module
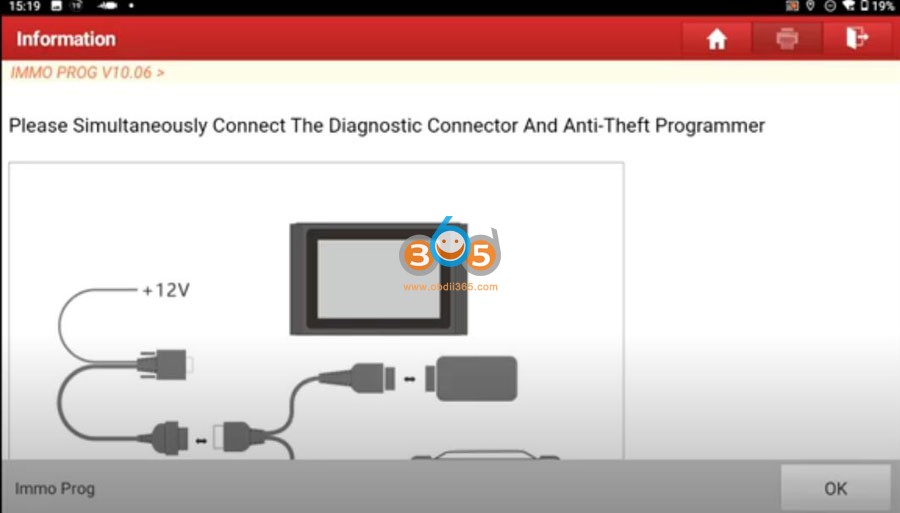
Connect the dongle x-prog 3 obd port or power supply as the diagram and click ok
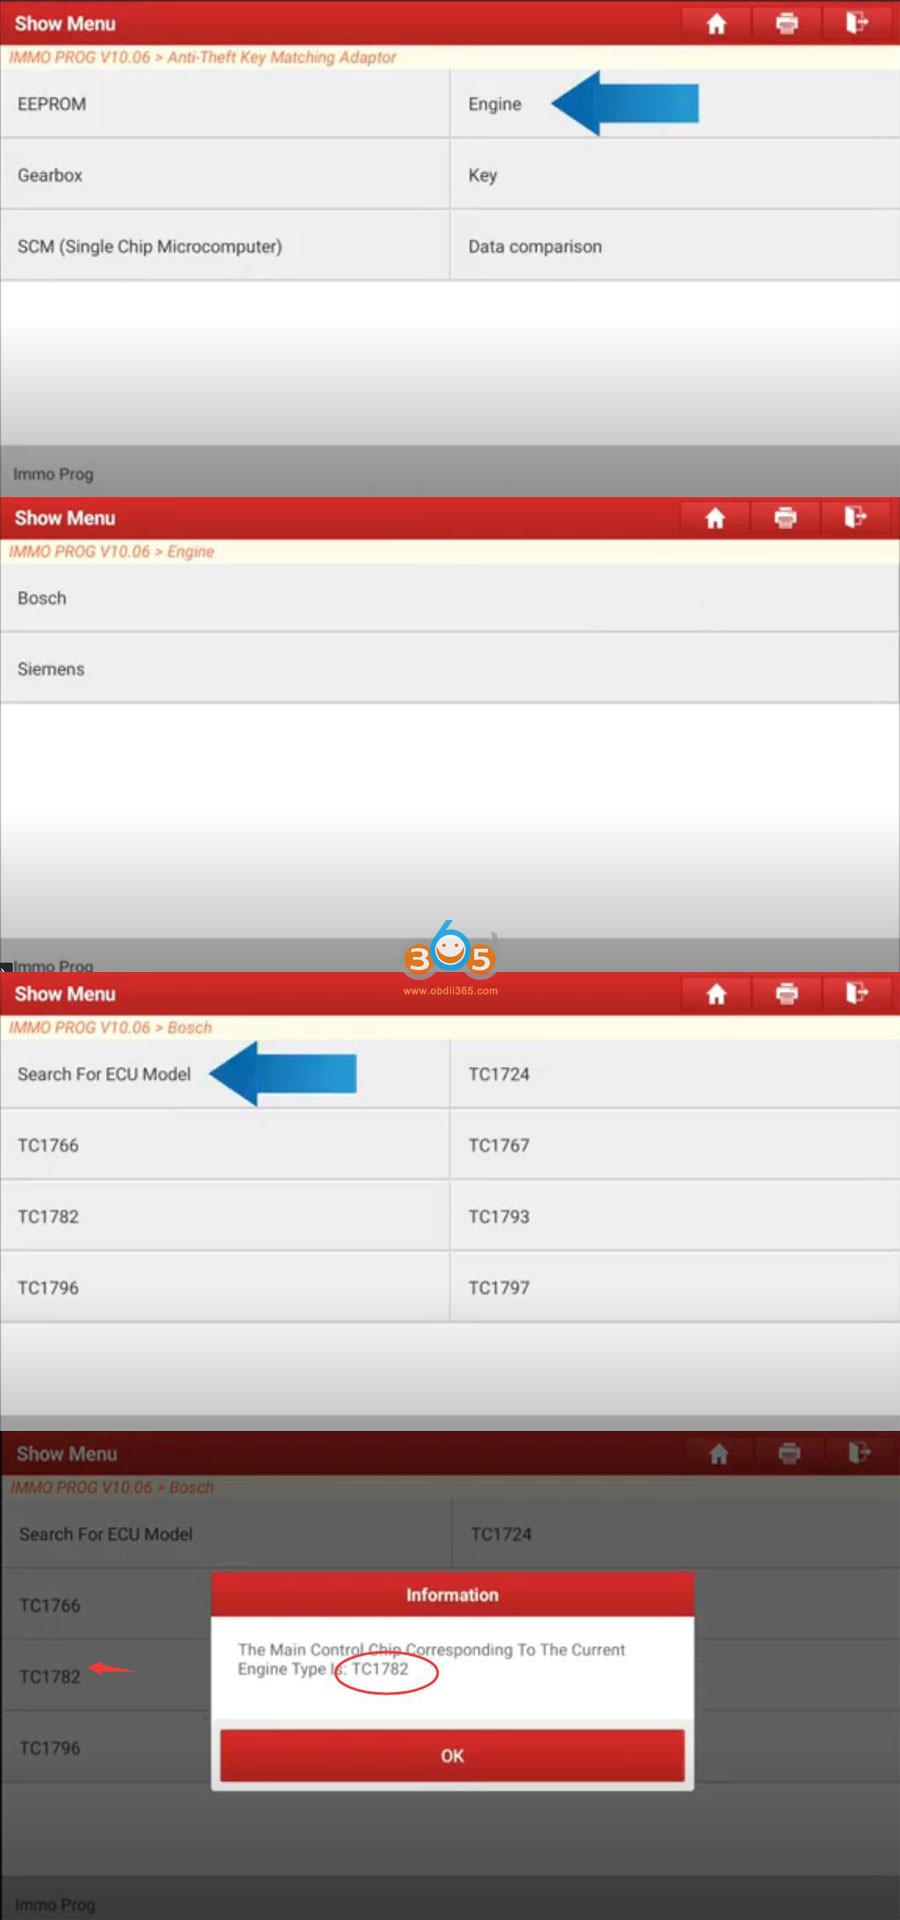
Select Engine- Bosch- Search for ECU model-TC1782
Read the info carefully we can see we’d better use usb communication mode because an unstable signal could cause ecu damage.
ECU may be damaged due to erratic reading and writing data of Bluetooth or WiFi on bench mode. Do use USB to connect the tablet and connector.

Exit and go to Home menu, enter Setting- USB management, enable USB option
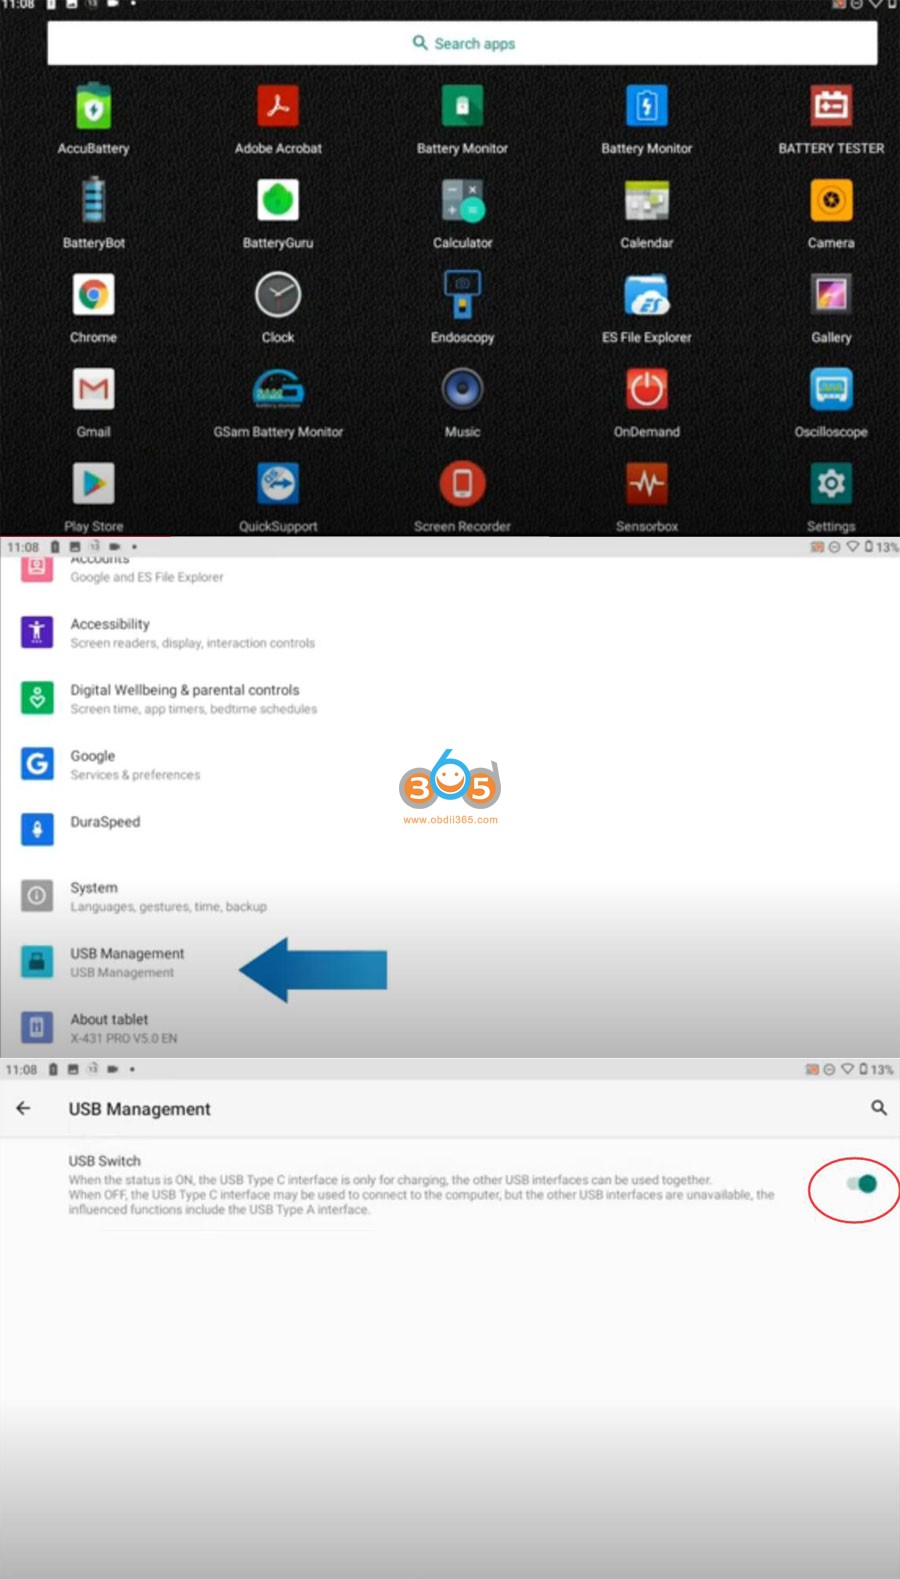
then connect device with x-prog3 by usb cable
Select ECU TC1782 and View wiring diagram
Connect ECU with X-PROG3 via bench cables

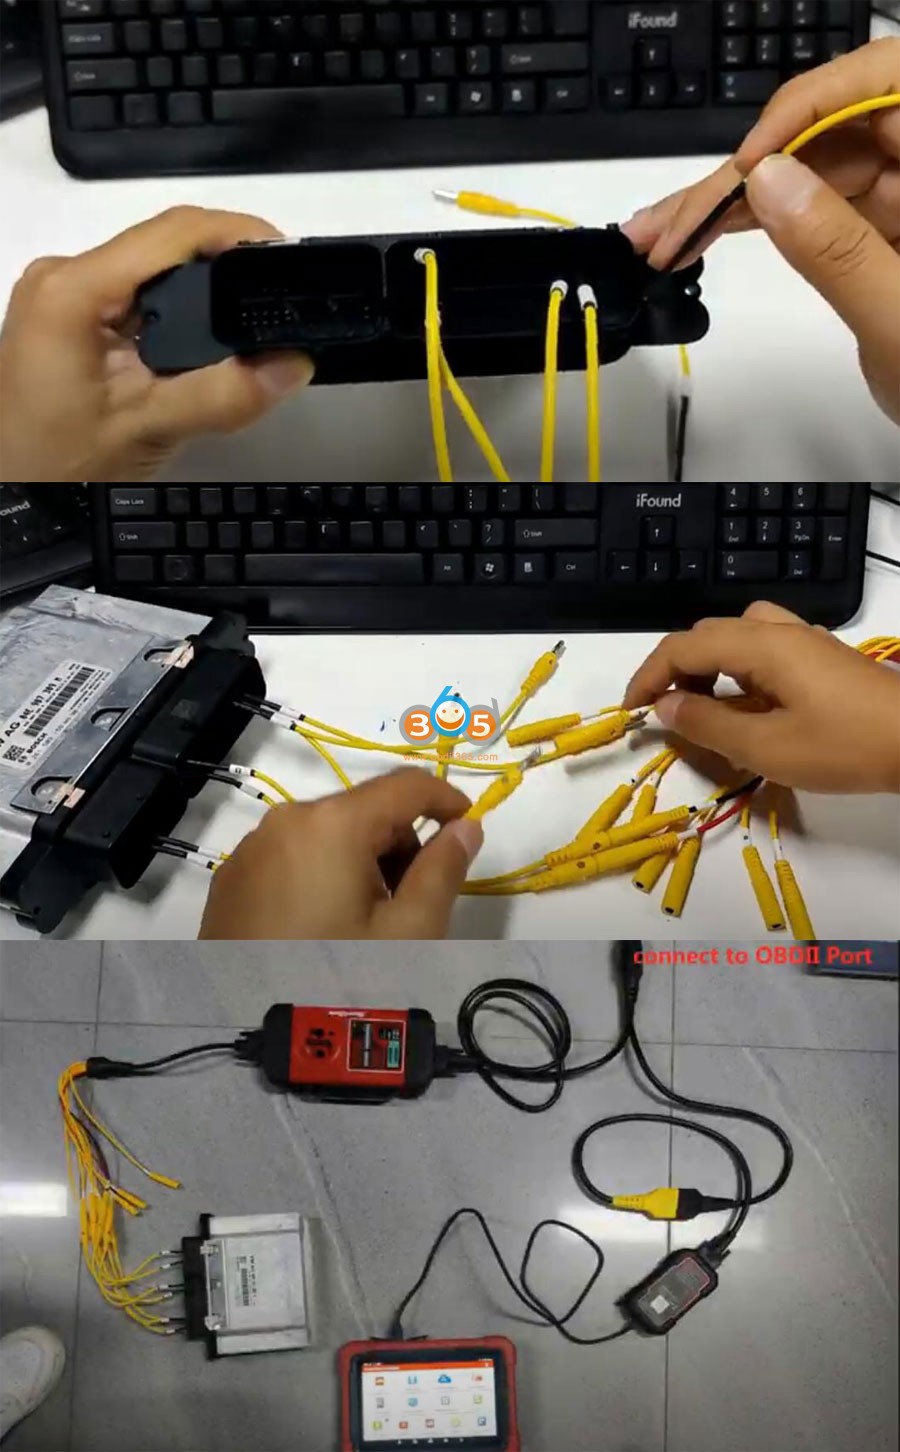
Read chip ID
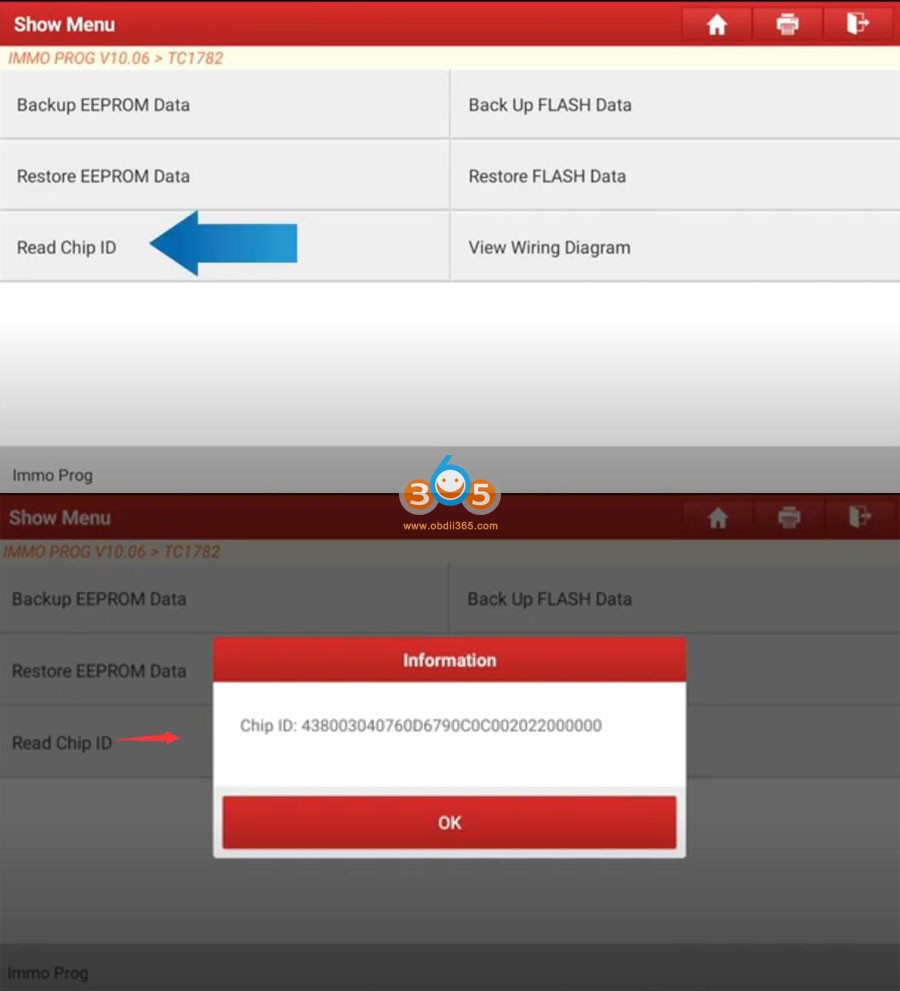
Chip id reads succeed meaning well communication is built then we can start backup or restore ecu data
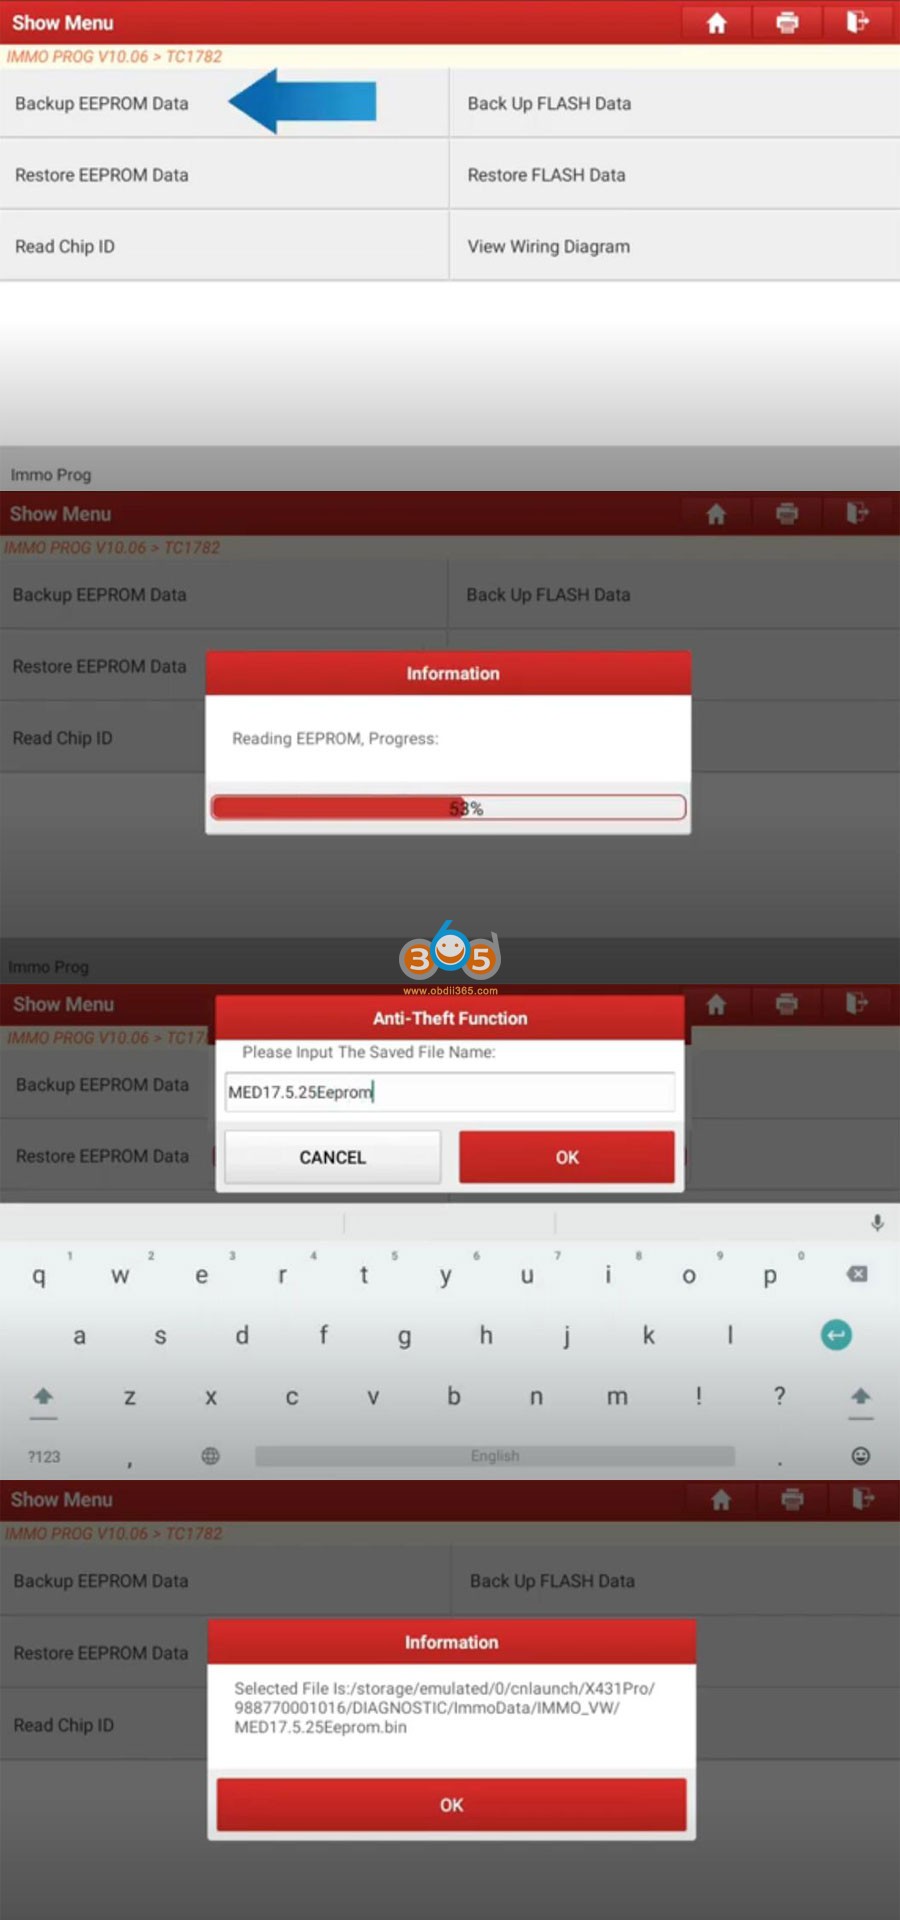
Backup EEPROM data
Backup Flash data

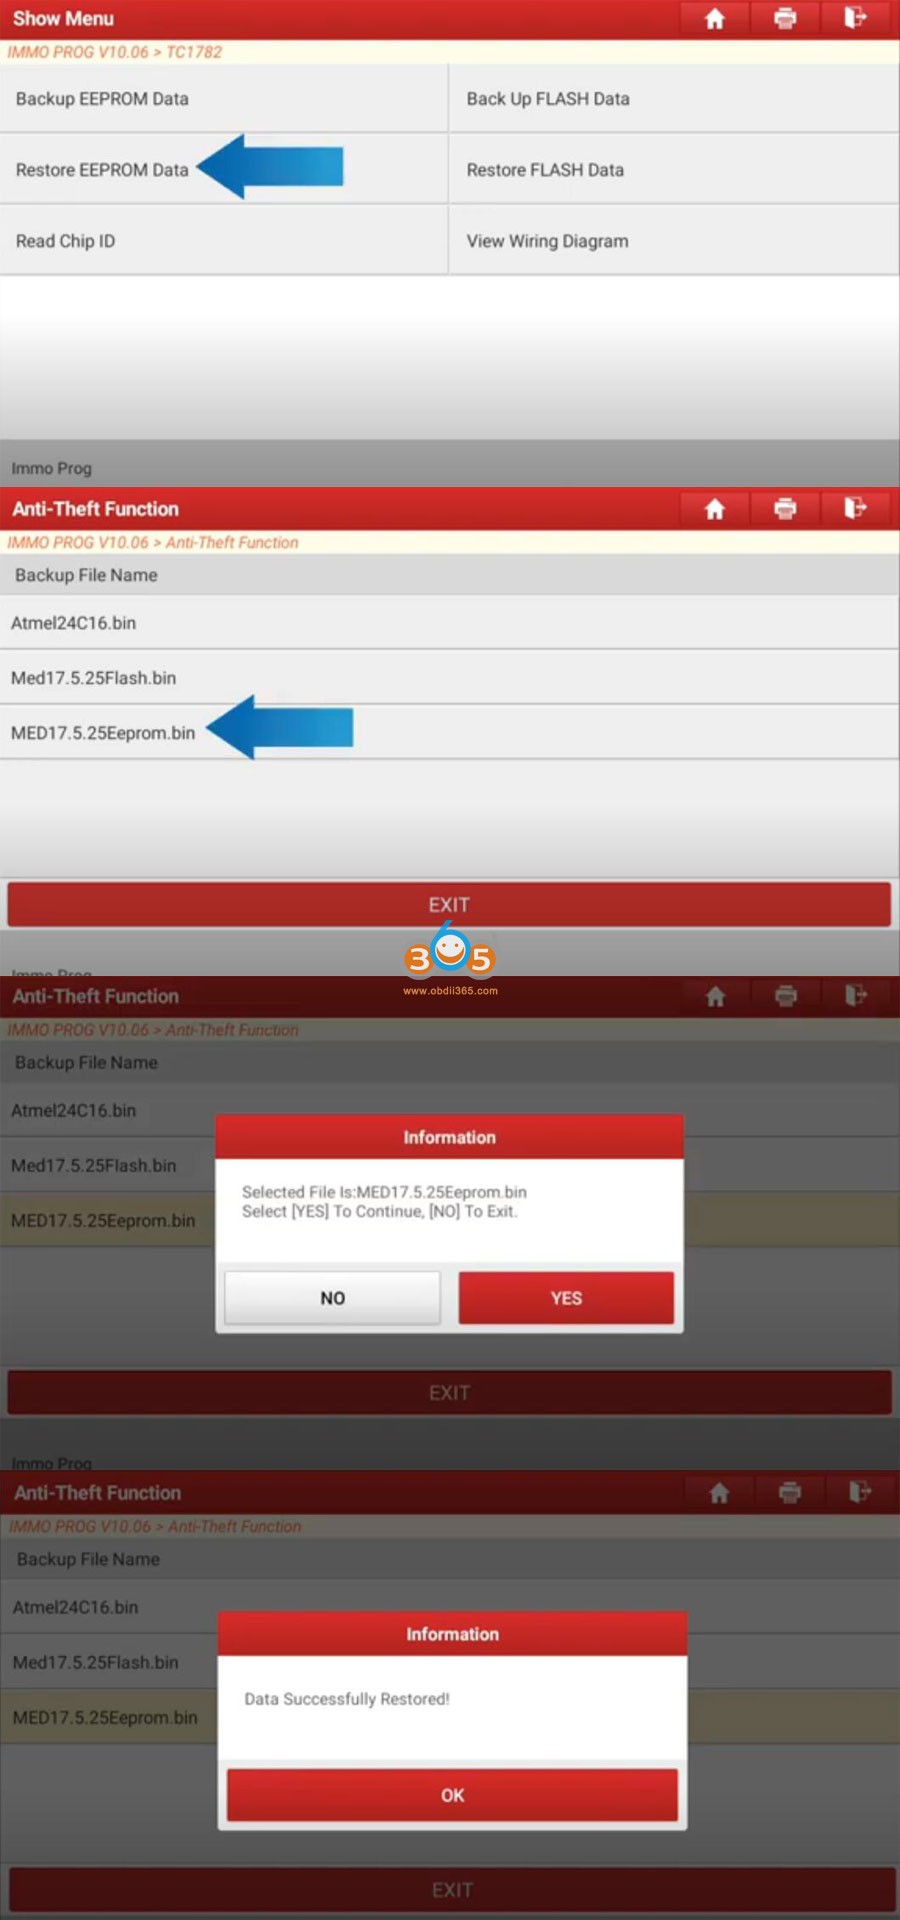
Restore EEPROM Data
Restore FLASH data
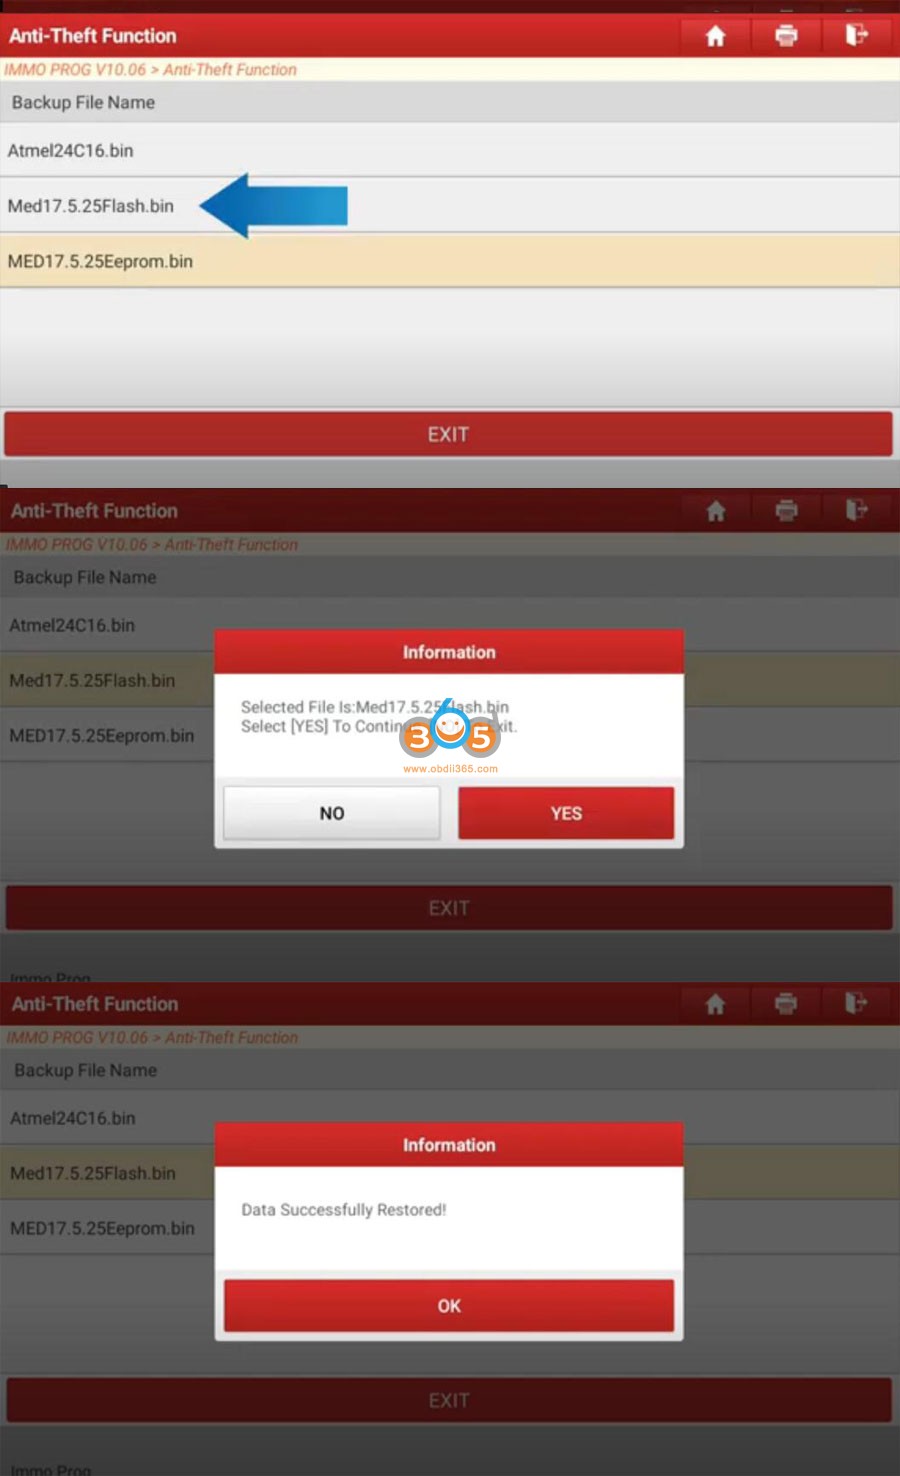
Please don’t charge the tablet when we are back up or restoring the data, and ensure the battery is not too low.
Posted by: jean at
06:40 AM
| No Comments
| Add Comment
Post contains 255 words, total size 10 kb.
November 08, 2021
Problem:
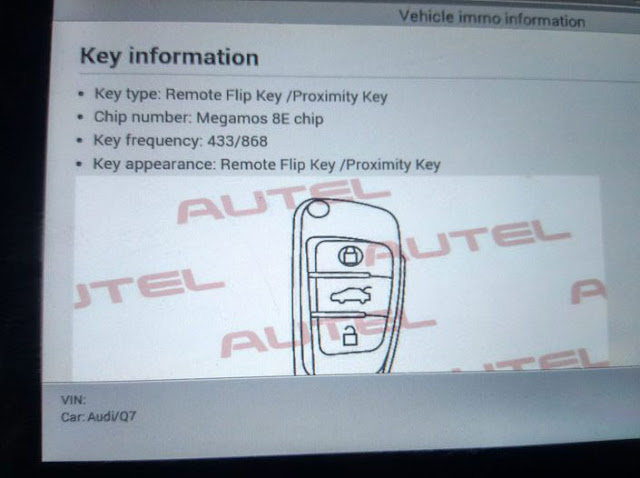
Audi Q7 2008, customer key remote control not working, but the key can start the engine. I tried to reprogram it withautel im608and get success but again remote is not working,
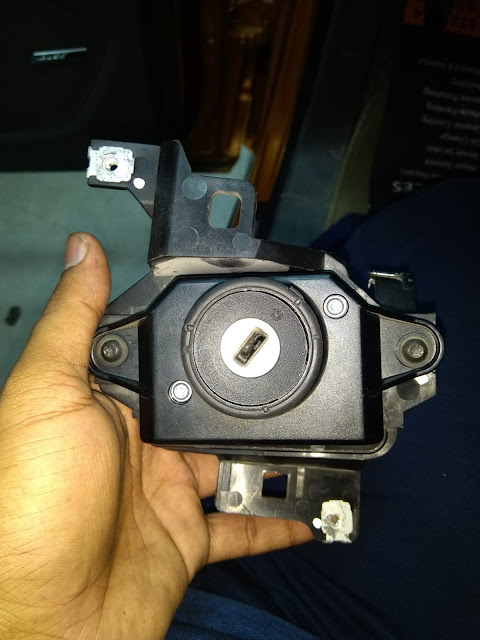
And also have a problem when we remove the key the steering didn’t get locked ! It has any relation with center locking?
Driver lock and inside locking are working perfectly. And also when we put the key in door turn to clock twice the red light in door will bink.
Test report & Feedback:


Posted by: jean at
08:47 AM
| No Comments
| Add Comment
Post contains 146 words, total size 4 kb.
November 05, 2021
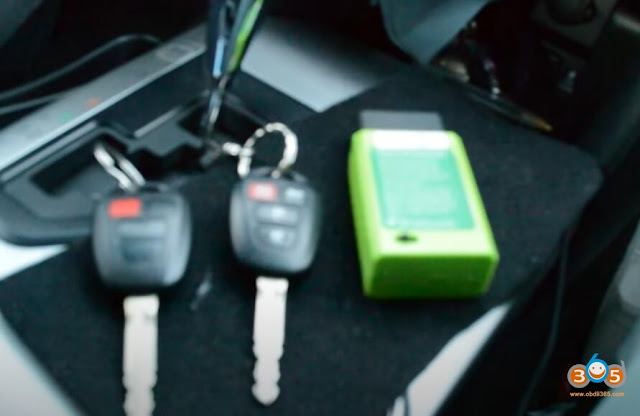
This Key Fob Programming Tool is used to add Transponder and Remote Control Keys for Toyota G chips Vehicles with 4d67/68/72(G) Chip, and a few special H chips.
(Review 1)
Here is a quick guide on a newer Toyota vehicle new key copy and this applied to a lof of different vehicles nowadays.
Sometimes you can save a lot of money that’s why people are do-it-yourselfers nowadays.
And if you do things especially like what I’m talking about today do a little bit of research online because all the information is available for you the parts and the tools necessary nowadays are available to you if you don’t like to do things yourself then by all means just take your vehicle to a dealer for whatever you need or whatever have you but this specifically is to the newer generation Toyota vehicles and they have the keys so this is the original so you want to have a copy made and if you call the dealership you’re talking upwards of $200 to have a key made. So you go online you go onwww.obdii365.comyou spend $18.99 on this little programming tool (Toyota G and H OBD key programmer) to program these keys and let me see I’ll read you the instructions real quick.
So you get a key and the key itself is $21.99 the programmer is $18.99 and then you have the key cut to the original key that’s gonna cost about four to ten dollars you know it all depends on where you live or who you know or whatever. Anyways so you could get yourself one these keys online you get yourself one of these little programmers online have it cut at your local locksmith.

I’m just gonna read you real quick we’re gonna have it done real quick.
It says Toyota add transponder get in the car and close the door. Insert the main key into the lock and turn the key on and then insert the device into the OBD it will sound device.
It will start to add transponder after the sound literally says DiDi two to three minutes later anti-theft light is on and then remove the key anti-theft light will flash insert the new key and doesn’t need turn the key. Now this is says insert the key new key and doesn’t need turn key this is obviously not proper grammar there either translating this from Chinese or they were at your local public school. Anyways anti-theft light will be off later.
You got a switch right there left is to add the transponder on the other side that’s for the remote key program you could switch that to the right so we’re gonna do it real quick.
all right so once again it says get in the car close the door which the doors closed.
there you go insert the main key in the lock and turn the key on and insert the device and we did that if this hit it will sound twice start to add the transponder after the sound Di to the three minutes later anti left anti-theft device or the anti-theft light is on and then remove the key. The anti-theft light will flash, insert the new key and doesn’t need turn the key I think it means and you don’t need to turn the key but I’m translating here anti-theft light will be off later.
All right so let’s go ahead and test it.


there you go.
(Review 2)
Wonderful. Worked like I needed and expected what I like it because I went to Toyota dealer they wanted to charge me $425 for the key and programming. Now withG Key Programmer OBD Remote Key ProgrammerFob Programming Tool, with one connection and follow the instructions my remote was programming. Thanks a lot
Used on a 2011 Sienna XLE Van I programmed 2 keys and 2 remotes without any issue. One key was new, one old. Both remotes were used on other Sienna vans and had no issue being transferred. The only issue I had was my own impatience. When you insert a new key, it seems like it failed, your turning off the van and simply inserting a key without doing anything like turning it back on….. (new key was uncut, no issue at all), you just have to be patient and allow the dash security light to go off, took a couple of minutes but happened without issue (I pulled it too soon on the first try). I never checked how much the dealer charges, but we paid $120 to have 2 keys done for a Jeep.
(Review 7)
I have a 2007 Toyota Tacoma with the original key to use .It worked fine for me and saved me $ 350.00 on just programing . The instructions are a little hard to read but, it was worth the price definitely. The price would have been $575.00 range for just one key . I got myself one key and one remote here . Got myself a fine file kit here too and traced out the original key . Filed out the key being careful to clean it off testing and fitting it until it turned the lock . After that I followed the instructions to program it . I was overjoyed that it worked and saved me a bundle of bucks . YOU NEED TO HAVE A KEY THAT CAME WITH THE VEHICLE FOR THIS TO WORK .
Posted by: jean at
09:06 AM
| No Comments
| Add Comment
Post contains 978 words, total size 11 kb.
November 04, 2021
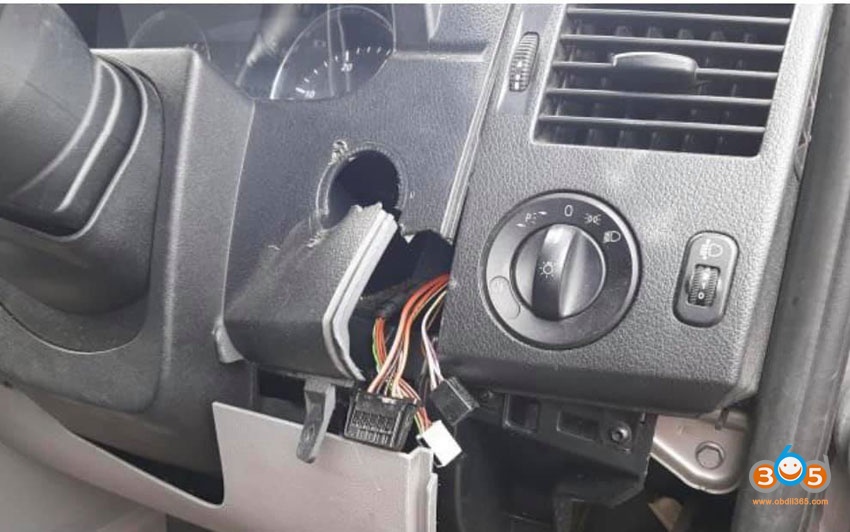
Question: I’ve got a 2011 mercedes sprinter stolen and recovered (EIS removed), If I get a virgin EIS would I be able to program that and a new key and get the van going? I’ve not done much work on mercedes only adding keys.
Solution:
1)
Pulled key data from ecu, erased used EIS, and write vin + key data to it, just set random password, make new keys, and write invoice to customer.
2)
Just order one from Mercedes and scn code. Job done. In out in 10mins
If you get a virgin EIS from dealer you will get the workshop key that has the key data and drive authorization on it.
Posted by: jean at
09:18 AM
| No Comments
| Add Comment
Post contains 129 words, total size 1 kb.
November 03, 2021
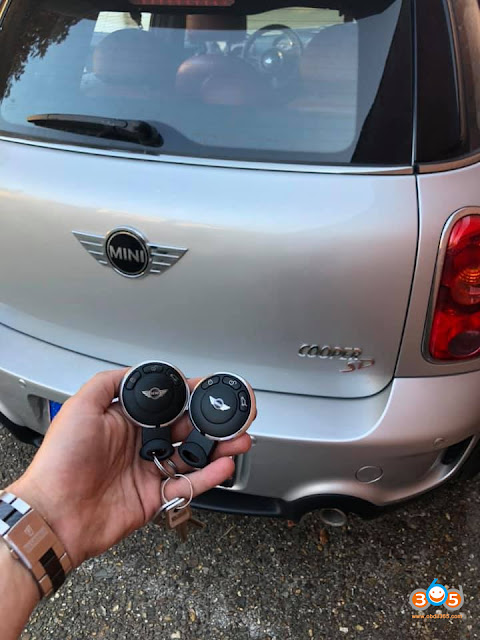
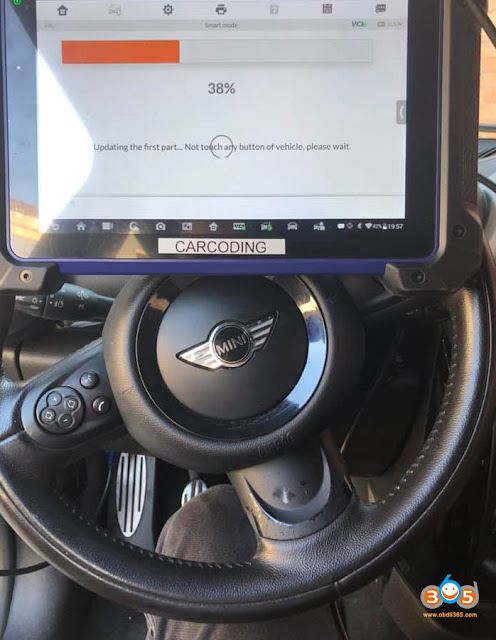
Autel MaxiIM IM608feedback: Add key for Mini Cooper 2011 CAS3+ istap no issues via OBD.

Good to know:
- It is cas3++ istap, once I had an update fail. Car did not start anymore. But I could repair the cas with autel. Here is how I done it , when update failed. Same process for the mini
http://blog.obdii365.com/2021/08/19/repair-bmw-cas3-istap-with-autel-im508-im608/
- Someone think that "on MINI must remove the dashboard to access the CASâ€â€¦ then the easy job becomes a shitty job.
- Someone feedback †I was trying to add key with autel cas 3+ and it doesn’t add key by obd in cas†.
Yes I had this problem also.In that case you need to go to ecu operation after you did the add key procedure, and write the key ID in yourself.
Look at Autel IM608 Mini Cooper coverage:
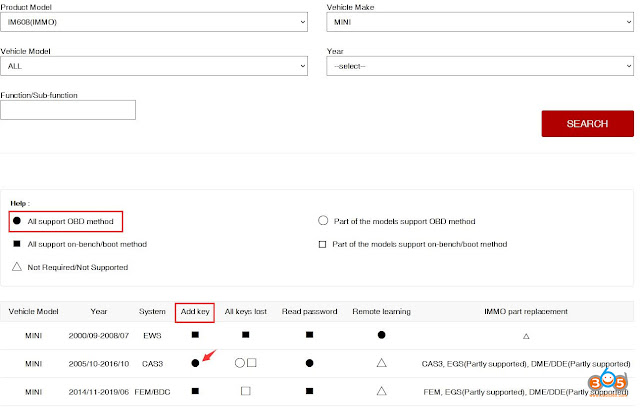
From the official site:https://www.autel.com/vehicle-coverage/coverage2
Posted by: jean at
03:26 AM
| No Comments
| Add Comment
Post contains 150 words, total size 4 kb.
November 02, 2021
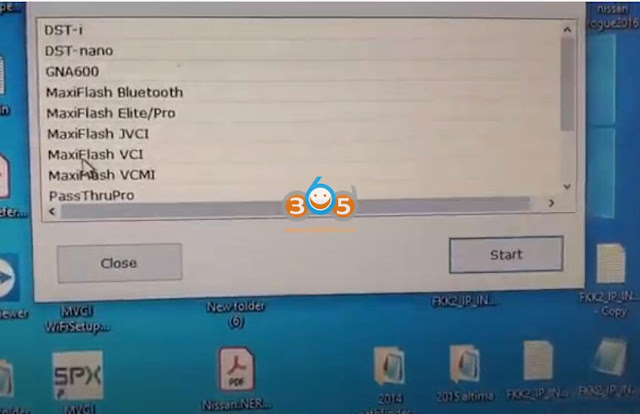
Here is the tutorial onAutel MaxiIM IM608 JVCI J2534interface driver download and installation. If you have the driver for laptop, you cannot use this interface as j2534 passthru. We can get autel J2534 programming jvci to communicate with the manufacturer platform ( OEM software)to program cars.
If you have an Autel IM608 and we can use that one as a programmer.
You have to go to Autel website: www.autel.com
You have to register you have to use the name password and email
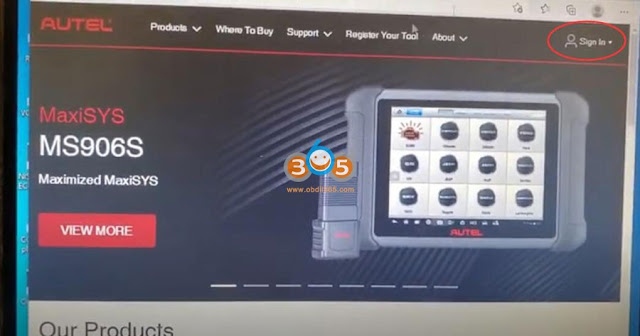
you have to put your serial number or fcc number here

when you put it in, it will take you to step to create an account
If you have created an account, sign in with Autel ID (your email address) and password.

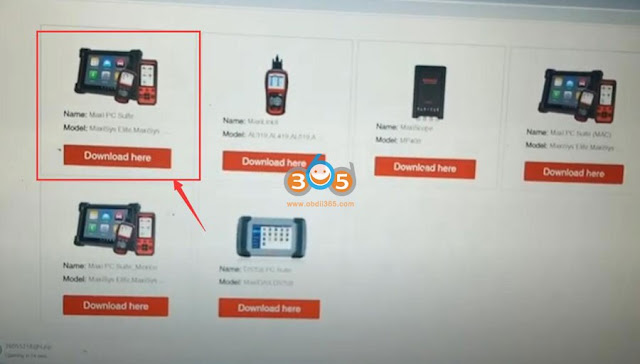
Go toSupport- Download(make sure you have network connected)
Download 1st one-Maxi PC suitefor maxisys series

Ley PC download Maxi PC Suite program. Unzip file, run Setup.exe, select Maxi PC Suite language

Press Install to install device driver software
Press Next until installation is finished.
Run Maxi PC Suite on desktop
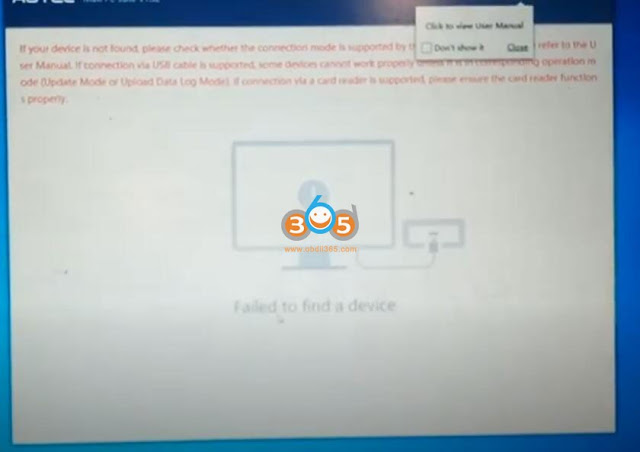
You have to connectAutel MaxiFlash JVCIinterface with laptop thru USB to have the device detected
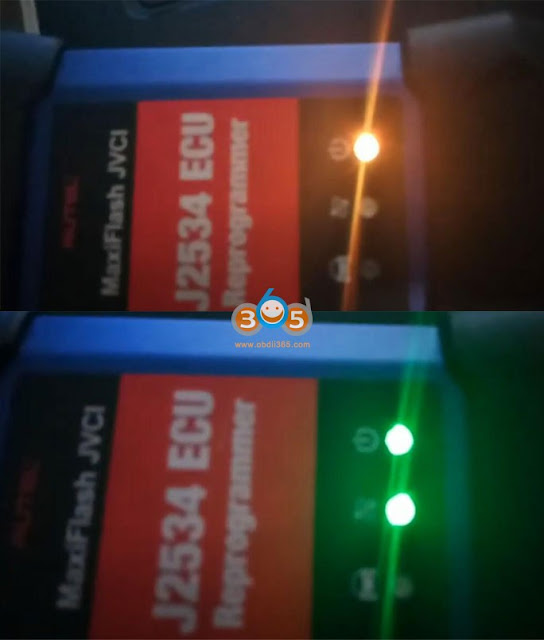
The indicator turns yellow when connected with laptop via USB, then it turns to green when detected by Maxi PC Suite

Now you can get JVCI to communicate with OEM software
We have these options when connecting with Honda software
Another example: use MaxiFlash JVCI with GM SPS2 via Techline Connect program

https://www.obdii365.com/service/install-autel-im608-jvci-j2534-driver.html
Posted by: jean at
03:29 AM
| No Comments
| Add Comment
Post contains 251 words, total size 10 kb.
November 01, 2021
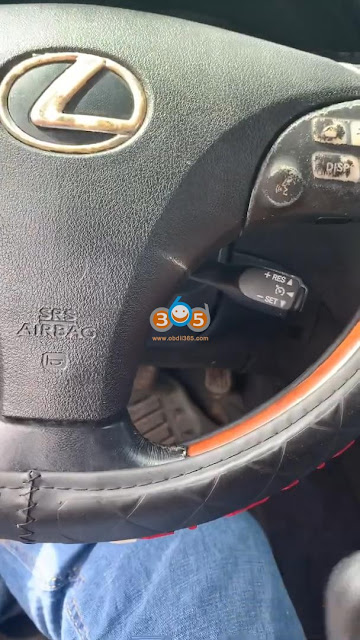
Today I will show you how to useAutel MaxiIM IM608to perform ES350 key unlocking and
programming.
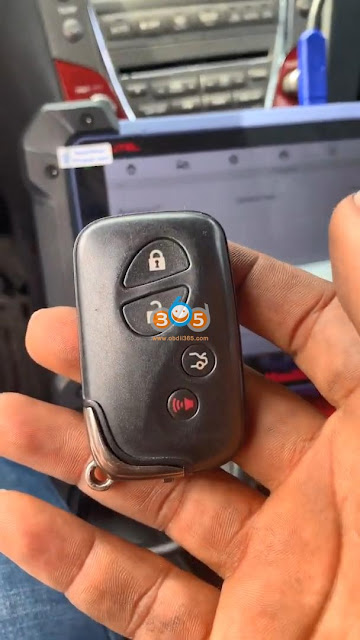
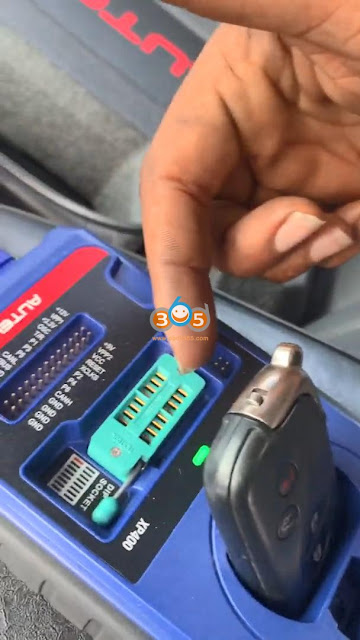
I just got a used key, I connected XP400 to the Autel IM608 andGbox2.
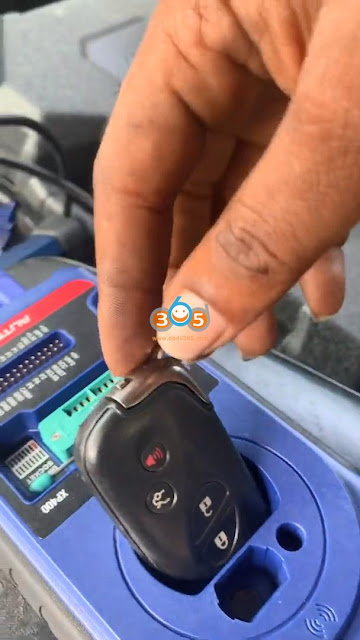
Part 1. Unlock the used key using Autel IM608
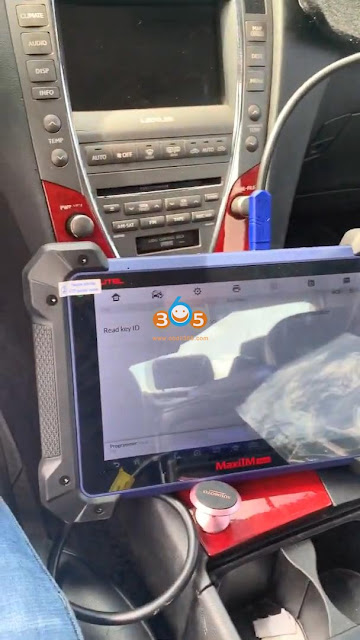
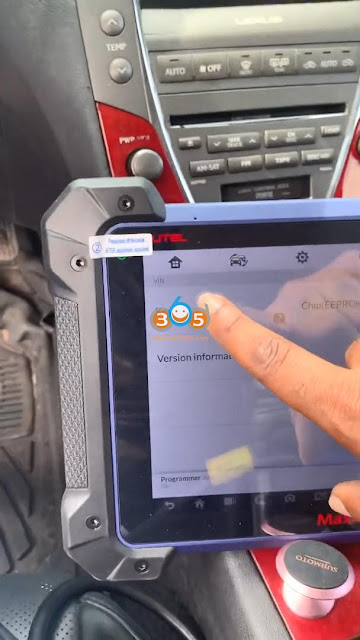
OnAutel IM608, go to "Programmer†, then "Keyâ€, then "Key Read & write†, then "Automatic detection†(if failed, please do it again ), alright, read out the key type: Tiris DST+, Mode /password bit: ID71/80bit.

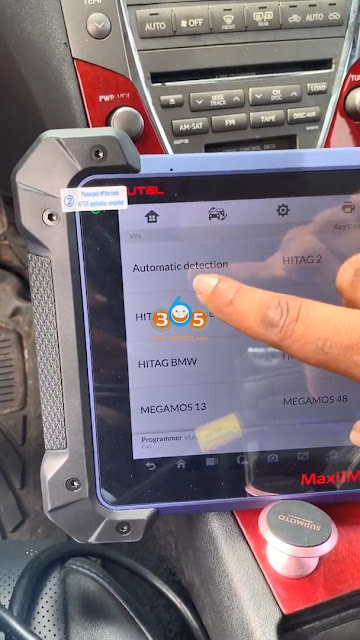
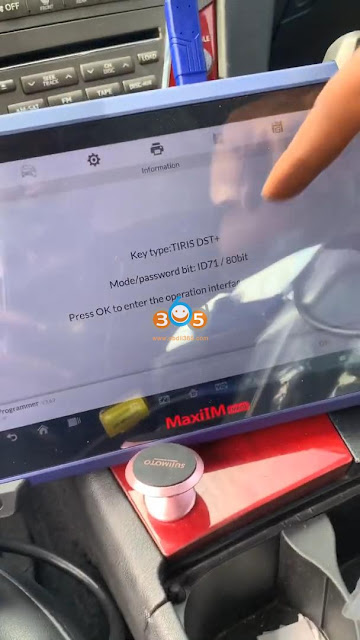
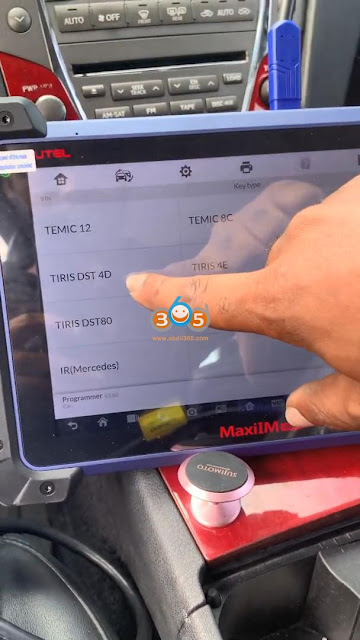
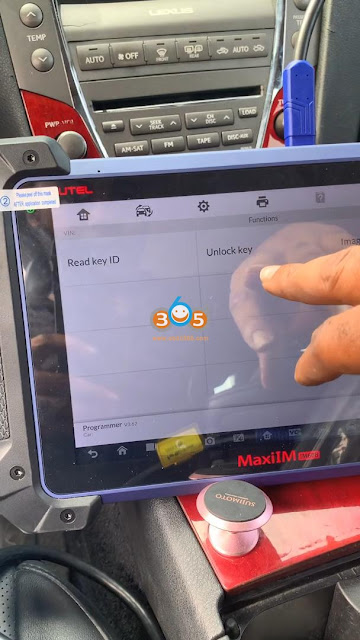
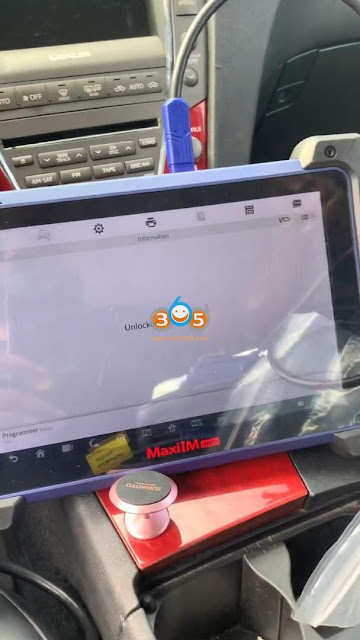
Press OK to enter the operation interface of key type, just go back to select †Tiris DST 4Dâ€, then "Unlock Keyâ€, click "OK†after unlocked successfully.
Part 2. Program a new key using Autel IM608
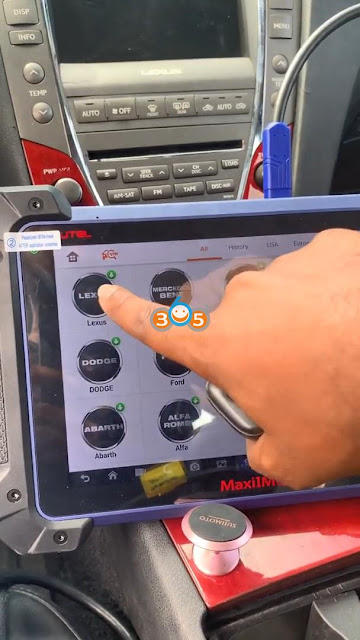
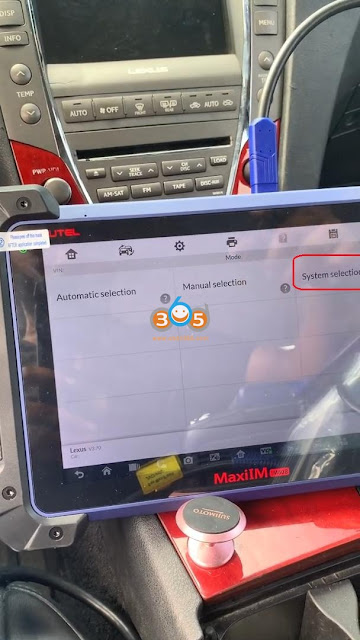
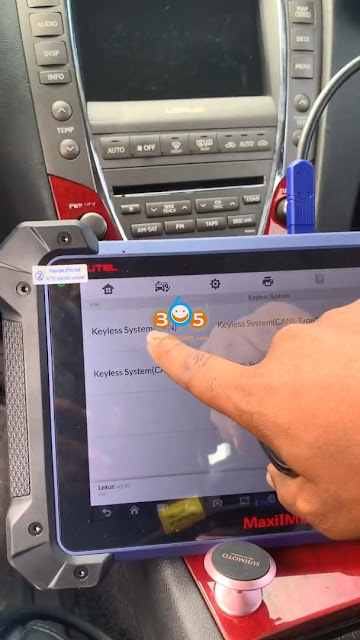
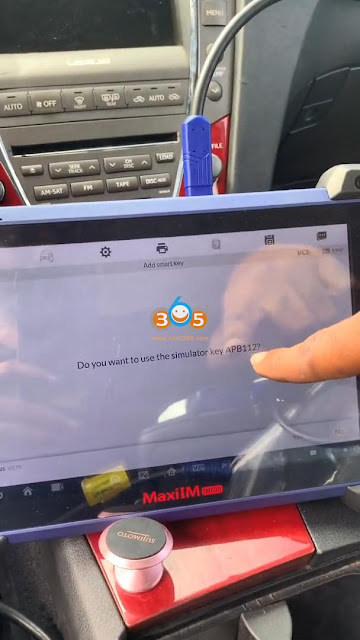
Back to the home menu and select "IMMOâ€, then "Acceptâ€, then "Lexusâ€, then "System Selectionâ€, then "Keyless systemâ€, then "Keyless System (CAN)â€, then "Add smart keyâ€, click "OK†to confirm we want to use the simulator key APB112.


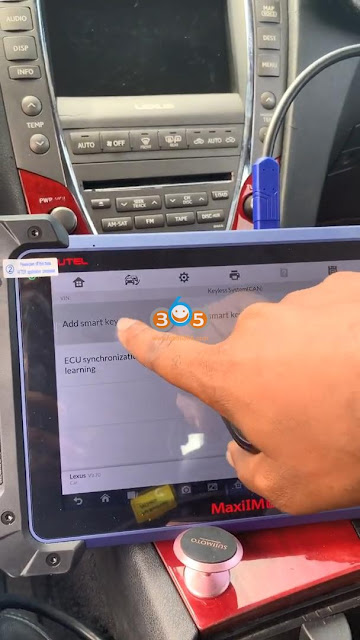
The positions for learning include:
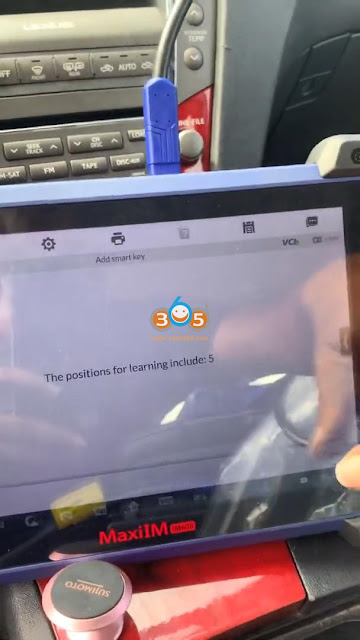
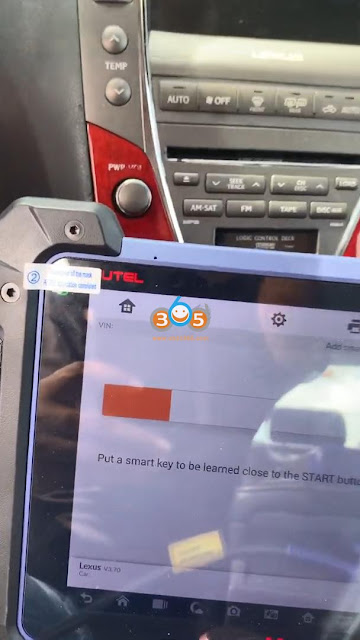
Put a smart key to be learned close to the START button.
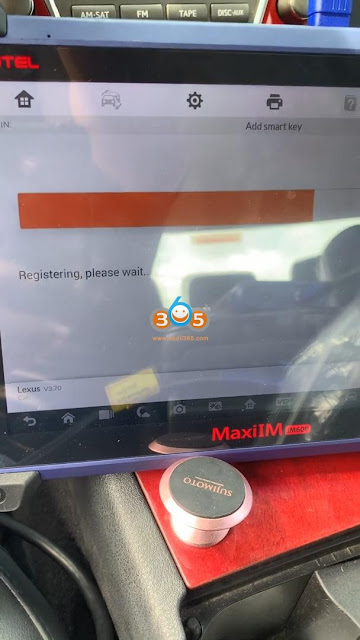
Alright, test the key can start the Lexus ES350 now.
Autel IM608did a great job!
http://blog.obdii365.com/2021/11/01/autel-im608-lexus-es350-key-unlocking-and-programming/
Posted by: jean at
08:51 AM
| No Comments
| Add Comment
Post contains 192 words, total size 19 kb.
32 queries taking 0.1064 seconds, 207 records returned.
Powered by Minx 1.1.6c-pink.

