


May 15, 2025
SPA, CMA platform cars, as well as some P3 cars (usually from the 2017 model year) are blocked for software loading in the standard way. Therefore, all actions on the specified cars, for which software loading is required, require the use of one or another alternative option.

To add/remove ignition keys and central locking remote controls, there are different ways to perform the procedure without having to download software using VIDA.
We useYanhua Mini ACDP-2programmer.

The programmer can work with different brands, but for each you need to buy separate adapters and licenses.

The device allows programming keys for Volvo cars of SPA, CMA and P3 platforms, both in standard and keyless versions.
The advantages of the programmer are the absence of the need for soldering, as well as easy control using an application for a mobile phone or PC.
As an example, let’s consider the procedure for a SPA platform vehicle.
The Volvo Scalable Product Architecture (SPA) platform was introduced with the second-generation XC90 in 2014. The platform was designed to be adaptable and allows for different vehicle types and configurations. Many current Volvo models, including sedans, wagons, and SUVs, are built on the SPA platform, and it’s been in production for over two generations.
Here’s a breakdown of some key Volvo SPA models and their model years:
XC90 (2nd generation): Introduced in 2014, model year 2015.
S90 (2nd generation): Introduced in 2016, model year 2017.
V90 (2nd generation): Introduced in 2016, model year 2017.
V90 Cross Country: Introduced in 2016, model year 2017.
XC60 (2nd generation): Introduced in 2017, model year 2018.
S60 (3rd generation): Introduced in 2018, model year 2018.
V60 (2nd generation): Introduced in 2018, model year 2019
To read information from the Central Electronic Module (CEM), it is necessary to remove it from the car. This is done once and, if in the future it is necessary to perform operations with adding/removing keys on the car, everything will be done through the OBD2 connector.

First, you need to determine the processor type.

Depending on the processor type, you need to select the required adapter from the kit.

When installing the adapter onto the CEM board, the "pins” will ensure that the contacts are in the right places, so no soldering is required.

We connect the installed adapter with a cable to the programmer, which, in turn, we connect to the phone with a USB cable. At each stage, the application on the phone gives hints on how to perform this or that action.
You will need to select the desired processor type in the application.

If the adapter’s "needles” for some reason do not have good contact in the right place on the board, we will see this:

The location of a particular contact on the CEM board is indicated in the tips, and the desired place can be cleaned with a special burr that comes with the kit. We make sure that all contacts are in order.

We start the reading process. The data will be saved in the memory of the device on which the application is installed.

After reading the data, you can start programming the key. To do this, install the CEM in place and connect the programmer to the car via the OBD2 connector.

We select the procedure for adding a key in the application.

We put the key in the storage compartment of the armrest.

The number of keys has increased by 1.

Test the new key. Done.
http://www.key-programmer.org/2025/05/15/program-volvo-spa-cem-keys-with-yanhua-mini-acdp2/
Posted by: jean at
09:27 AM
| No Comments
| Add Comment
Post contains 590 words, total size 18 kb.
May 14, 2025
TheAPB131 adapteris compatible not only withAUTEL MaxiIM IM508/IM608devices but also with OTOFIX IM1/IM2 equipment. Today, we’ll share user feedback and demonstrate how to add a key using the OTOFIX IM2 and APB131. The process is similar to that of the IM608.
It is a Audi Q3 F3 2020. The car was delivered with one key, need to add a spare key.
Immobilizer data is stored in the dashboard. The task is to add a spare key to this model withOTOFIX IM2key programmer.
The process of removing the instrument panel was short, you only need to disassemble half the dashboard and soon it was already lying on the table.


Cluster number: 83A 920 800 B

Processor
In this case, you need the Apb131 adapter (MQB-V850/RH850).
We connected it, supplied additional power to the programmer, and in 7-10 minutes the file was ready.


This file needs to be saved, then select "Immo-data” and add the saved file there. After that, you will have the CS and Mac code.
The next step is to prepare the dealer key (2 keys).
Then in the menu you need to perform the learning, which is also called "Key adaptation”. On the instrument panel at the bottom, there will be 0/3. Then we apply the keys to the immobilizer coil one by one until there is 3/3.
Posted by: jean at
06:45 AM
| No Comments
| Add Comment
Post contains 233 words, total size 6 kb.
May 13, 2025
Tips to add a spare key for Polestar 2 electric car.
Usually we do those cars mainly with Vida (same system as Volvo), but today we tested Autel, and it didn’t read the CEM (all options tried), same as last year we tested, some modules can be read, some no.
This particular one was SPC5748G with mask 0N78s. If you choose different it gives this message: failed to read data.
However key programming went fine withAutel IM608if you read password with different programmers or order it.
Note:
While programmingdon’t put ignition on or ready to drive mode, otherwise programming will fail.
Emergency flash + open drives door is enough to meet the conditions.


Posted by: jean at
07:32 AM
| No Comments
| Add Comment
Post contains 124 words, total size 5 kb.
May 12, 2025
Read and repair Volvo C70 airbag module 31295796 withCG100X.
Part number: 31295796
Processor: 9S12DG128

Here is the airbag pinout to CG100X.


Connect airbag module toCG100Xfollowing the wiring diagram.


In CG100X select Programmer- Motorola- 9S12XX- 9S12DG128

Back up original airbag eeprom and flash data.
Select modified airbag data and write to the original airbag module.


Select modified airbag data and write to the original airbag module.


Posted by: jean at
06:47 AM
| No Comments
| Add Comment
Post contains 72 words, total size 10 kb.
May 09, 2025
Launch CRP919E BT/CRP919X BTmid-level diagnostic scanner does not accept Launch X431 Oscilloscope as an add-on module to expand oscilloscope function.Launch Oscilloscopeonly works with X431 Pro series and more advanced PAD series scanners.
Is it possible to add the oscilloscope App to the Launch CRP919E BT?
Yes.
Here we will show howto add apps, including oscilloscope App to the CRP919EBT to greatly increase the capabilities of your scan tool and add valuable informational resources to aid you in efficient automotive diagnostics.
Being able to use Google, hscope, and a scanner all in one is more important to some users.
The Launch CRP919EBT is a powerful automotive diagnostic tool that stands out for its intuitive interface, fast performance, and unique ability to download third-party apps—a feature often missing in competing scan tools. In this review, we’ll explore its key functionalities, including app integration, oscilloscope capabilities, and overall diagnostic performance.
Key Features & Usability
1. Intuitive Platform & Navigation
CRP919EBT’s user-friendly design:
-
Smooth menu navigation.
-
Fast response times.
-
No lag during operation.
2. App Download Capability (Including Google Play Store)
Unlike many scan tools, the CRP919EBT supports app installations, though accessing them requires a workaround:
-
Google Play Store is preinstalledbut hidden. To access it:
-
Navigate toOtherModules–Files–ES File Explorer-APP.
-
Locate and open the Play Store from the app list.
-


-
Useful Apps Installed:
-
YouTube(for repair tutorials).
-
Hscope Oscilloscope App(adds diagnostic functionality).
-
Google Chrome(requires updates to prevent crashes).
- and many others
-
Pro Tip:Leave frequently used apps open in the background for quick access, even after rebooting the device.
3. Expanding Functionality with the Hscope Oscilloscope App


-
HS502 (2-Channel, 12-bit)
-
Pros: High resolution, excellent for CAN signals.
-
Cons: Limited to 2 channels.
-
-
HEC 10008 (8-Channel, 8-bit)
-
Pros: More channels (though only 4 work with Hscope).
-
Cons: Lower resolution, not ideal for fast signals like CAN.
-
-
Automotive overlays: Options for 360° or 720° overlays and four-stroke cycle charts to aid in waveform troubleshooting.
-
Long captures: Up to 26 minutes of recording at 150 kilosamples per second, perfect for diagnosing intermittent faults.
-
Multimeter mode: For additional diagnostic flexibility.
-
Customizable settings: Including sampling rate, time base, voltage scale, attenuation, filters, and triggers.


Drawback:
The Hscope app’s interface can be finicky—adjusting timebase/sampling settings is less intuitive than dedicated PC software.
No traditional Android home screen– Apps require workarounds to access.
Hscope app limitations– Better for 2-channel use; 8-bit scopes suffer on fast signals.
Posted by: jean at
08:30 AM
| No Comments
| Add Comment
Post contains 568 words, total size 15 kb.
May 08, 2025
What’s the difference between theAutel MaxiFlash JVCI+blue one and theMaxiFlash J2534 Elitesilver one?
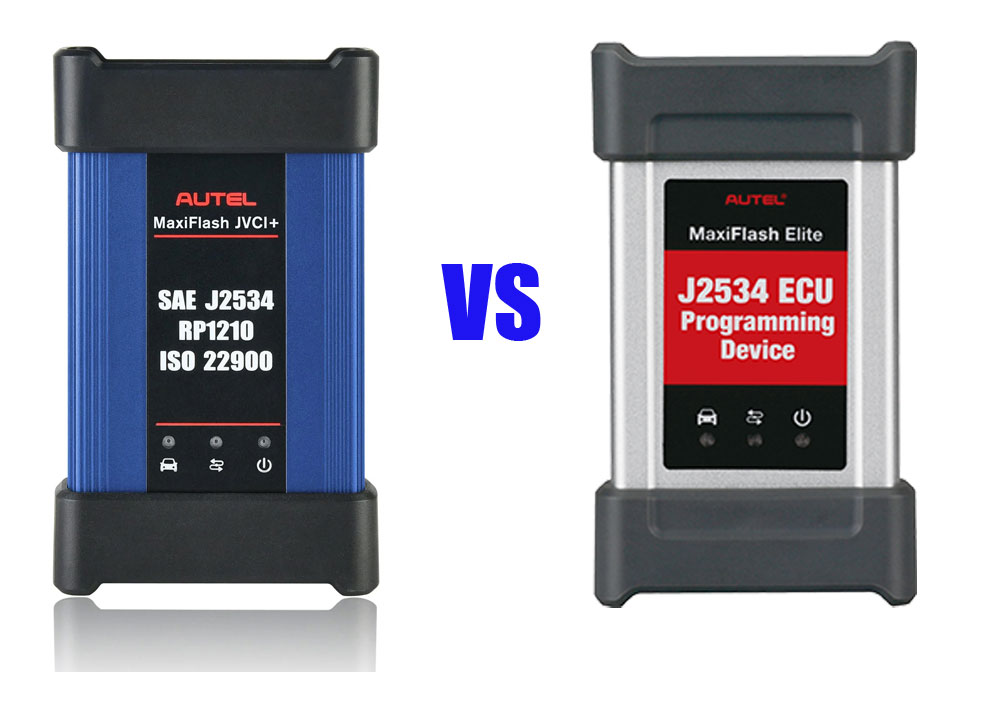
These are the major differences:
1. The silver MaxiFlash J2534 Elite would come with a maxisys Elite, ms908 etc for diagnostic where the blue JVCI+ works for key programming and security codes.
2. The blue JVCI+ one is anupdated version of the Grey/silver one.It works a lot better and faster. Compatible with the IM608 key scan tools but also works with the MS909 and MS919, or Ultras (ultras have a bigger and better version).
3. Thejvci+ has DoIP and CAN FD built into the vcias the elite doesn’t not have CAN FD protocol. Blue one supports CAN FD, the silver one doesn’t (needs an adapter).
4.
The J2534 Elite is not Bluetooth, the JVCI+ is. So that means the Elite plugs directly into the OBD port, the JVCI has a dongle. As J2534 passthroughs, they "should” operate with OEM software, etc.
Both do the same thing. While both are J2534-1 and J2534-2 compliant, these J2534 passthru will work with whichever model you are considering. GM, FCA, GM, etc.
When it comes to ECU programming/coding, we would trust a hardwired connection over wireless any day.
5. The gray J2534box does not work with Techline Connect SPS anymore without a driver update.
The newer JVCI/JVCI+box will work without driver update.
In sum:
If only considering its use as aJ2534 pass-through device, theAutel JVCI+is better.
Posted by: jean at
06:52 AM
| No Comments
| Add Comment
Post contains 243 words, total size 3 kb.
May 07, 2025
Problem:
Issue withLaunch x-prog3 pc adaptersoftware. It is global version.
Overtime i click for update software or trying to download wiring diagram it shows me could not connect to remote server and error message as in the picture. It's brand new unit first time use. Already registered the device.


Solution:
Click on the software update dialoque box and wait for the software to download. It downloads to the download folder of your laptop/computer. Go to downloads folder and install the downloaded software and after this it should work fine.
Or uninstall the software from your computer and start the process from the beginning. Reinstall the latest version and try again with good internet. The software you installed currently is xprog3 pc adapter blue in color. Install another softwareecu&tcu cloninggreen in color and activate the product. I had a similar problem with mine and this is what I did.
Where to find green software?
From the same side you downloaded the xprog3 pc adapter software.

Posted by: jean at
07:45 AM
| No Comments
| Add Comment
Post contains 171 words, total size 4 kb.
May 06, 2025
Airbag module cleaning and airbag replacement.
2022 Mazda CX-30
Part number: DFR5-57K30-A
Device:OBDSTAR P50.
Method (OBD2).
It took 30 minutes to clear, but with no apparent problems.


Posted by: jean at
06:02 AM
| No Comments
| Add Comment
Post contains 35 words, total size 4 kb.
32 queries taking 0.1002 seconds, 204 records returned.
Powered by Minx 1.1.6c-pink.

